
1.6 TDI CR engine (EA189) · Mixture preparation – injection · Injectors/high-pressure accumulator (rail)
Removing and installing fuel rail
Special tools and workshop equipment required
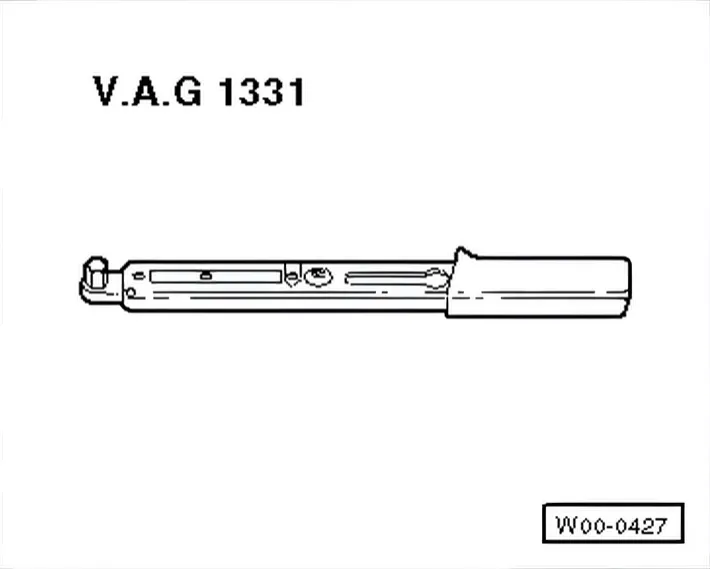
- Torque wrench - V.A.G 1331-
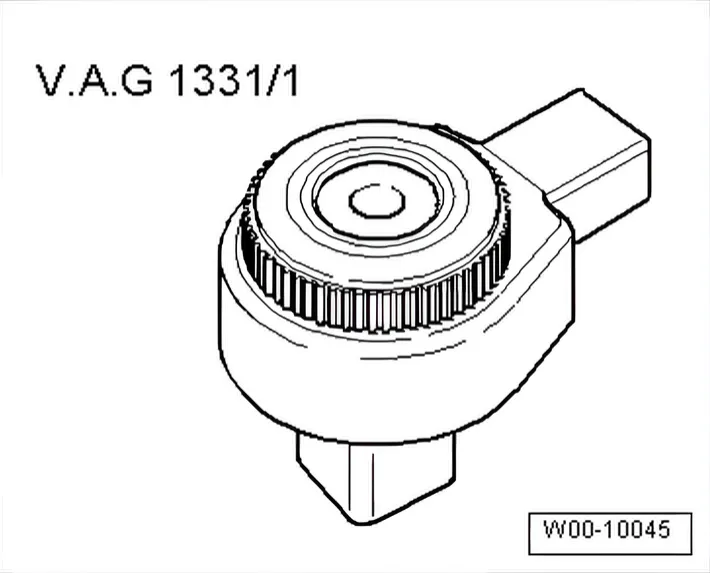
- Ratchet wrench - V.A.G 1331/1-
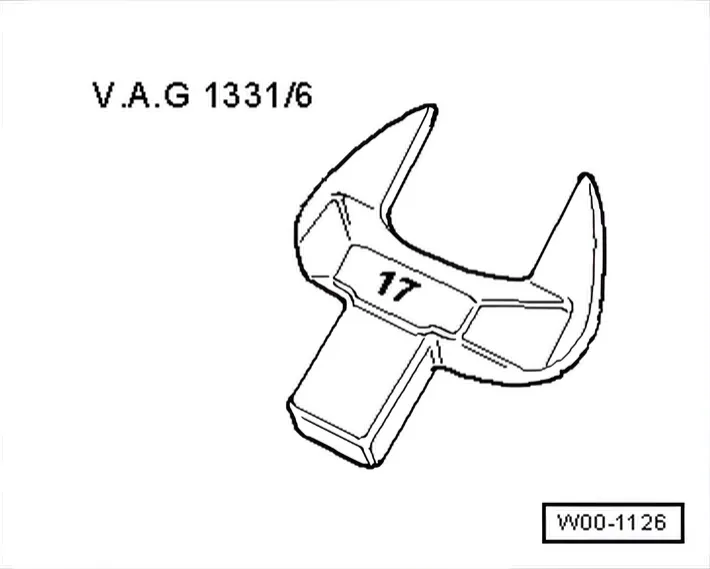
- Tool insert 17 mm - V.A.G 1331/6-
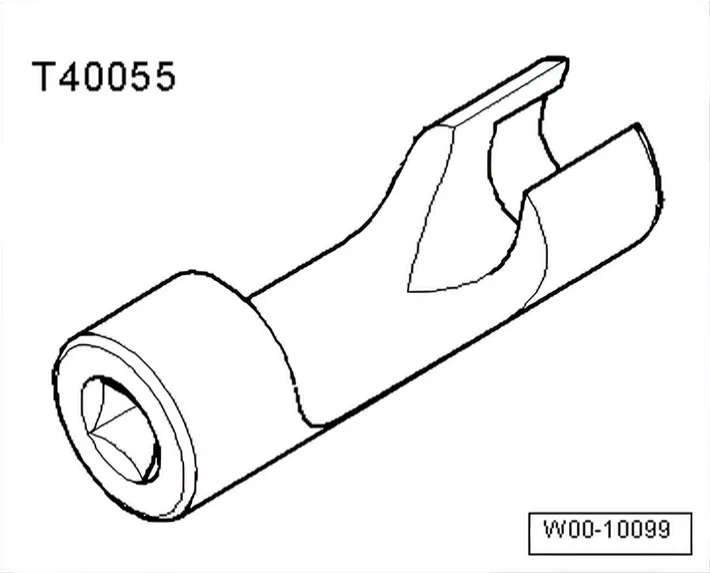
- Socket - T40055-
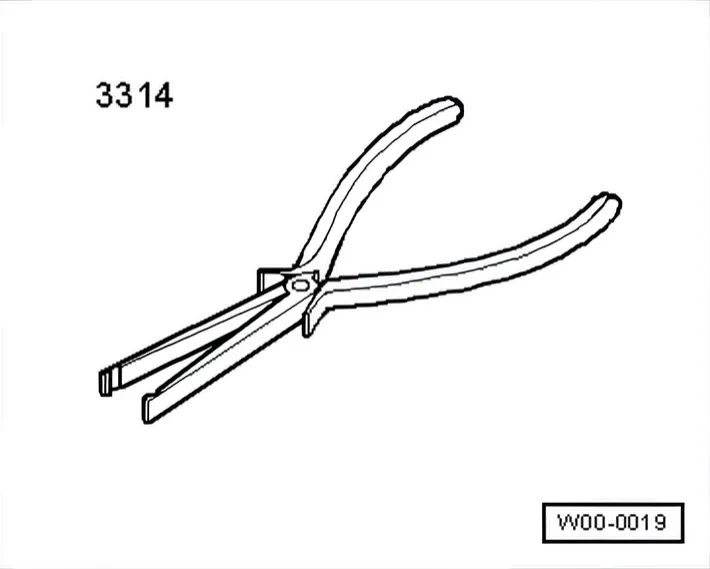
- Pliers - 3314-
Removing
- Remove engine cover panel ⇒ 3 Engine cover panel.
- Unscrew bolt -3- from retainer for high-pressure line.
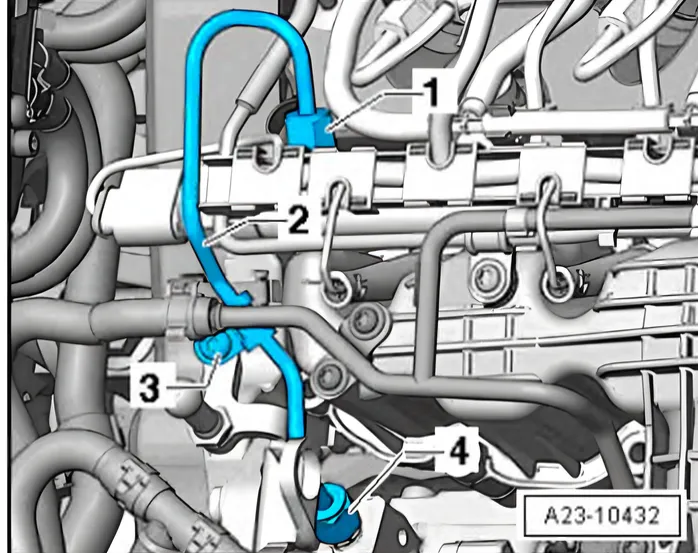
- Remove fuel high-pressure line -2-. To do this, release union nuts on high-pressure pump -4- and fuel rail -1-.
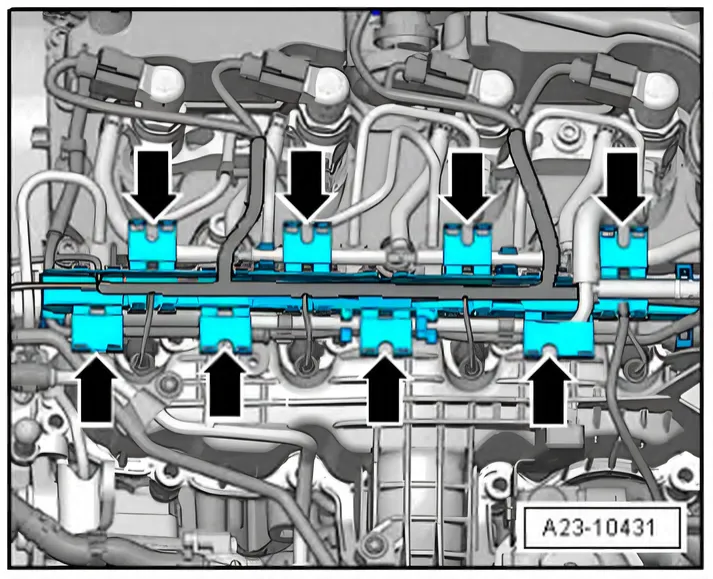
- Open cable guide fasteners -arrows- to free wiring harness.
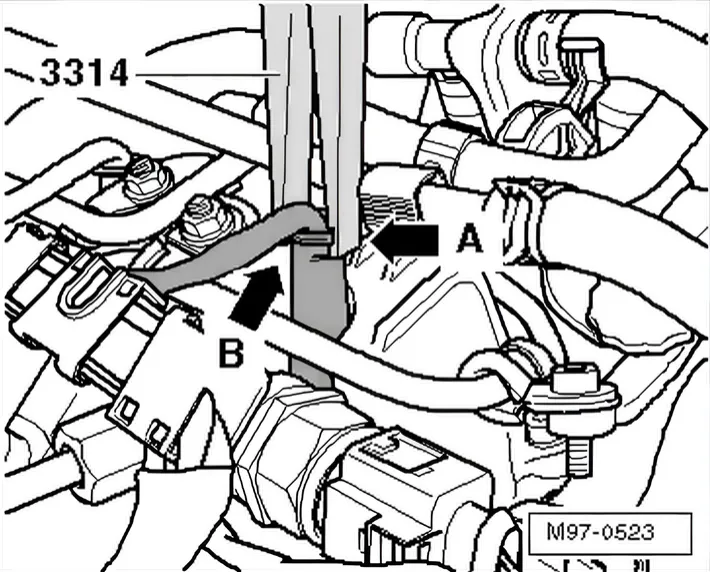
- Position pliers - 3314- with groove -arrow A- on support sleeve shoulder -arrow B-.
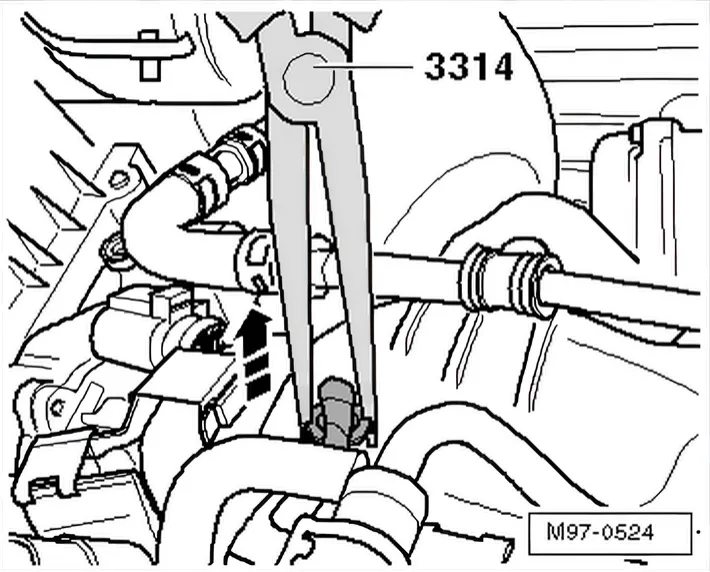
- Carefully pull connectors off glow pin plugs in direction of -arrow-.
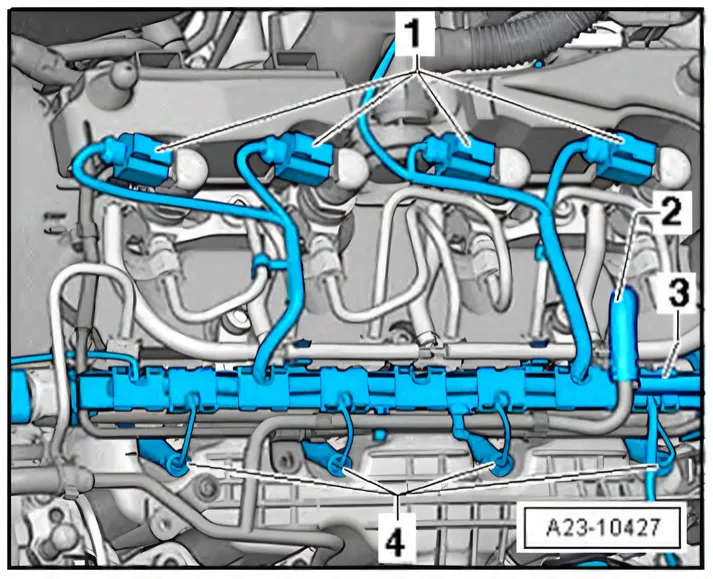
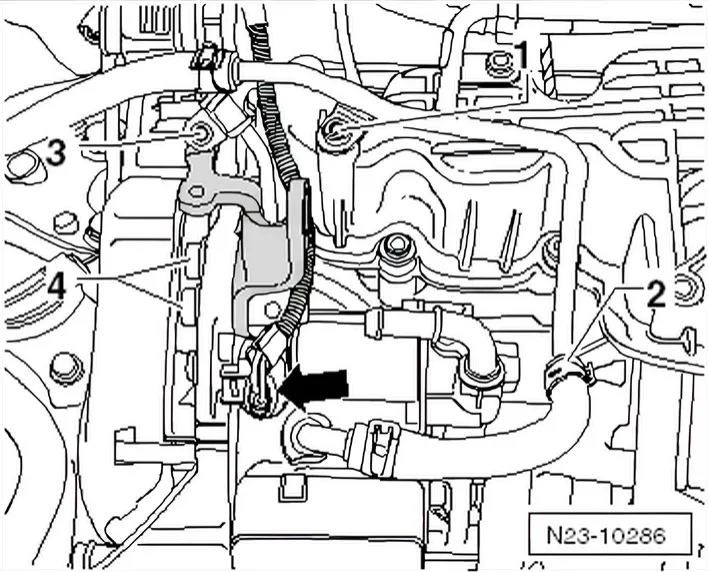
- Pull off electrical connectors -1 and 4-.
- Pull off fuel return hose -2-.
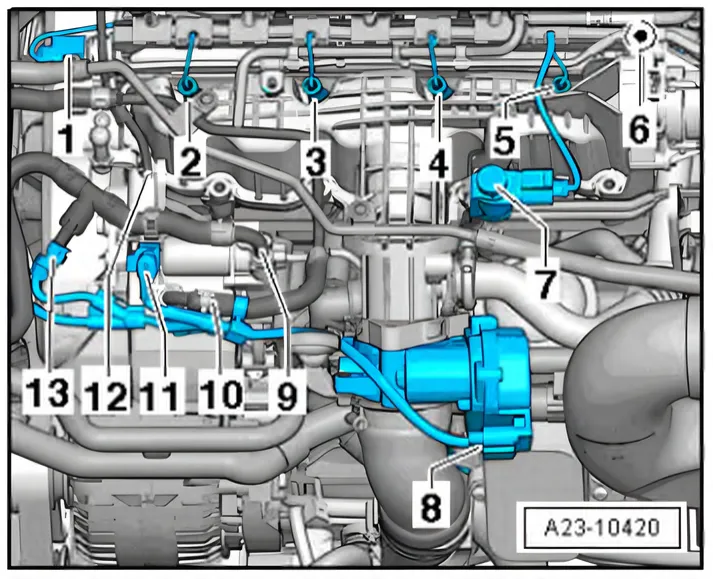
- Disconnect electrical connectors -1, 6 and 7-.
- Remove high-pressure lines between fuel rail and injectors.
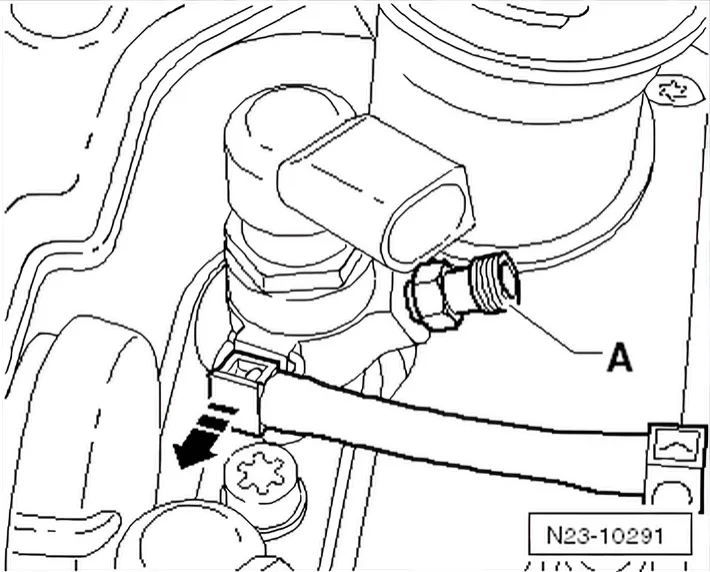
- After removal, lay high-pressure lines on a clean cloth.
- Remove fuel rail, first unscrewing the two bolts.
Installing
Installation is carried out in the reverse order. When installing, note the following:
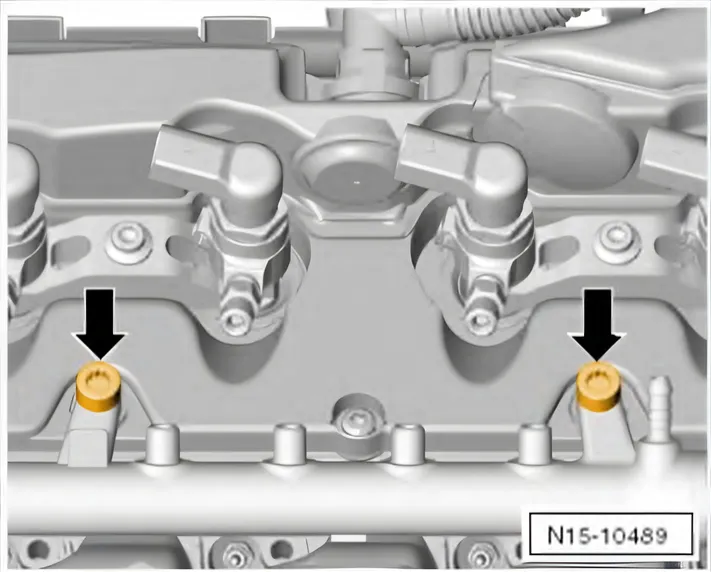
- Initially tighten securing bolts -arrows- to just max. 1 - 2 Nm.
- It must be possible to move the rail so the hoses can be fitted free of stress.
- Install high-pressure lines ⇒ 3.7 Removing and installing high-pressure lines.
- Firmly screw lifting eye in ⇒ 1.5 Removing and installing bracket for ancillaries.
Tightening torques on this page
1 torque
In the steps
| Step | Torque |
|---|---|
| Initially tighten securing bolts -arrows- to just max. 1 - 2 Nm. | 2 Nm |