
1.6 TDI CR engine (EA189) · Mixture preparation – injection · Injectors/high-pressure accumulator (rail)
Removing and installing injectors
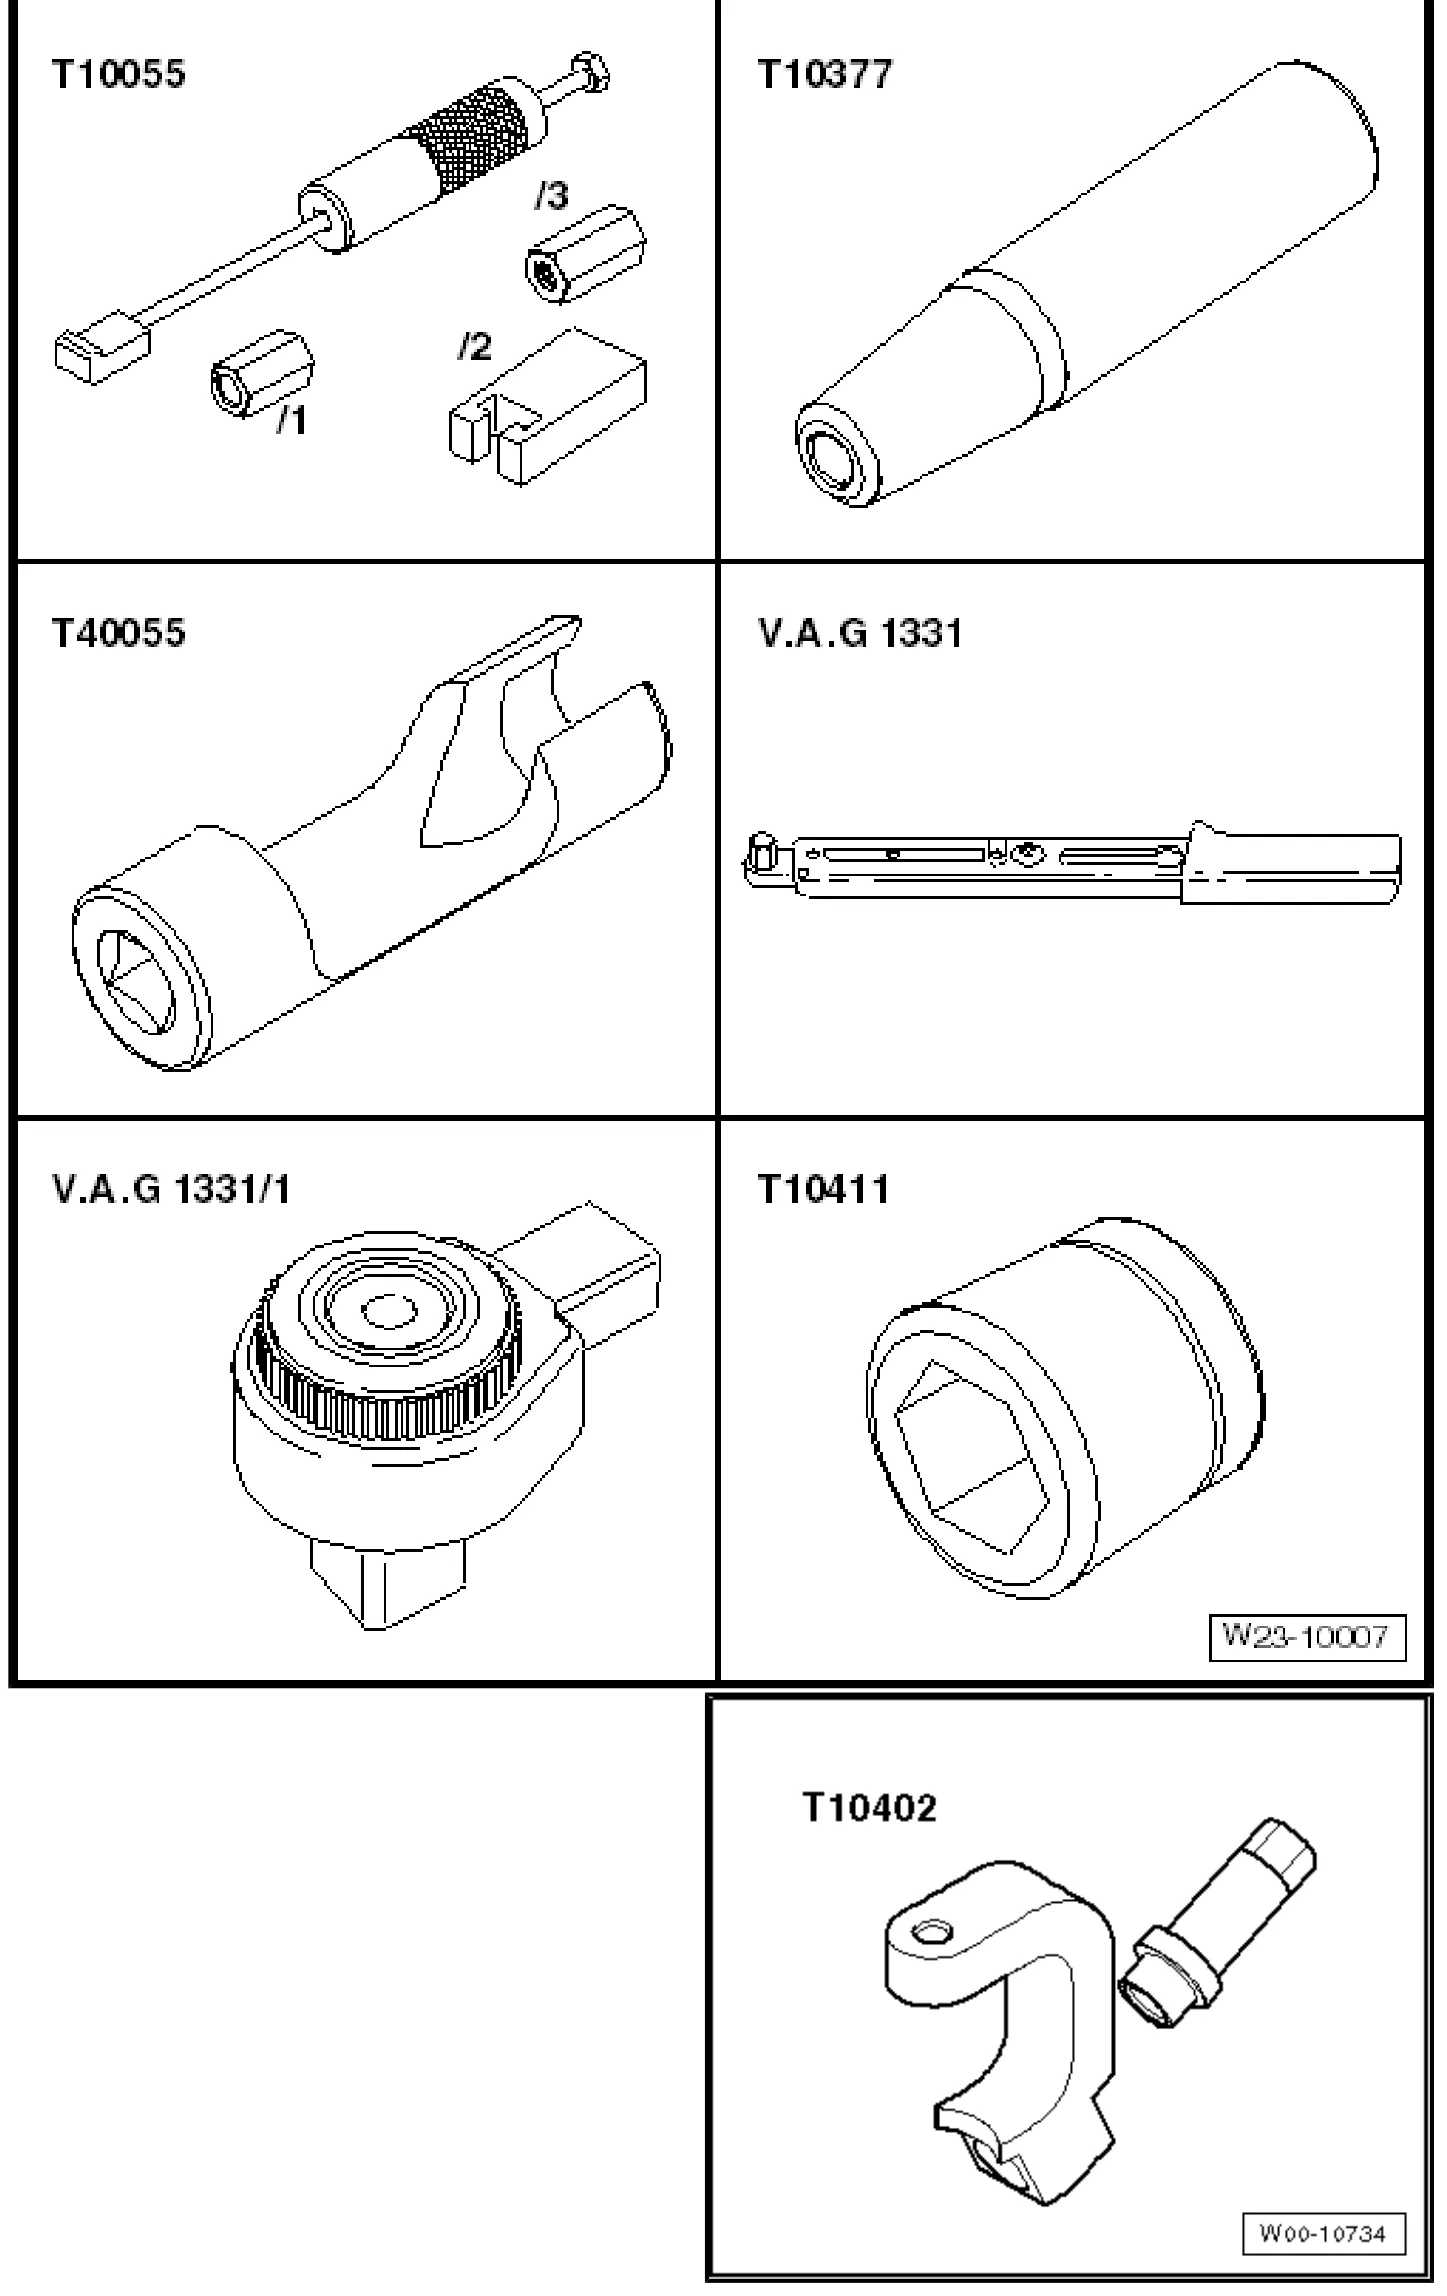
Special tools and workshop equipment required
- Puller - T10055-
- Assembly sleeve - T10377-
- Socket - T40055-
- Torque wrench - V.A.G 1331-
- Ratchet wrench - V.A.G 1331/1-
- Support sleeve - T10411-
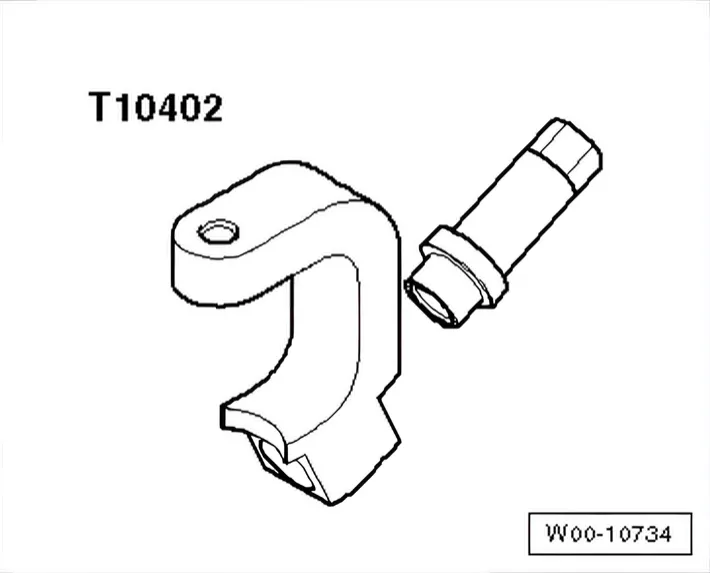
- Injector remover - T10402-
3.5.1 Removing
- Remove engine cover panel ⇒ 3 Engine cover panel.
- Remove noise insulation from cylinder head cover.
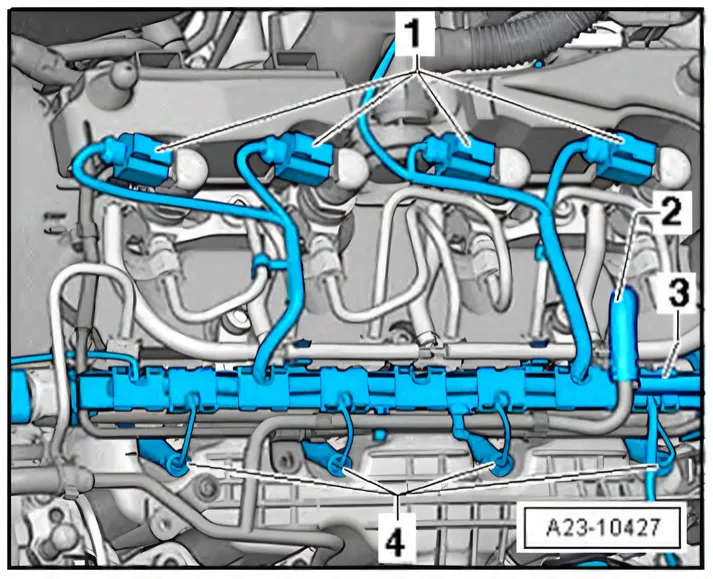
- Pull off connectors -1- at injectors to be removed.
Remove high-pressure line between fuel rail and injectors. ⇒ 3.7 Removing and installing high-pressure lines
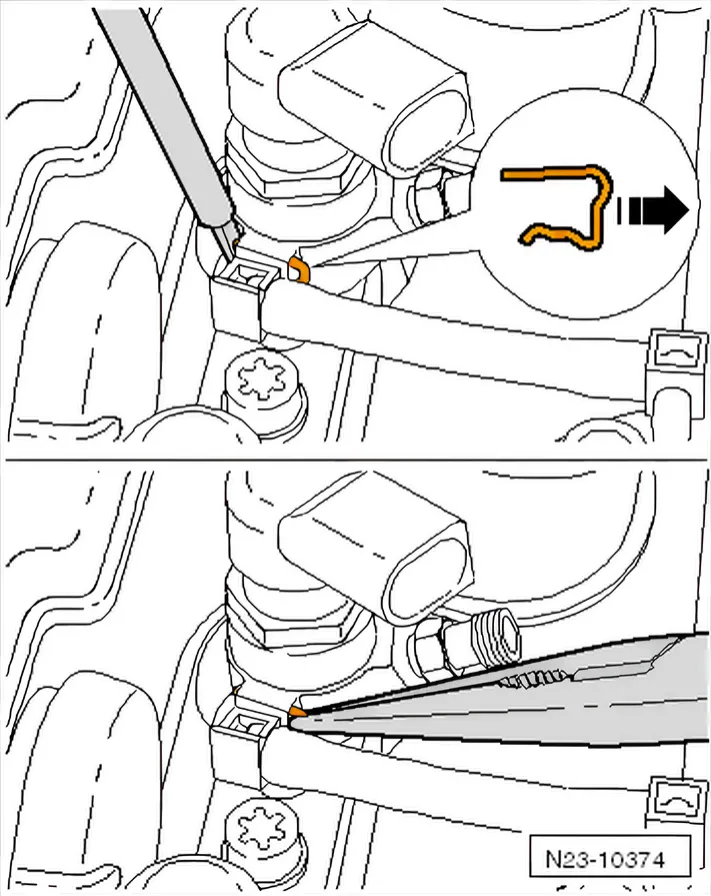
- To release fuel return line, pull clip out in direction of arrow.
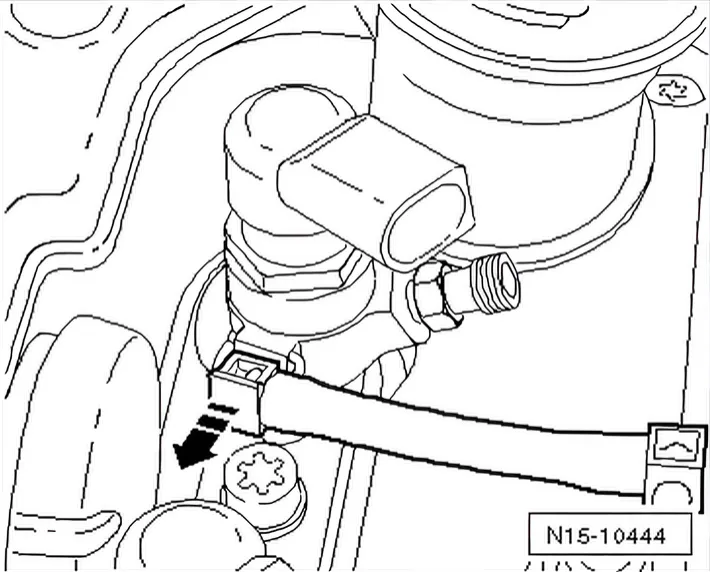
- Pull fuel return line connections off injectors in direction of arrow.
- Unscrew securing bolt of clamping piece of injector to be removed.
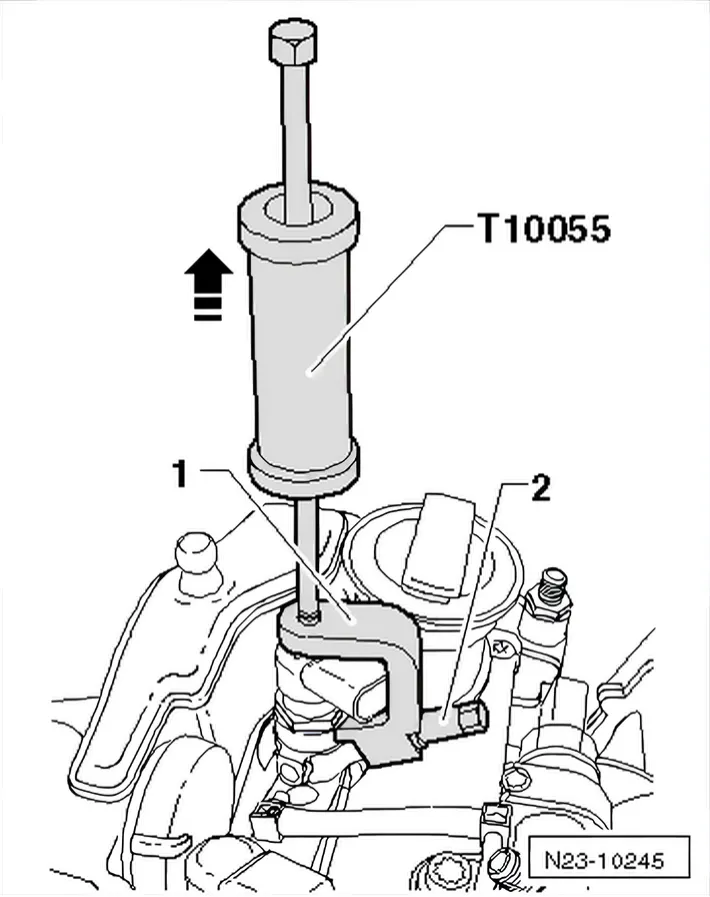
- Apply puller - T10055- with injector remover - T10402- -1- and -2- as shown in illustration and pull injectors out upwards by tapping gently.
3.5.2 Installing
Important instructions for working on fuel system ⇒ 3.1 Rules for cleanliness
Fitting used injectors
- Clean empty injector bores and sealing surfaces in cylinder head using cleaning set - VAS 6811- before fitting injectors ⇒ Instructions
When a used injector is re-fitted, the following must be renewed:
- Copper seal
- O-ring for injector shaft
- Retaining clip for injector return
- O-ring for return line
- Spray tip of injector with rust-releasing spray. Wait approx. 5 minutes and wipe off soot particles and oil with a cloth.
- If an injector is very dirty, the tip of the nozzle should also be cleaned with a soft brass wire brush to make it easier to remove the copper seal. Do not apply the wire brush to the bores in the nozzle.
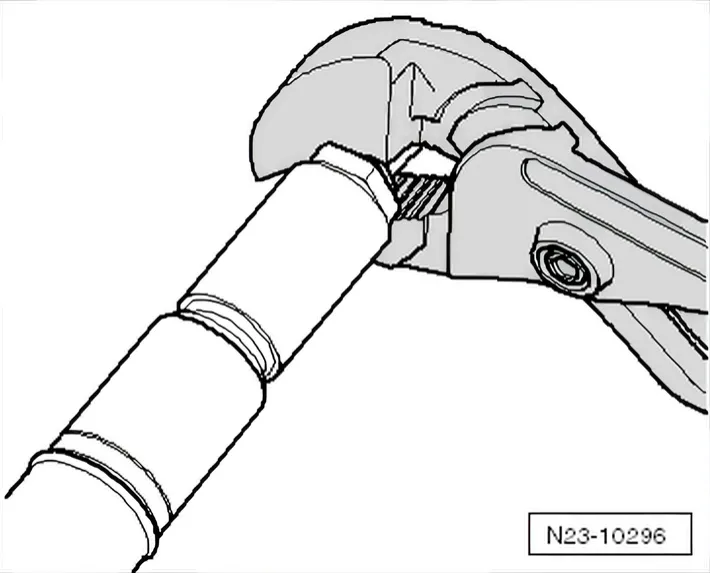
- To remove the old copper seal from the injector, carefully clamp the copper seal in a pair of pliers so it is just prevented from spinning.
- Then carefully pull and twist the injector out of the copper seal by hand.
- Clean off deposits under the copper seal using a suitable scraper.
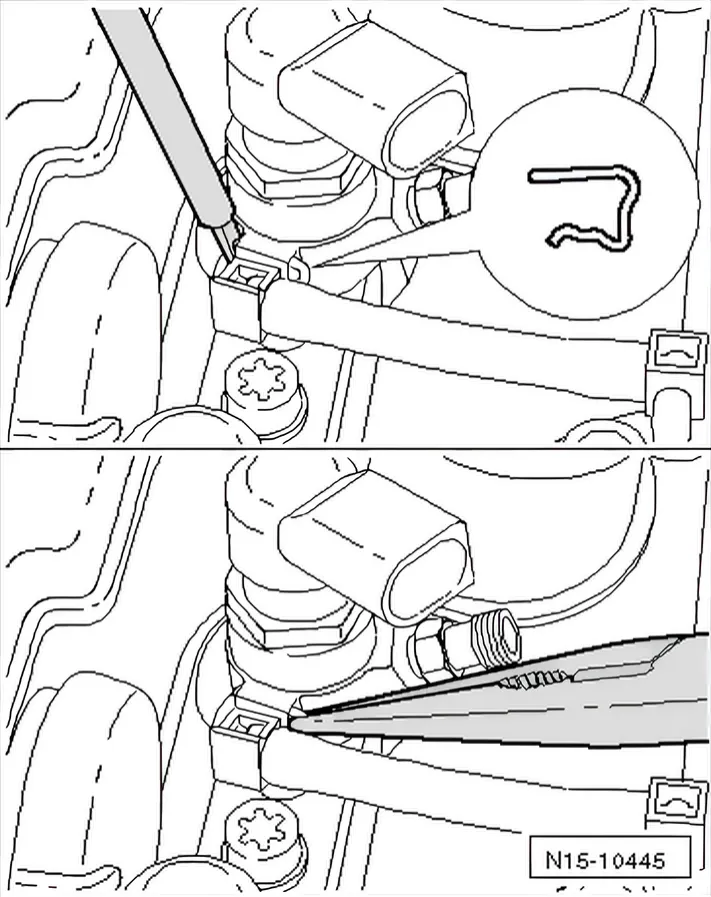
- Fit renewed clips before fitting the injector. To do this, grease lightly.
Fitting new injectors:
When a fitting a new injector, the following must be renewed:
- Copper seal
- O-ring for injector shaft
- O-ring for injector return line
- Retaining clip for injector return
Continuation for used and new injectors:
- Use a plastic socket to mount new copper seal.
- Lubricate all O-rings with engine oil or assembly oil before installing.
- Fit new O-rings for injector shaft.
- Push clamping piece onto injectors and pay attention to installation position.
- Always guide two injectors in pairs carefully into injector bores in cylinder head.
- Tighten bolt for clamp to a maximum of only 1 to 2 Nm at first.
- Injectors must still be able to move.
- Install high-pressure lines ⇒ 3.7 Removing and installing high-pressure lines.
Further assembly in reverse order of removal.
- Tighten injectors ⇒ 1.2 Assembly overview - fuel system
After renewing one or more injectors:
- Write adapted correction values for new injectors into engine control unit ⇒ 3.2 Adapting correction values for injectors.
- Reset learnt values of fuel pressure regulating valve - N276-.
- 01 - Engine electronics
- 01 - Engine electronics functions
| 01 - Reset adaptation values of engine ctrl. mod- |
| ule |
| Selection: Reset learnt values of dosing unit and |
| pressure regulating valve |
Tightening torques on this page
1 torque
3.5.2 InstallingTo the steps ↑
| Step | Torque |
|---|---|
| Tighten bolt for clamp to a maximum of only 1 to 2 Nm at first. | 2 Nm |