
1.6 TDI CR engine (EA189) · Mixture preparation – injection · Injectors/high-pressure accumulator (rail)
Removing and installing high-pressure lines
⇒ 3.7.1 Removing high-pressure lines between fuel rail and injectors
⇒ 3.7.2 Removing high-pressure line between fuel rail and highpressure pump
⇒ 3.7.3 Installing high-pressure lines
Special tools and workshop equipment required
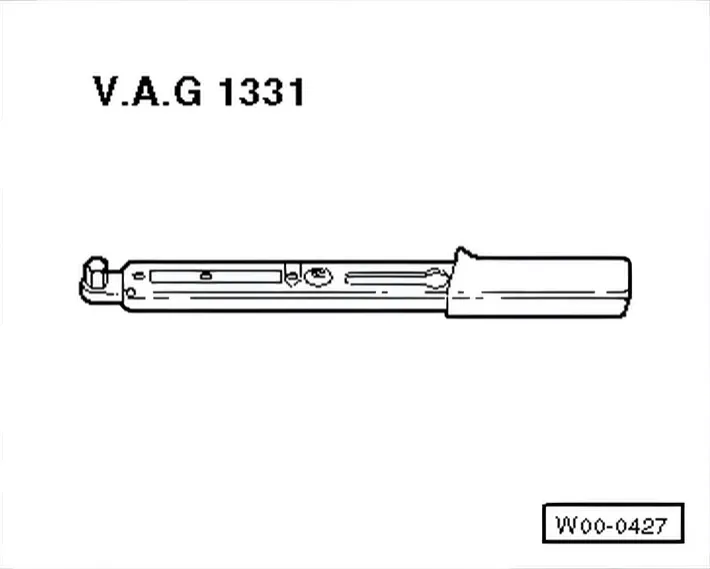
- Torque wrench - V.A.G 1331-
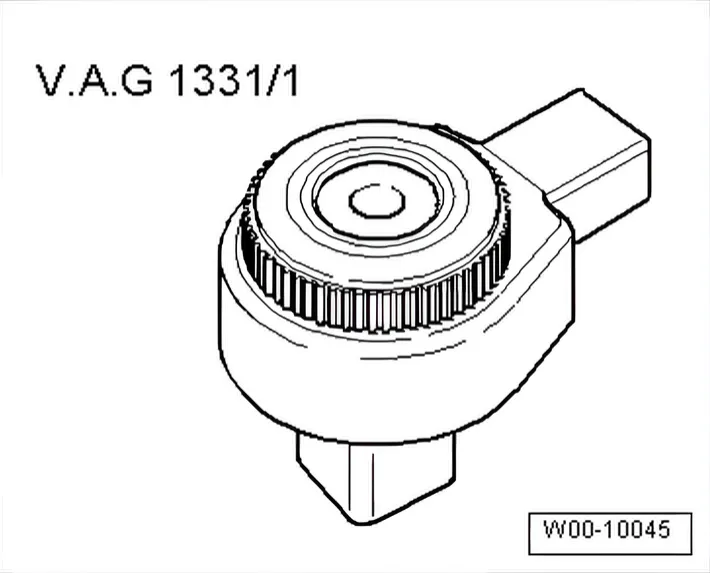
- Ratchet wrench - V.A.G 1331/1-
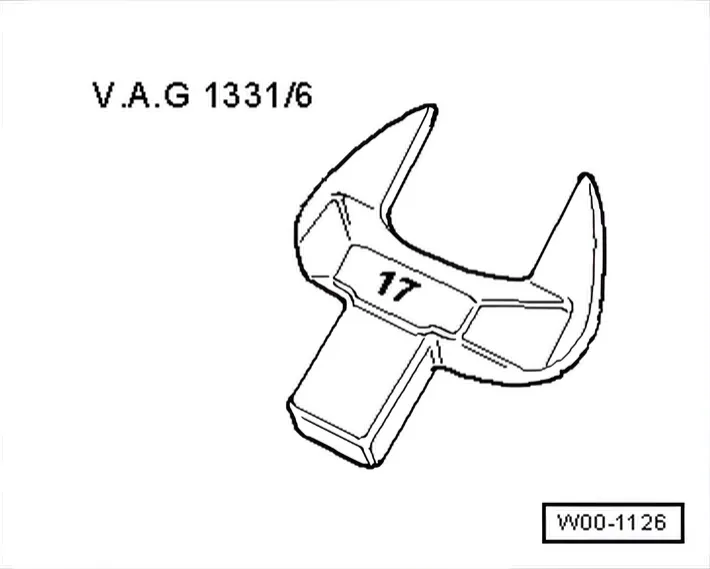
- Tool insert 17 mm - V.A.G 1331/6-
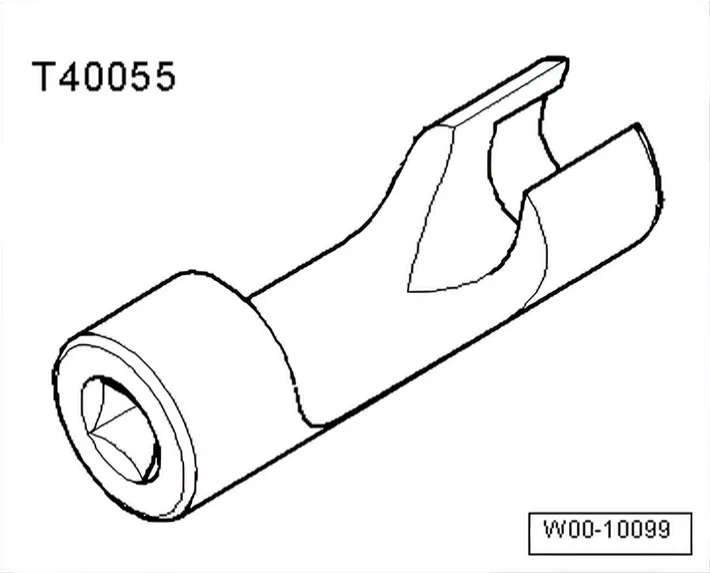
- Socket - T40055-
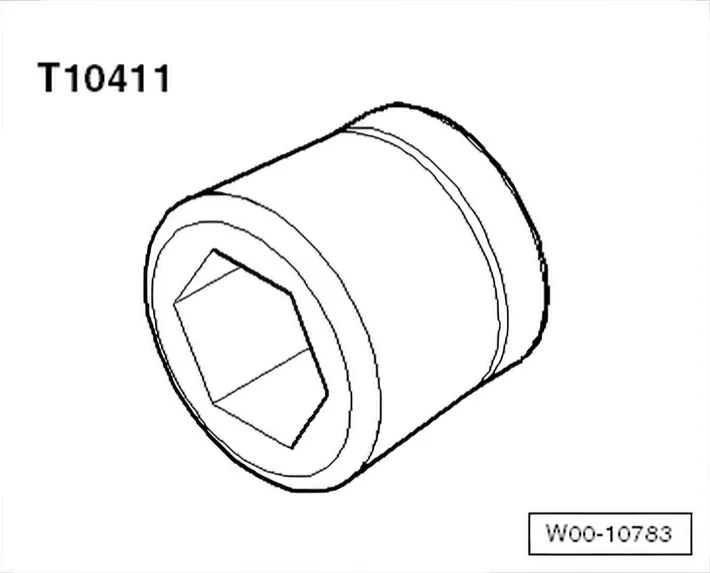
- Support sleeve - T10411-
3.7.1 Removing high-pressure lines between fuel rail and injectors
- Remove engine cover panel ⇒ 3 Engine cover panel.
Protect open fuel connections from dirt entrainment using suitable methods under all circumstances.
Used injectors may only be re-installed on the same cylinder.
Preferable order for disconnecting high-pressure lines cylinder 4-3-2-1
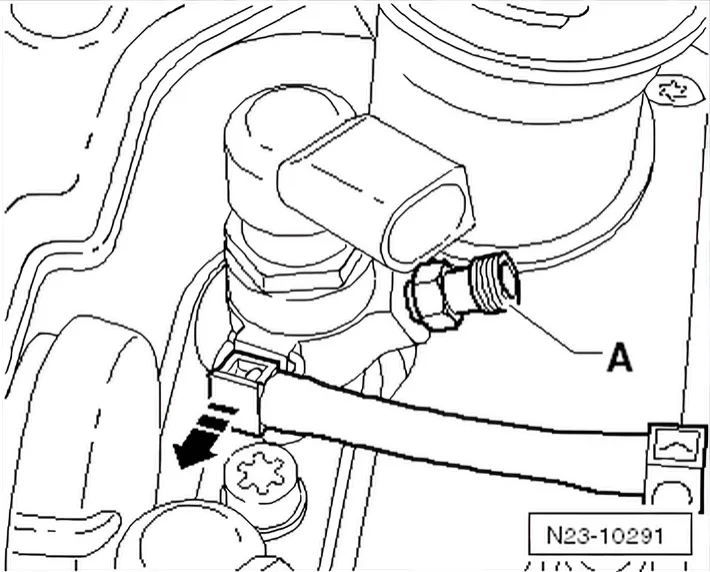
- To disconnect the high-pressure lines, counterhold the highpressure fitting -A- on the injectors.
- Remove high-pressure line between fuel rail and injectors.
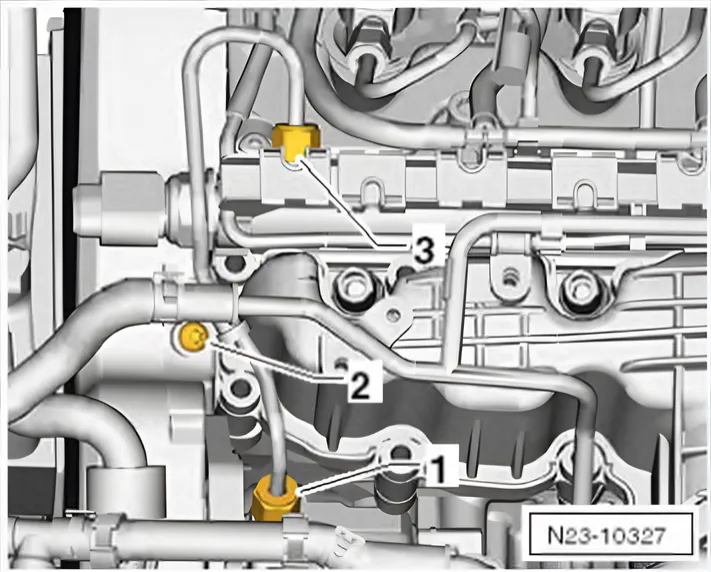
- Then only loosen the high-pressure line between fuel rail and high-pressure pump -3-.
3.7.2 Removing high-pressure line between fuel rail and high-pressure pump
Protect open fuel connections from dirt entrainment using suitable methods under all circumstances.
Used injectors may only be re-installed on the same cylinder.
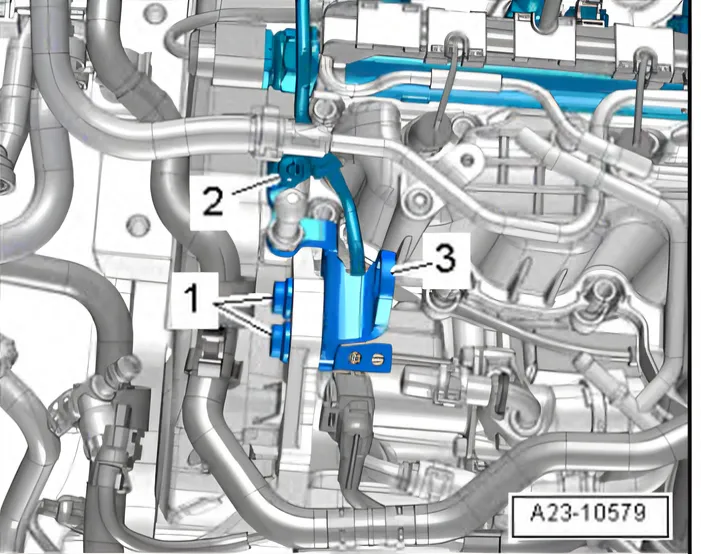
- Unscrew bolts -1 and 2-, and remove engine lifting eyes -3-.
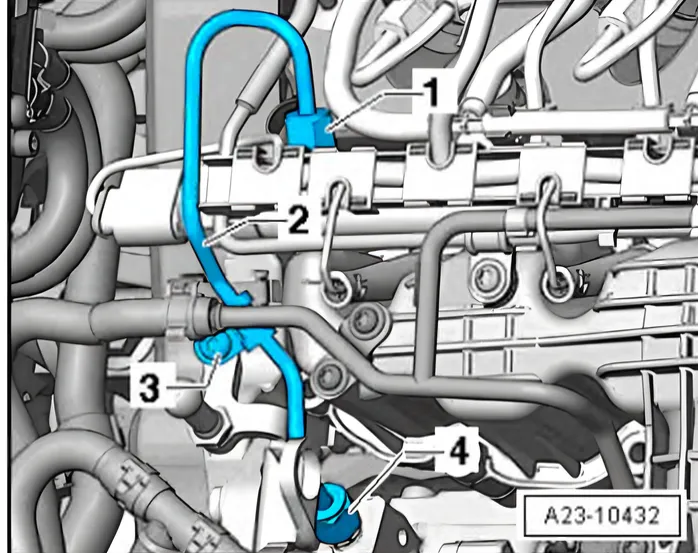
- Unscrew union nuts -1 and 4- and remove high-pressure line -2-.
3.7.3 Installing high-pressure lines
- Use a vacuum-type cleaner to remove dirt from taper seat on high-pressure accumulator.
- Clean fuel line and head of line using cold cleaning solvent and dry using compressed air.
- Moisten union nut thread with fuel.
- Fit the injection lines from high-pressure accumulator to injector by hand first, only tighten union nuts by hand.
Next install high-pressure line from high-pressure pump to highpressure accumulator.
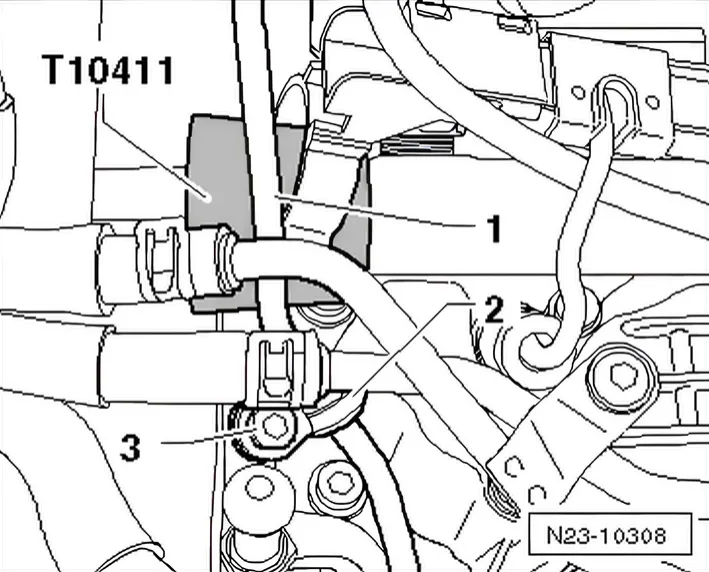
- To install high-pressure line between high-pressure pump and high-pressure accumulator, slide support sleeve -T10411- onto fuel pressure sender - G 247-.
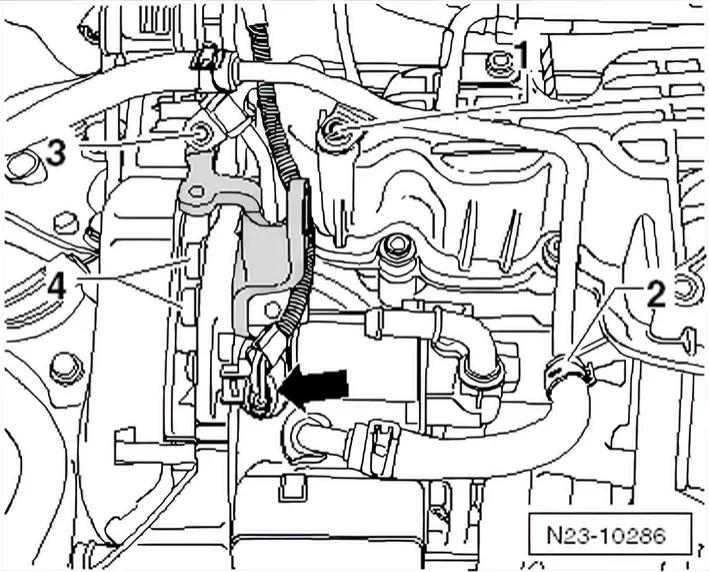
- Only tighten union nuts on high-pressure line from high-pressure pump to high-pressure accumulator by hand.
The further final assembly follows the sequence described.
Sequence
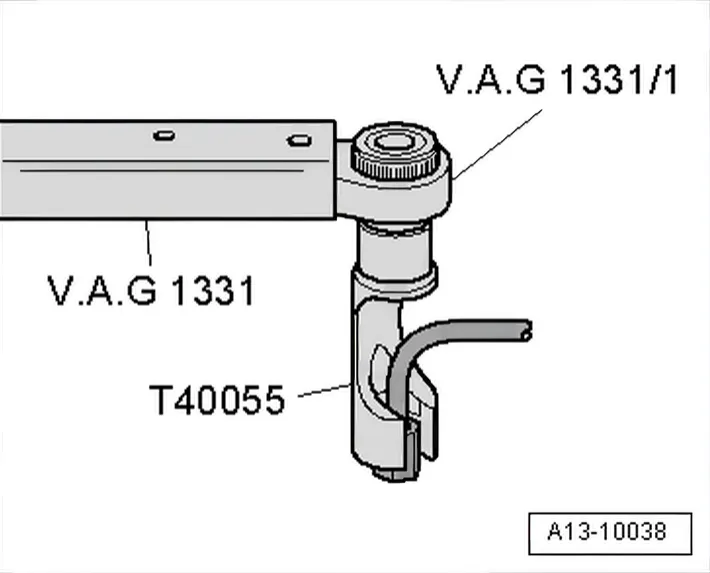
- Tighten high-pressure lines on fuel rail and injector to specified torque ⇒ 1.2 Assembly overview - fuel system.
- To tighten injector lines, use torque wrench - V.A.G 1331- with ratchet - V.A.G 1331/1- and 17 mm socket - T40055-.
- Tighten high pressure line -2- between high pressure pump and high pressure accumulator first at high pressure pump -4- and then at high pressure accumulator -1-.
- Tighten bolt -3- for retainer for high-pressure line.
- Specified torques: ⇒ 1.2 Assembly overview - fuel system
- Firmly screw lifting eye in ⇒ 1.5 Removing and installing bracket for ancillaries.
- Remove the support sleeve - T10411 -.
- Tighten fuel rail to specified torque ⇒ 1.2 Assembly overview - fuel system.
- Tighten bolts for clamping pieces to final specified torque ⇒ 1.2 Assembly overview - fuel system.
- Reconnect connector to fuel pressure sender - G 247-.
- Press return line connections carefully onto injectors (check seal for damage before connecting return line). You should hear them click into place.
- Engage pressure retention valve in retainer provided on the cylinder head cover.
- Start and run the engine at idling speed for several minutes and then switch off.
- Switch off ignition.
- Check the complete fuel system and return line connections for leaks.
Renew the affected component if leakage still occurs after tightening to the correct torque.
- Then test drive the vehicle, accelerating to full throttle at least once.
- Then check high-pressure part of fuel system again for leakage.