
1.6 TDI CR engine (EA189) · Mixture preparation – injection · Intake manifold
Removing and installing intake manifold
Removing
Special tools and workshop equipment required
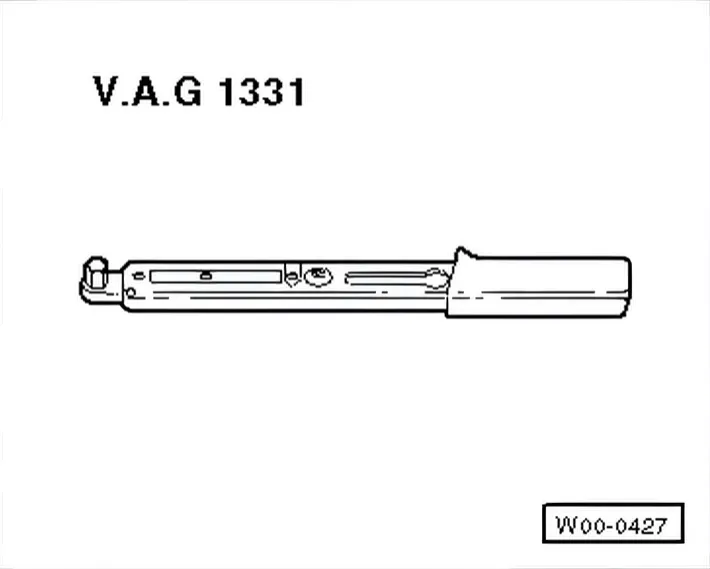
- Torque wrench - V.A.G 1331-
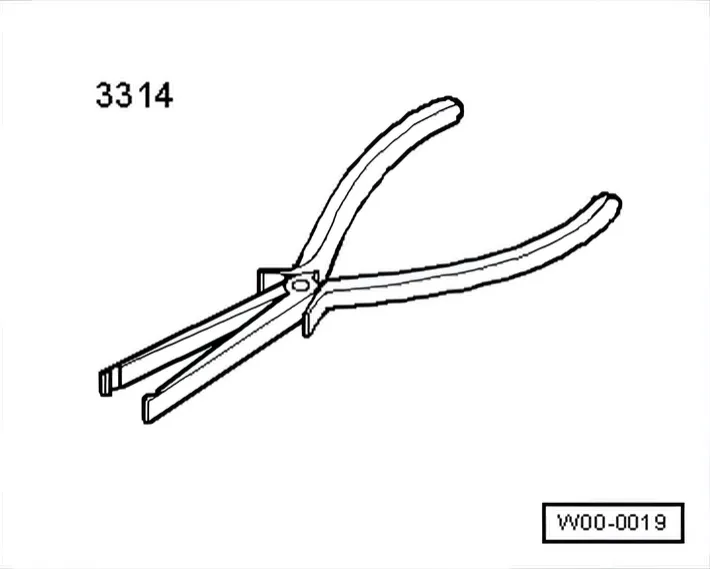
- Pliers - 3314-
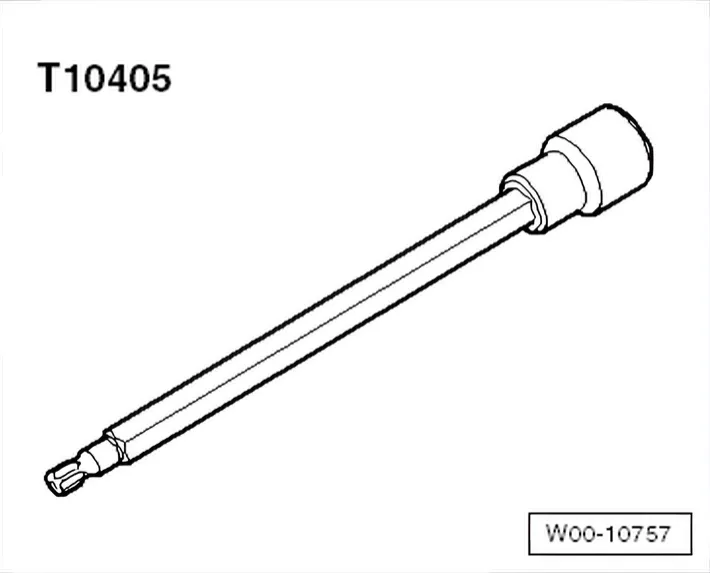
- Multi-point bit - T10405-
Removing
- Remove engine cover panel ⇒ 3 Engine cover panel.
- Remove noise insulation:
Polo ⇒ General body repairs, exterior; Rep. gr. 50; Noise insulation; Assembly overview - noise insulation
Removing high-pressure accumulator ⇒ 3.6 Removing and installing fuel rail.
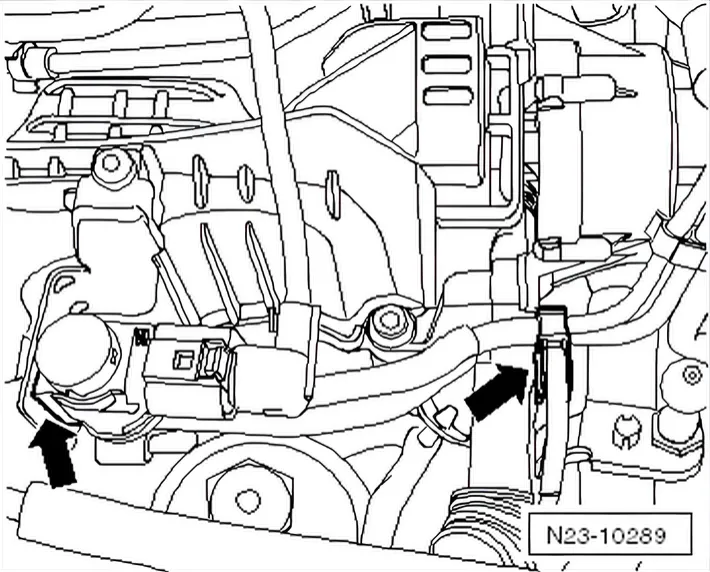
- Unclip vacuum lines -arrow- and lay to side.
Polo
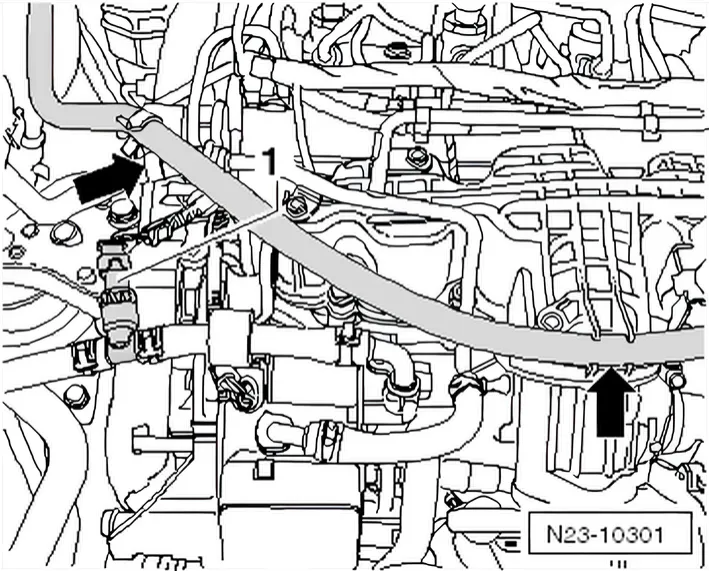
- Unclip coolant return hose -arrows- and place coolant line to one side.
The arrangement of the coolant return hose can vary.
Continued for all vehicles
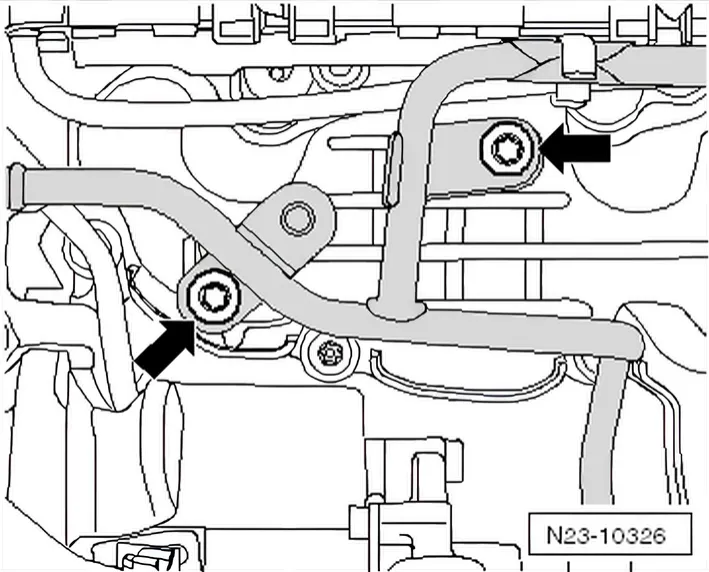
- Remove securing bolts -arrows-.
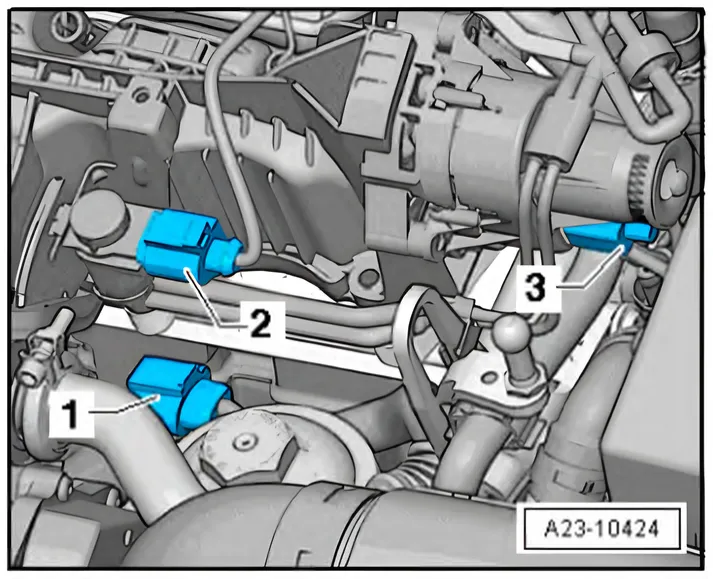
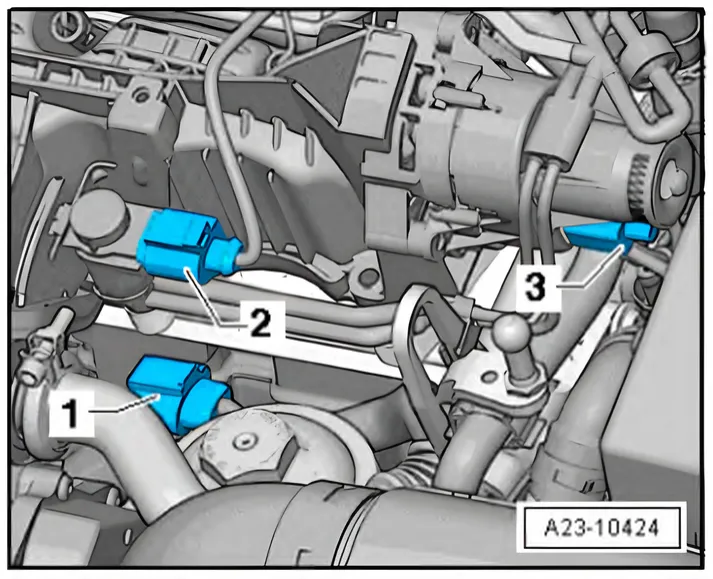
- Disconnect connector -3- from intake manifold flap motor - V157- (if there is one).
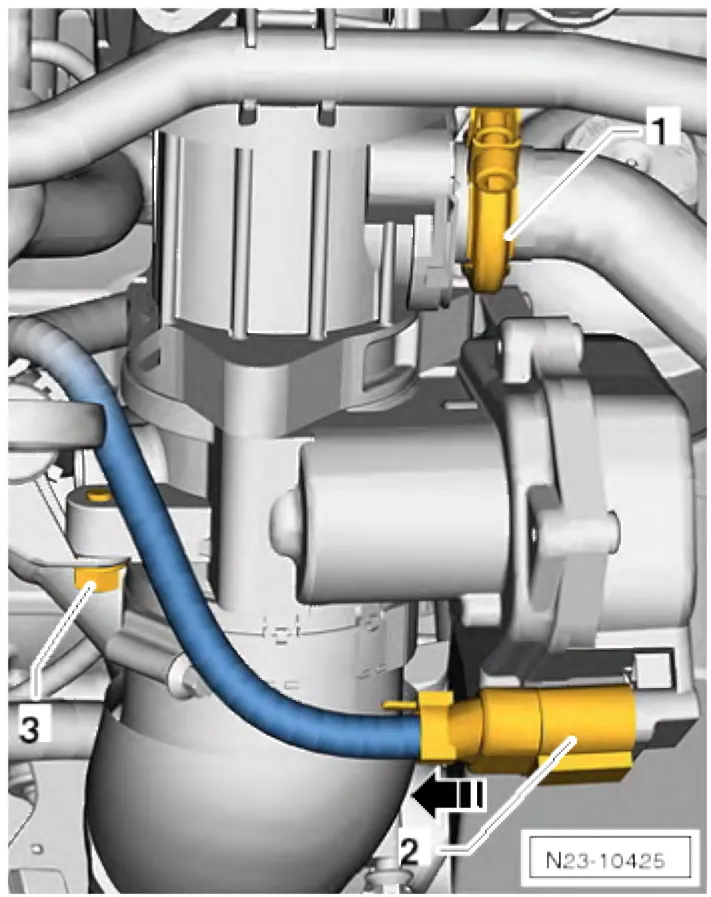
- Pull connector -2- off throttle valve module - J338-.
- Remove bolt -3- from dipstick connection.
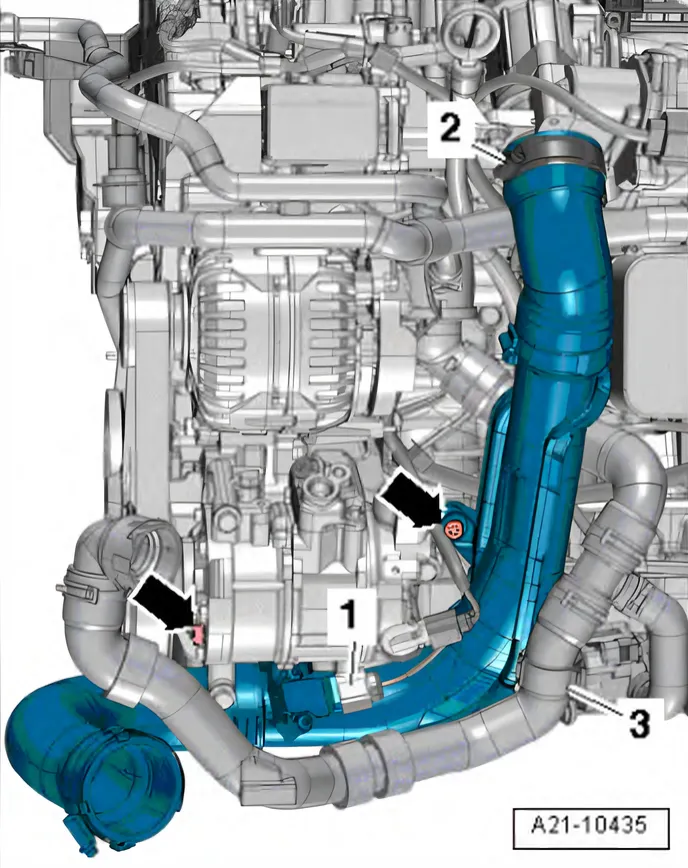
- Unscrew bolts -arrows-.
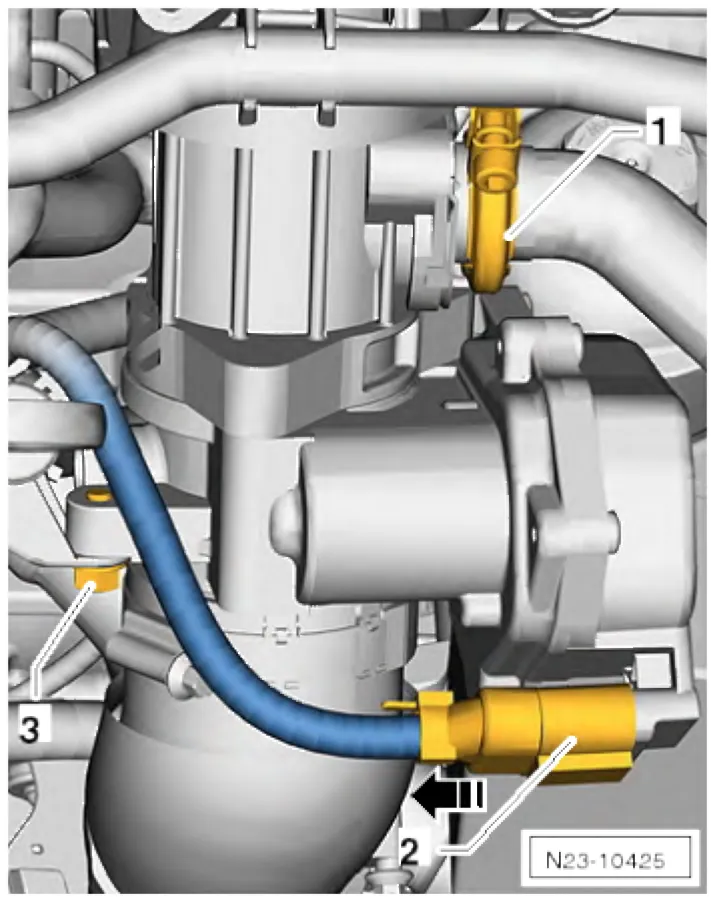
- Remove exhaust gas recirculation connecting pipe.
- To do this, open clip -1-.
- Unscrew securing bolts from intake manifold from the outside to the inside in diagonal sequence with socket - T10405-.
- Carefully remove intake manifold.
Installing
Install in reverse order, noting the following:
- Specified torque ⇒ 8 Intake manifold
- Always renew seals.
- Tighten intake manifold bolts from inside outwards, alternately and diagonally.
- Install air pipe.
- Install high-pressure accumulator ⇒ 3.6 Removing and installing fuel rail.
Also use following procedure
If an intake manifold with intake manifold flap - V157- was installed.
- Cap off now free connector -3- to intake manifold flap motor - V157- using blanking cap.
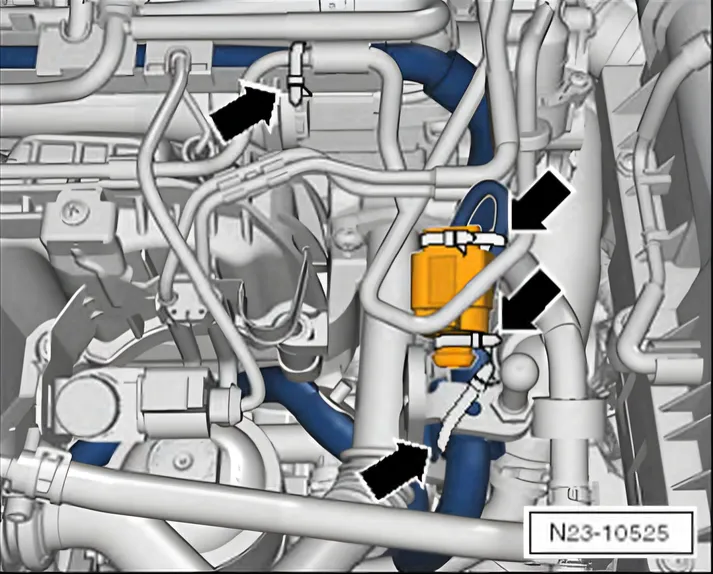
- Attach capped connector to wiring harness with cable ties -arrows-.
- Secure loose vacuum line with cable tie -arrow-.