
Running gear, axles, steering · Steering · Steering rack
Removing and installing track rod ball joint
Only 6C 2014–2017
Special tools and workshop equipment required
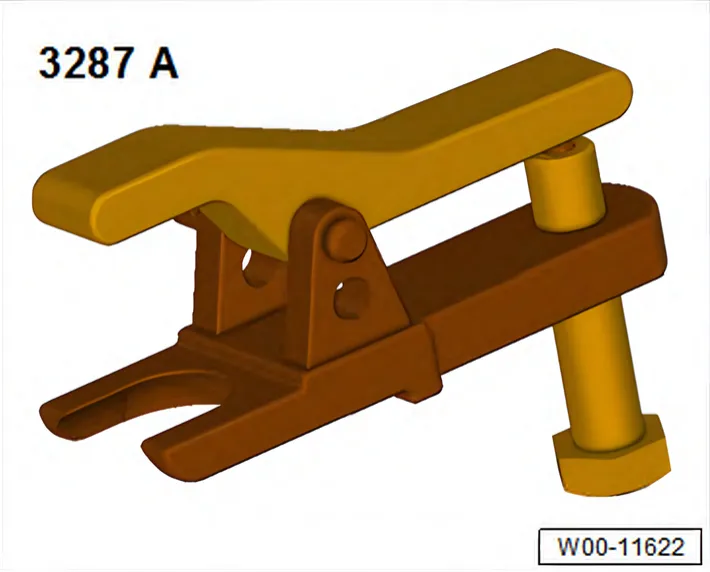
- Ball joint puller - T10187- Ball joint puller - 3287 A-
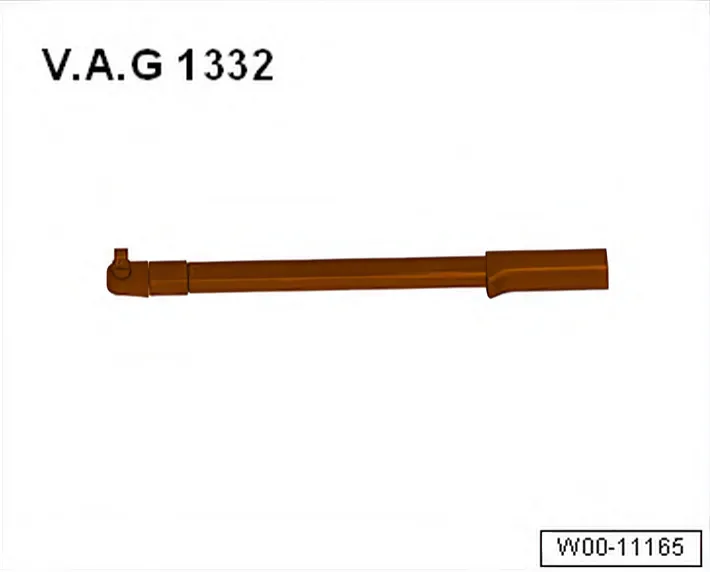
- Torque wrench - V.A.G 1332-
Removing
- Loosen wheel bolts.
- Raise vehicle.
- Remove wheel.
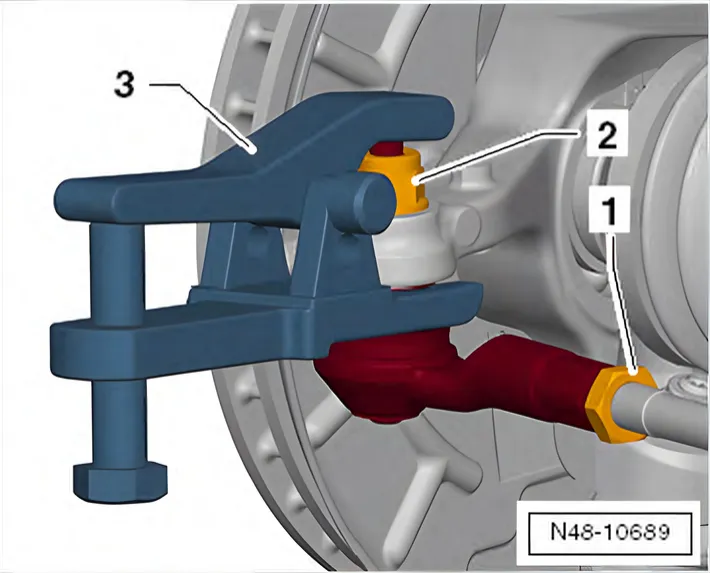
- Loosen nut -1-.
- Mark position of track rod ball joint on track rod.
- Loosen nut -2- on track rod ball joint but do not remove completely.
- Push track rod off wheel bearing housing and remove nut.
- 1 Ball joint puller - T10187-
- Unscrew track rod ball joint from track rod.
Installing
Install in reverse order. During this procedure, observe the following:
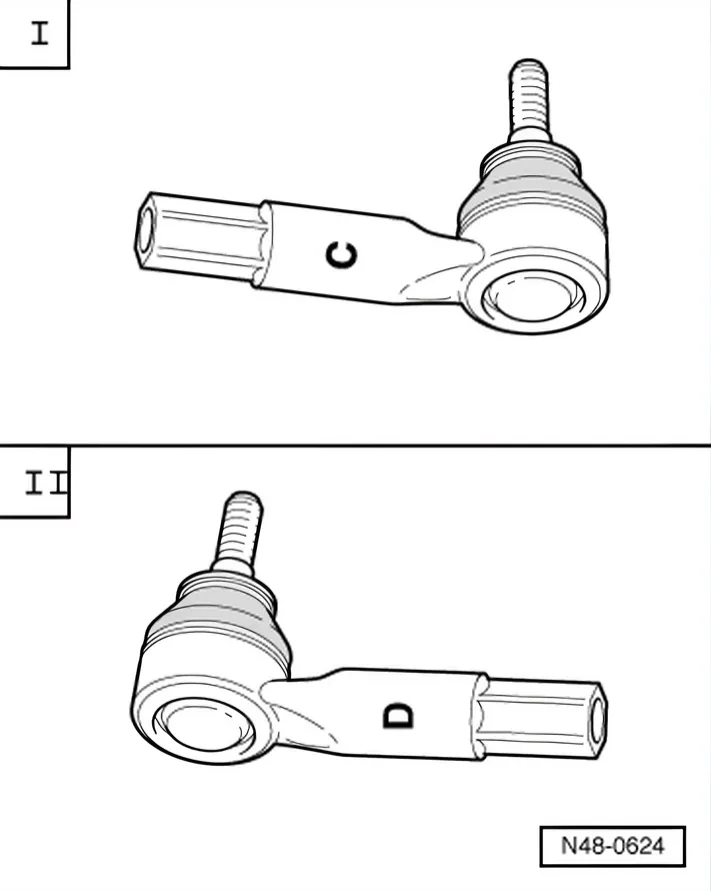
- Make sure that correct track rod ball joint is installed on each side.
I - Track rod ball joint on right marked “C”
II - Track rod ball joint on left marked “D”
- Screw track rod ball joint onto track rod as far as previously applied mark and secure with lock nut.
- Insert track rod ball joint into wheel bearing housing.
- Bolt track rod ball joint with new nut.
- Install wheels and tighten bolts or nuts ⇒ 1.5 Specified torques for wheel bolts.
- Check wheel alignment ⇒ 3 Wheel alignment.
Specified torques
| Component | Specified torque |
|---|---|
| Track rod ball joint to wheel bearing housing ♦ Use a new nut. | 20 Nm +90° |
| Track rod lock nut | 70 Nm |