
Body repairs – exterior · Exterior equipment · Mouldings, trims, extensions
Removing and installing rear wheel arch trim
Special tools and workshop equipment required
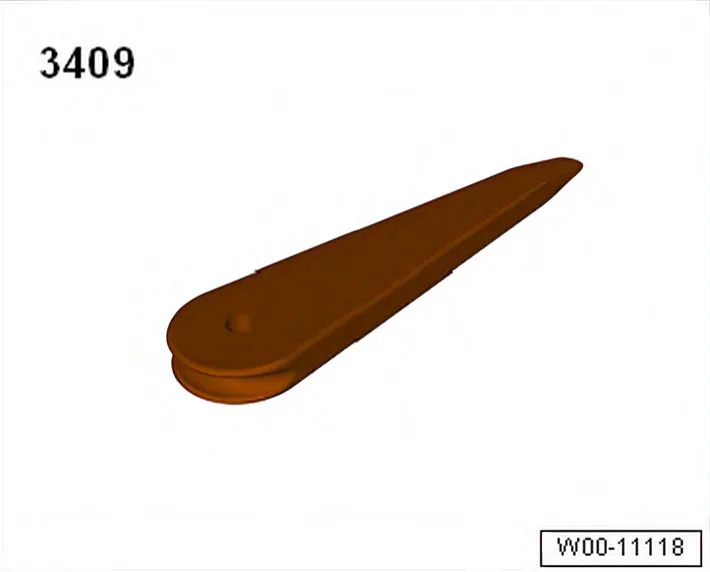
- Removal wedge - 3409-

- Hot-air blower - V.A.G 1416-
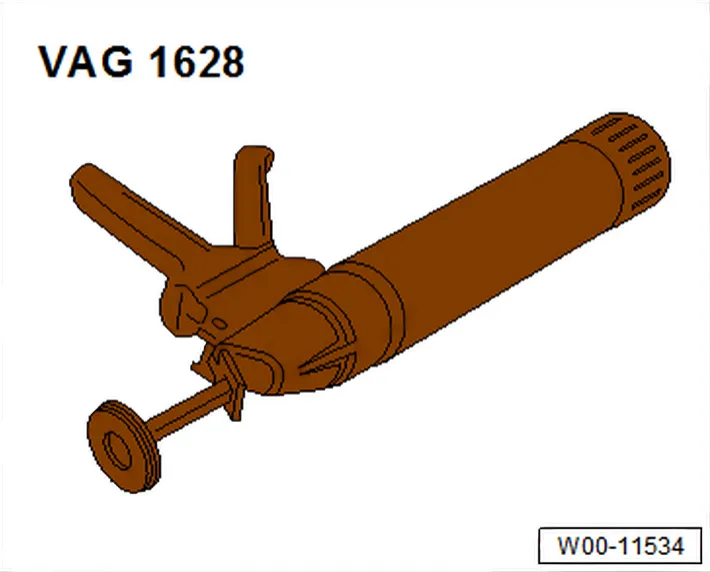
- Hand-cartridge gun - V.A.G 1628-
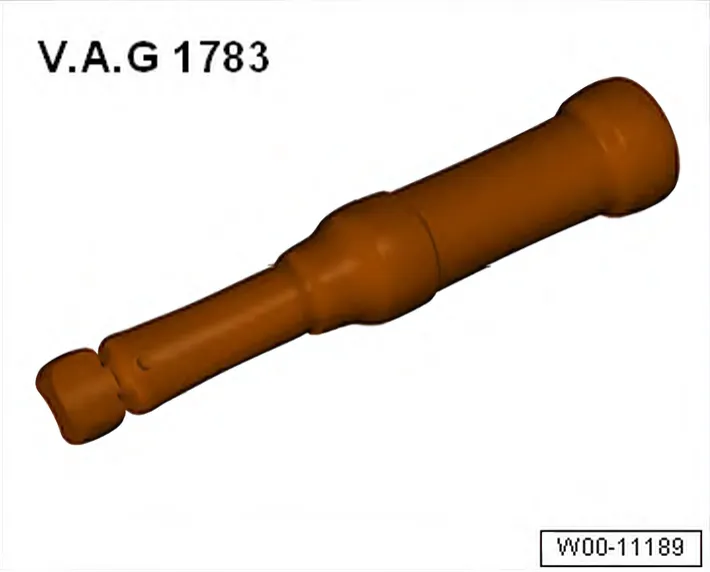
- Torque wrench - V.A.G 1783-
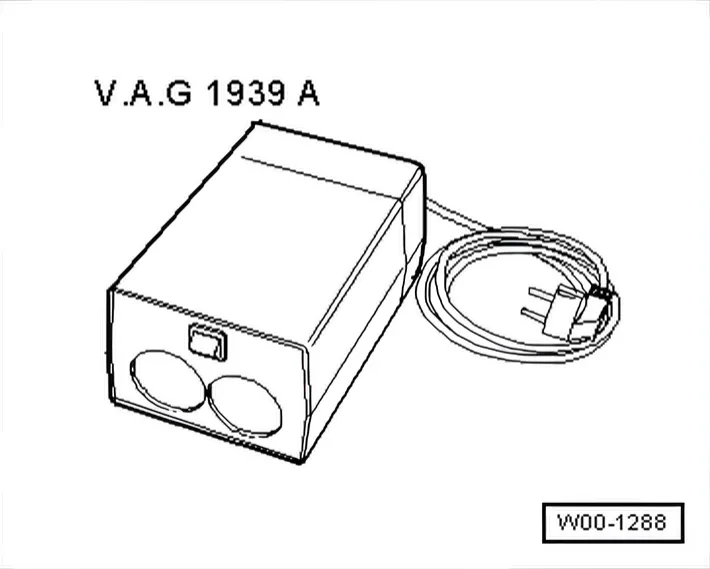
- Cartridge heater - V.A.G 1939A-
Materials
1) Observe instructions for use on the information sheet provided by the manufacturer.
2) Observe minimum curing period ⇒ 10.1.5 Minimum curing period for bonded addon parts.
3) Heat according to manufacturer's instructions, using cartridge heater - V.A.G 1939A-.
4) The part numbers of the materials can be found in ⇒ ETKA.
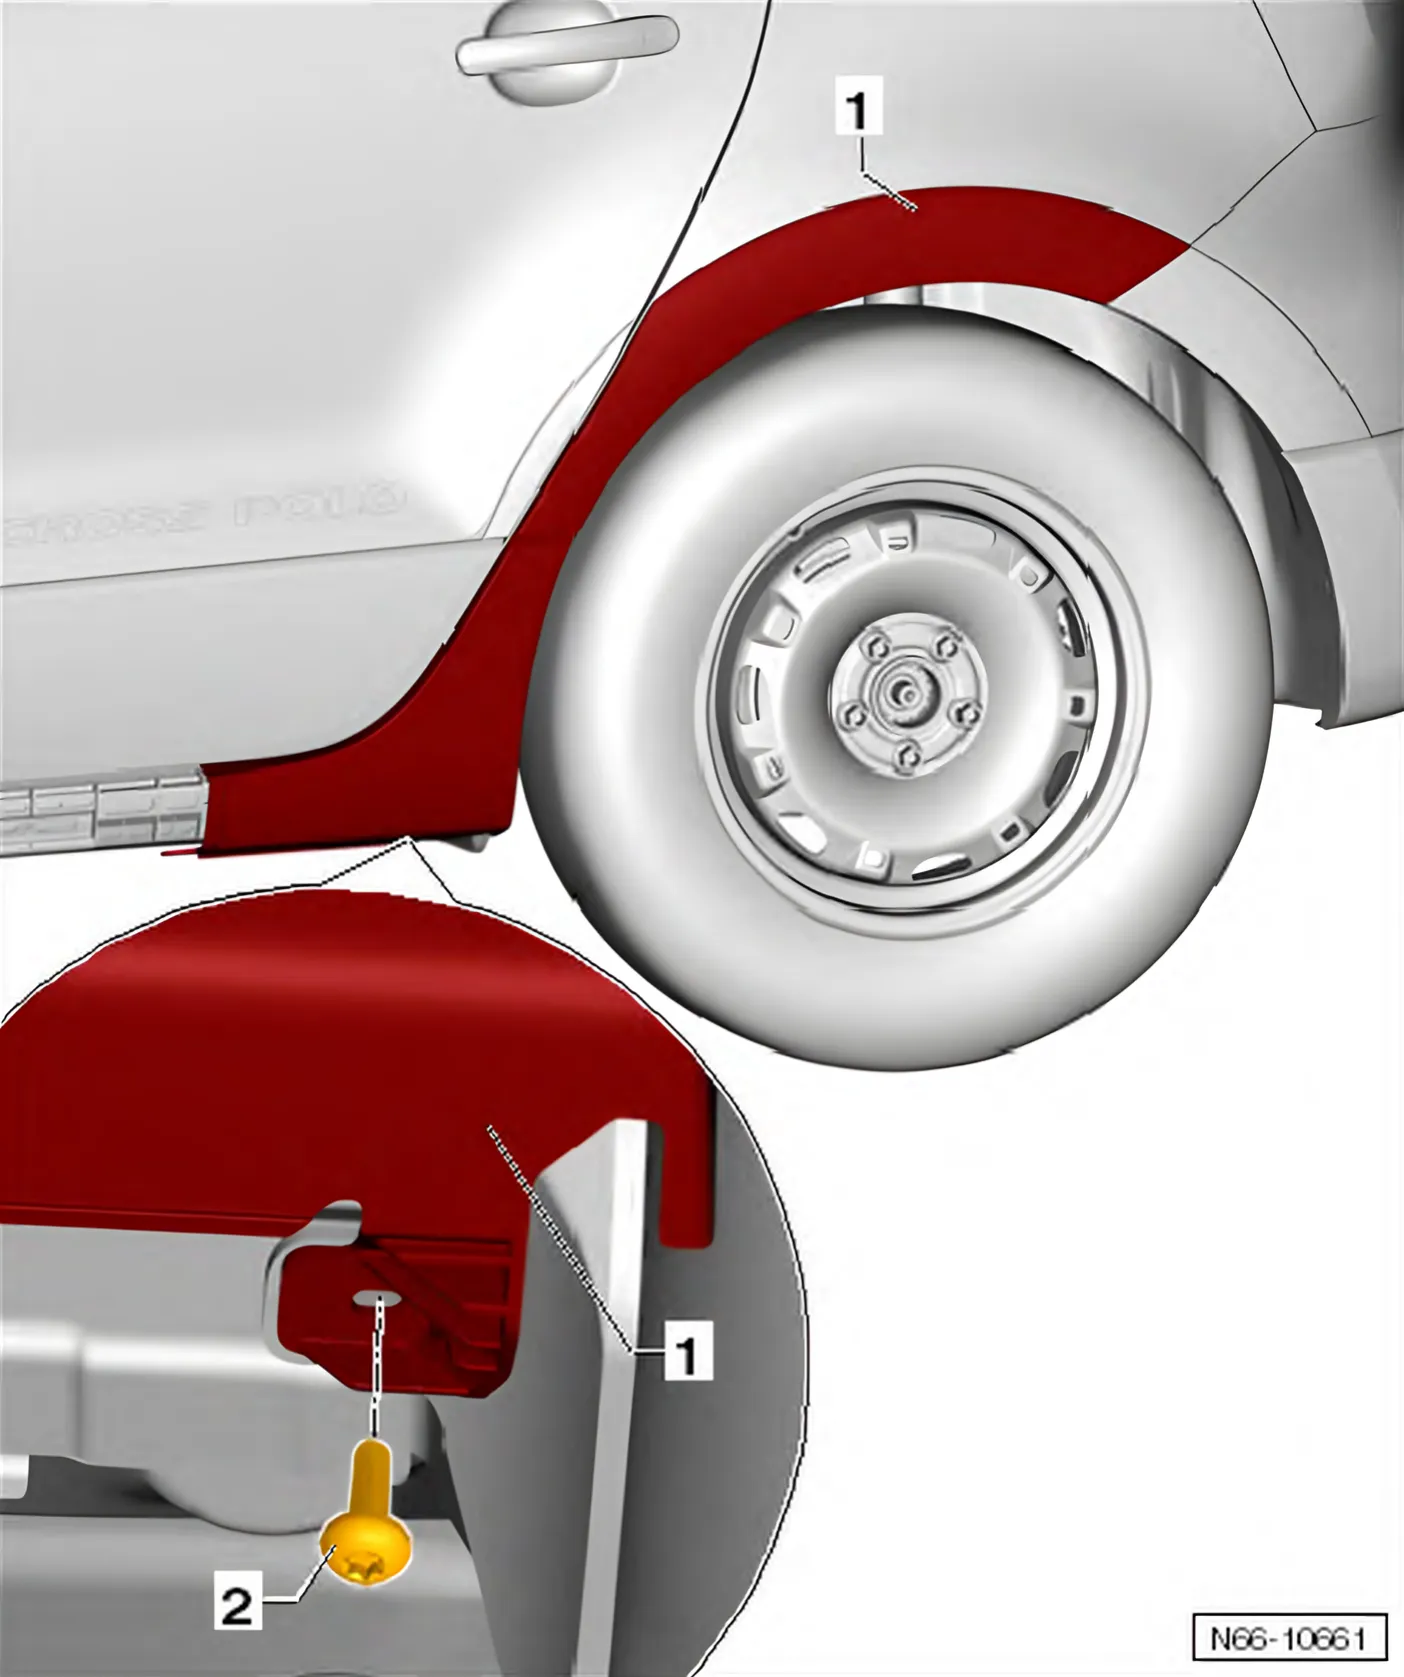
Removing
- Removing side member extension ⇒ 3.9.2 Removing and installing side member trim, Cross Polo.
- Tape over all adjacent painted surfaces.
- Unscrew bolt -2-.
- Warm rear wheel housing trim -1- using the hot air blower - V.A.G 1416-.
- Raise a corner of rear wheel housing trim -1- using removal wedge - 3409-.
- Grasp the corner, and pull rear wheel housing trim -1- off wing.
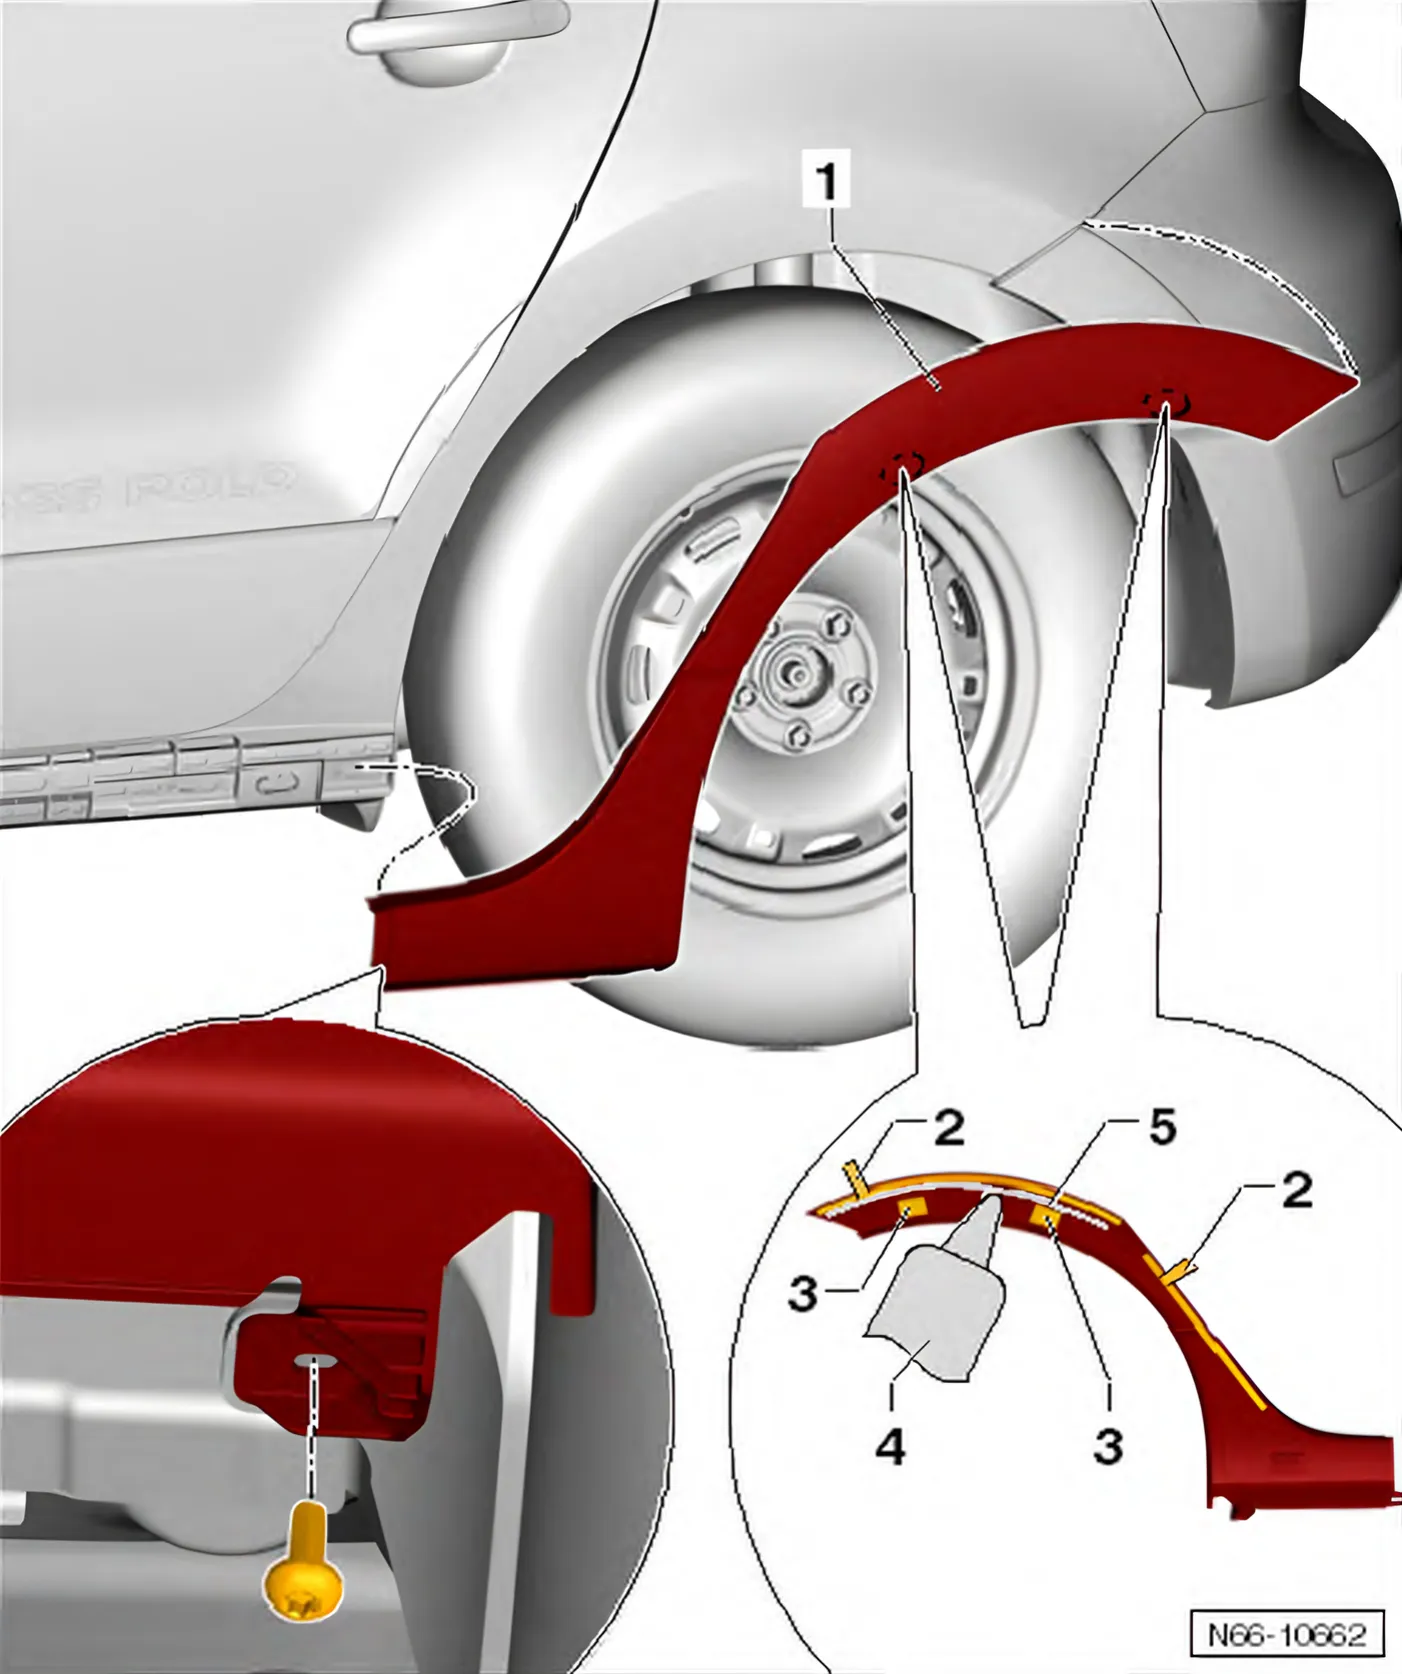
Installing
- Repair instructions ⇒ 10.1 Repair instructions
- Apply 1-component glass adhesive - DH 009 100 A2- to bonding area -5-, using cartridge gun - V.A.G 1628-.
- Adhesive bead: length = approx. 200 mm, width = 6 mm, height = approx. 6 mm
- Insert front wheel housing trim -1- into retaining strip, and clip it in place.
- Align rear wheel housing trim -1- and pull protective foil -2- from rear wheel housing trim -1- and press on in one direction.
- Tighten bolt 2 to specified torque of 2 Nm.
- Pull out removal aid -3-, and press on rear wheel housing trim -1-.
- Minimum curing period ⇒ 10.1.5 Minimum curing period for bonded addon parts