
Body repairs – exterior · Sunroof · Sliding sunroof
Removing and installing sliding sunroof frame
⇒ 1.5.3 Cleaning in the event of dirt caused by adhesive sealant
⇒ 1.5.4 Touching up paint damage
⇒ 1.5.6 Preparing body flange for bonding
⇒ 1.5.7 Preparing sliding sunroof frame for installation
⇒ 1.5.8 Removing and installing sliding sunroof frame
1.5.1 Minimum curing period
2-pack window adhesive
The minimum curing period for the 2-pack window adhesive is 3 hours.
The minimum curing period is the time from bonding the windscreen in until the vehicle may be used. During this time, the vehicle must be standing on a level surface at room temperature (at least 15°C).
1-pack window adhesive
The minimum curing period for the 1-pack window adhesive is 24 hours.
The minimum curing period is the time from bonding the front trim in until the vehicle may be used. During this time, the vehicle must be standing on a level surface at room temperature (at least 15° C).
1.5.2 Fitting instructions
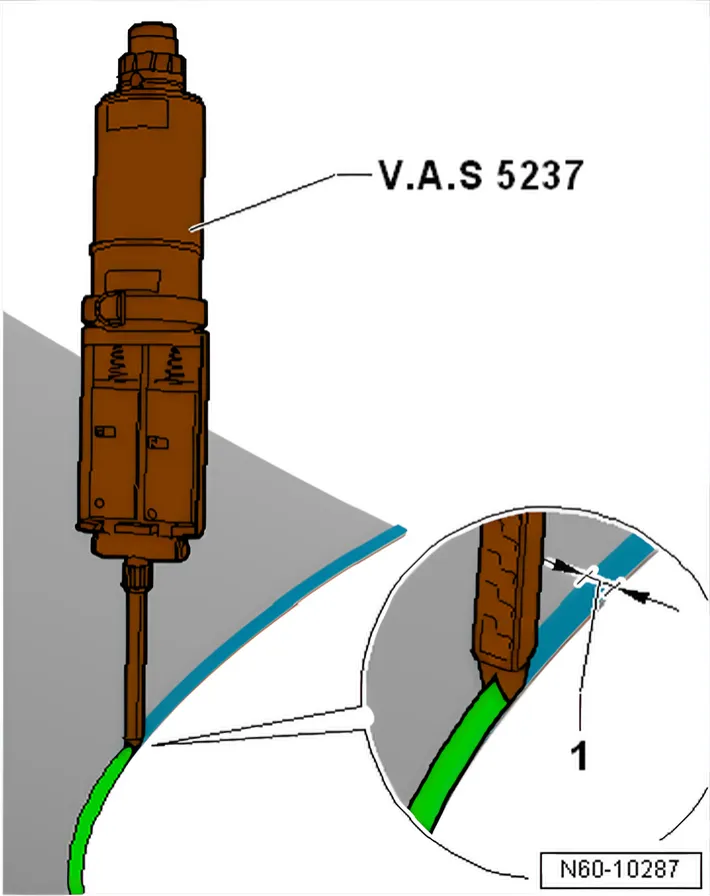
- Apply adhesive sealing material in continuous bead, holding applicator at right angle to frame.
1.5.3 Cleaning in the event of dirt caused by adhesive sealant
- Adhesive remover works well as a cleaning solution. Safety precautions must be observe for all work procedures.
- First, clean the painted surface roughly with a lint-free cloth. Remove residue using adhesive remover.
- Cleaning plastic trim: Allow adhesive sealant to cure (approx. 1 hour) and then peel off.
1.5.4 Touching up paint damage
If paintwork is damaged, paint structure must be restored according to specifications in “Paint” workshop manual.
1.5.5 Materials
3) Observe manufacturer's instructions enclosed in the packaging.
4) Observe minimum curing period ⇒ 1.5.1 Minimum curing period.
5) Double cartridge gun - VAS 5237- must be used to apply these materials.
6) Cutting cords can be used alternatively to cutting wires, and vice versa. They are designated for single use.
1.5.6 Preparing body flange for bonding
- Cut back residual adhesive sealant to 1 to 2 m shortly before bonding window back in.
- When doing this, take care not to damage the primer layer.
- Keep bonding surface free of dirt and grease.
- Do not treat bonding surface with activator, glass/paint primer or cleaning solution immediately after cutting back.
- The remaining material is required as a base for better adhesion of the new adhesive sealing material to be applied.
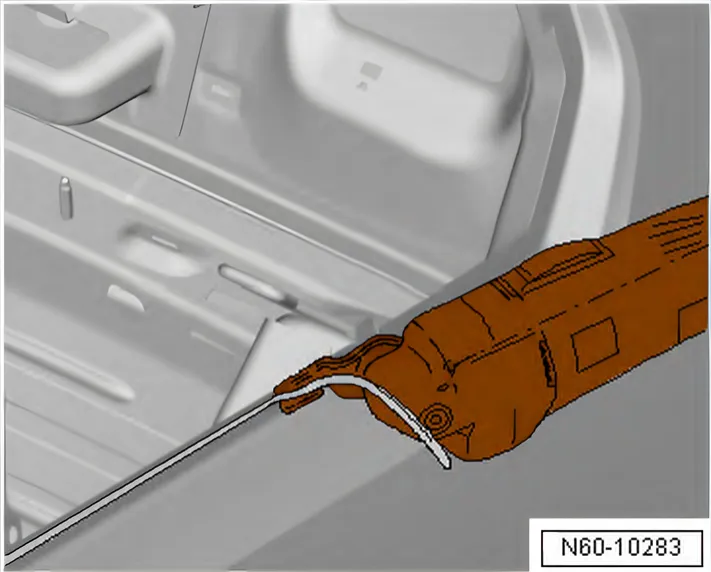
- Cut back remaining material on body flange with U-shaped blade - V.A.G 1561/3-, but do not remove completely.
Exception: If bonding is not performed immediately after cutting back, the remaining residual material must be activated with activator.
- Apply activator evenly in one stroke using applicator.
1.5.7 Preparing sliding sunroof frame for installation
Work to be carried out on a new sliding sunroof frame:
Clean bonding surface -3- thoroughly, using cleaning solution.
- Lightly key the bonding surface -3- with fine emery paper.
- Clean around bonding surface -3- using cleaning solution.
- Then rub primer/bonding surfaces -3- using a lint-free cloth.

- Using applicator -2-, apply primer evenly in one pass.
Drying time for primer is 10 minutes.
Work to be carried out on a cut out sliding sunroof frame:

- Cut back residual adhesive sealant to 1 to 2 m shortly before bonding window back in.
- When doing this, take care not to damage the primer layer.
- Do not treat bonding surface with activator, glass/paint primer or cleaning solution immediately after cutting back.
- The remaining material is required as a base for better adhesion of the new adhesive sealing material to be applied.
- Cut back remaining material using scraper set - VAS 861 005- but do not remove completely.
- Exception: if bonding is performed later than one day after cutting back adhesive bead, the remaining residual material must be activated with activator.
- Apply activator evenly in one stroke using applicator.
1.5.8 Removing and installing sliding sunroof frame
Special tools and workshop equipment required
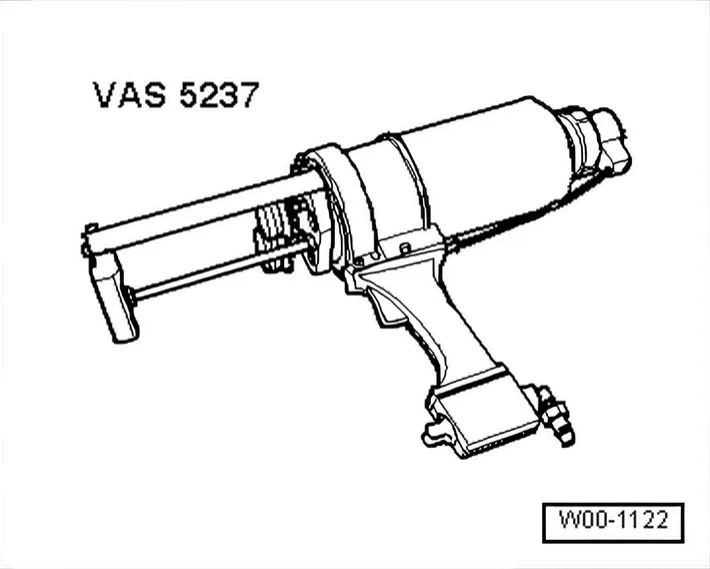
- Double cartridge gun - VAS 5237-
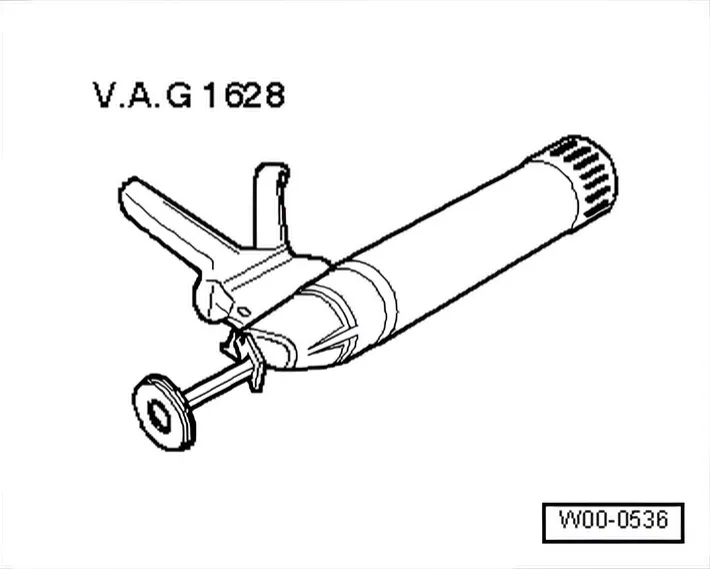
- Hand-cartridge gun - V.A.G 1628-
- Electric cutter - V.A.G 1561A-
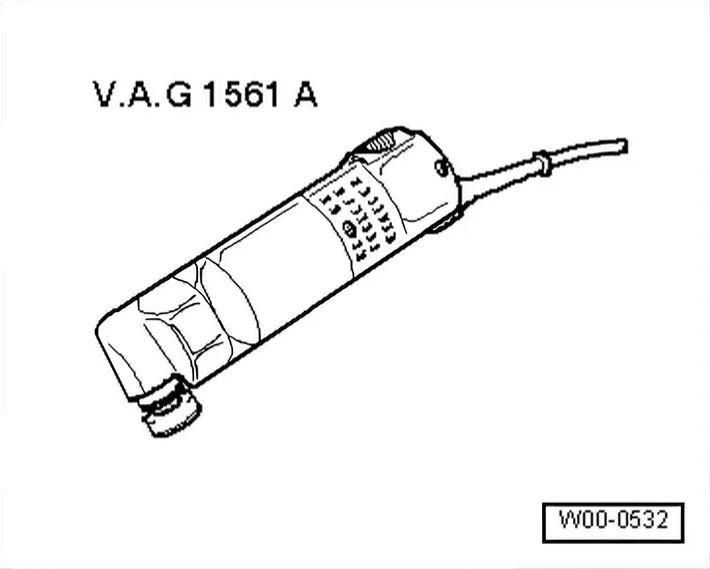
- Saw blade, 80 mm in diameter - V.A.G 1561/26-
- Either removal kit for flush bonded windows - V.A.G 1474 A-
- Or window removal set - VAS 6888-.
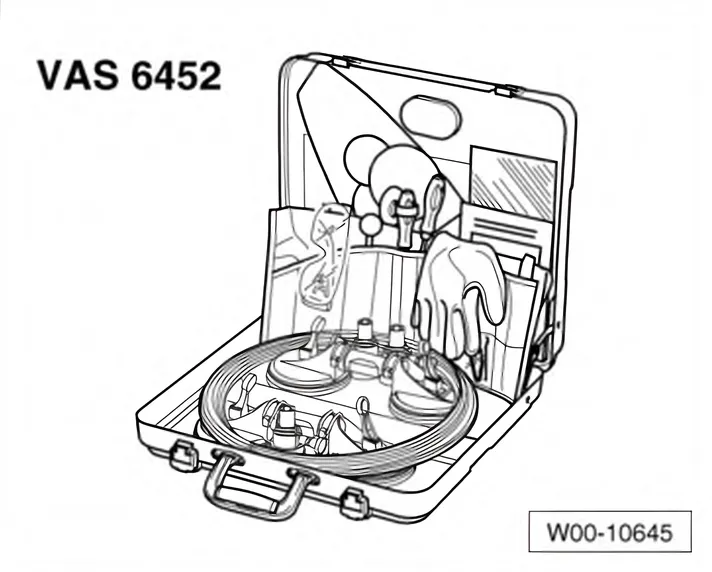
- Or wire reel - VAS 6452/1-.
- Scraper set - VAS 861 005-
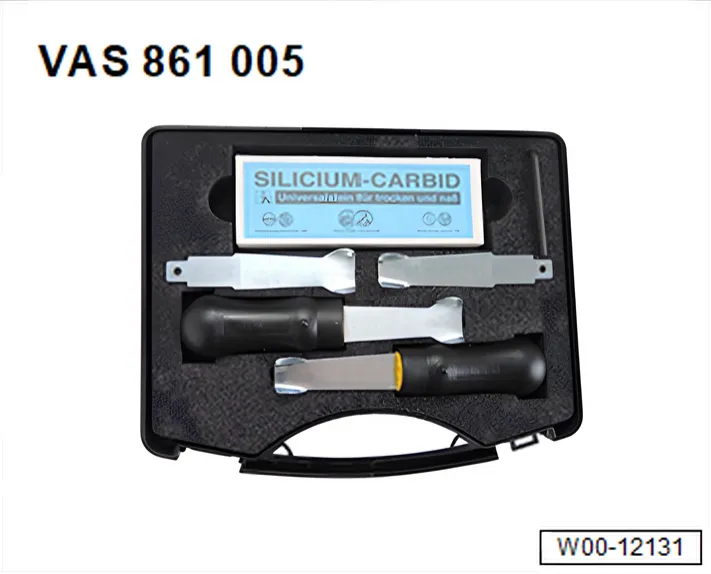
- Or scraper set - VAS 852 005-
Special tools and workshop equipment required
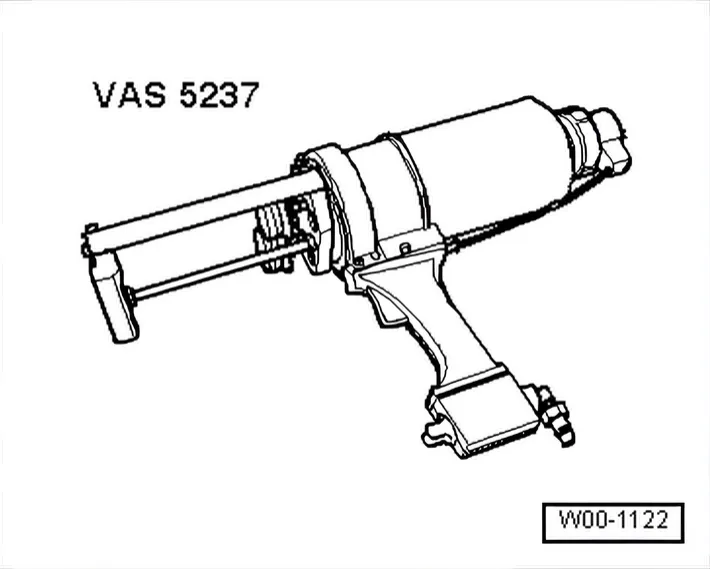
- Double cartridge gun - VAS 5237-
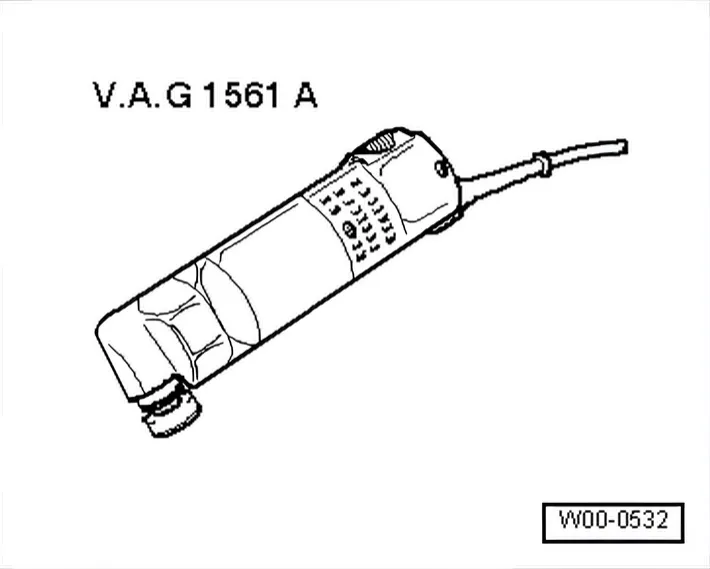
- Electric cutter - V.A.G 1561A-

- Blade (L-shape 19 mm) - V.A.G 1561/21-
Removing

- Remove glass panel ⇒ 1.7 Removing and installing glass panel.
- Remove moulded headliner ⇒ General body repairs, interior; Rep. gr. 70; Roof trims; Removing and installing moulded headliner.
- Remove front trim ⇒ 1.11.7 Removing and installing front trim for sliding sunroof.
- Mask off any surrounding components such as the roof edge -3- in order to protect them from being damaged.
- Stick electric cutter - V.A.G 1561A- with blade (L-shaped, 19 mm) - V.A.G 1561/21- into rear adhesive bead -2-.
- Cut through adhesive bead -2- at right angle -arrow a- and sideways up to front -arrow b-.
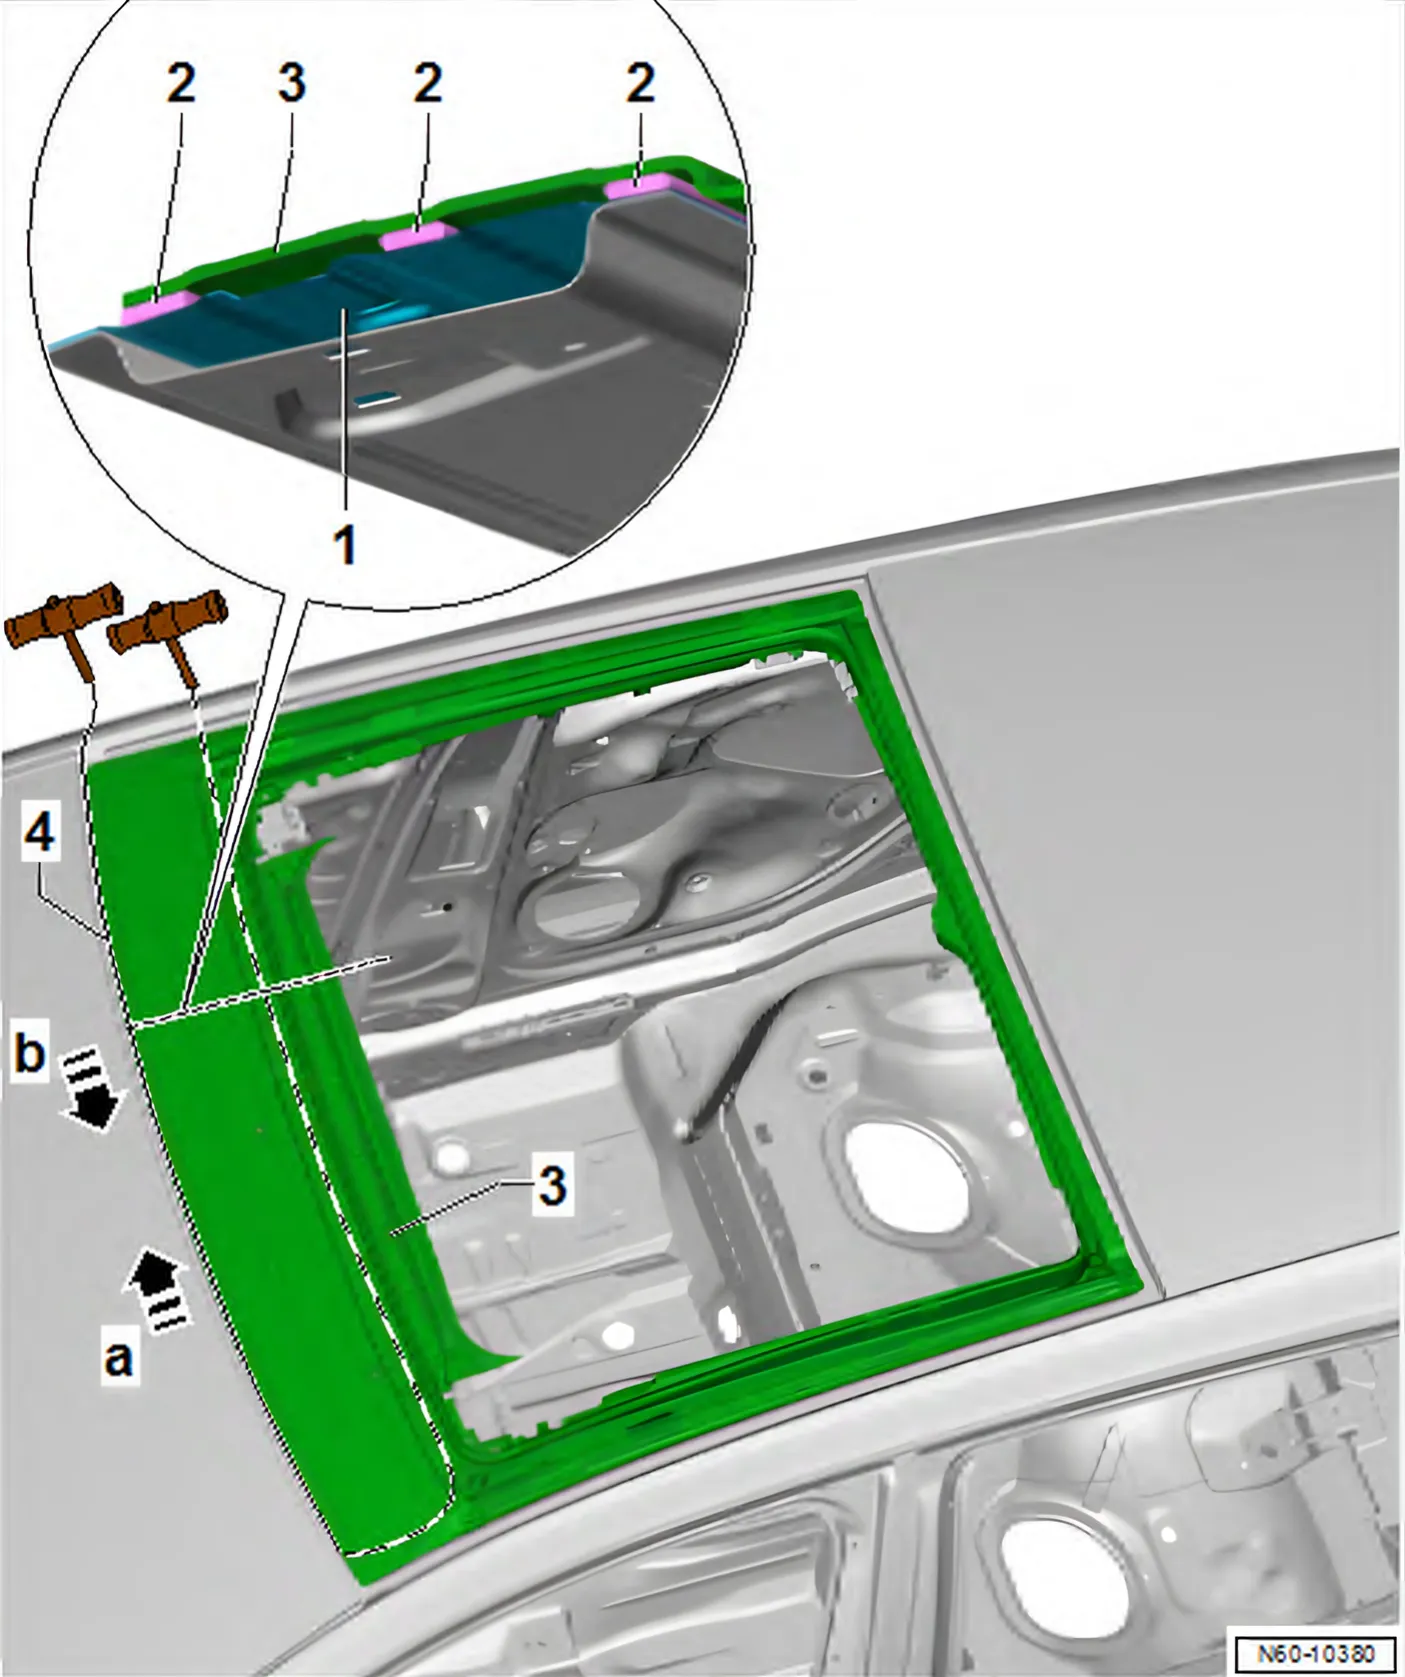
- Secure a handle from windscreen removal kit - V.A.G 1755- to each end of the cord.
The cutting of the adhesive bead -2- is only possible with the help of a second mechanic.
- One person pulls from the outside, the other pulls from the inside.
- Adhesive bead -2- must be cut through, starting sideways -arrow a- as far as middle of roof cross member -1-.
- Move cord to other side.
- Starting at side -arrow b-, cut through adhesive bead on roof cross member at front.
- Remove assembly frame -3-.
Installing

- Prepare body flange for installation of sliding sunroof frame ⇒ 1.5.6 Preparing body flange for bonding.
- Prepare new sliding sunroof frame -1- for installation ⇒ 1.5.7 Preparing sliding sunroof frame for installation.
- Prepare cut out sliding sunroof frame -1- for installation ⇒ 1.5.7 Preparing sliding sunroof frame for installation.
- Installation instructions
- The glass panel -1- has been built into the frame -4-.
- Sliding sunroof frame can also be installed without height stops -3-.
- Apply 2-component glass adhesive. Dimensions for adhesive bead -5-: width = 12 mm; height = 10 mm

- Insert frame together with glass panel into roof aperture.
New sliding sunroof frame
- The centring pin -3- aligns frame within aperture.
- Press frame downwards as far as the stops, check height setting in relation to roof ⇒ 1.9 Adjusting glass panel.
Existing sliding sunroof frame
- As the centring lug no longer exists, the frame is aligned in relation to the roof aperture -2-.
- Press frame downwards as far as the stops, check height setting in relation to roof ⇒ 1.9 Adjusting glass panel.
- Observe minimum curing period ⇒ 1.5.1 Minimum curing period.