
Body repairs – exterior · Sunroof · Sliding sunroof
Removing and installing front trim for sliding sunroof
⇒ 1.11.1 Minimum curing period
⇒ 1.11.3 Cleaning in the event of dirt caused by adhesive sealant
⇒ 1.11.5 Preparing front trim for installation
⇒ 1.11.6 Preparing sliding sunroof frame for installation of front trim
⇒ 1.11.7 Removing and installing front trim for sliding sunroof
1.11.1 Minimum curing period
2-pack window adhesive
The minimum curing period for the 2-pack window adhesive is 3 hours.
The minimum curing period is the time from bonding the windscreen in until the vehicle may be used. During this time, the vehicle must be standing on a level surface at room temperature (at least 15°C).
1-pack window adhesive
The minimum curing period for the 1-pack window adhesive is 24 hours.
The minimum curing period is the time from bonding the front trim in until the vehicle may be used. During this time, the vehicle must be standing on a level surface at room temperature (at least 15° C).
1.11.2 Fitting instructions
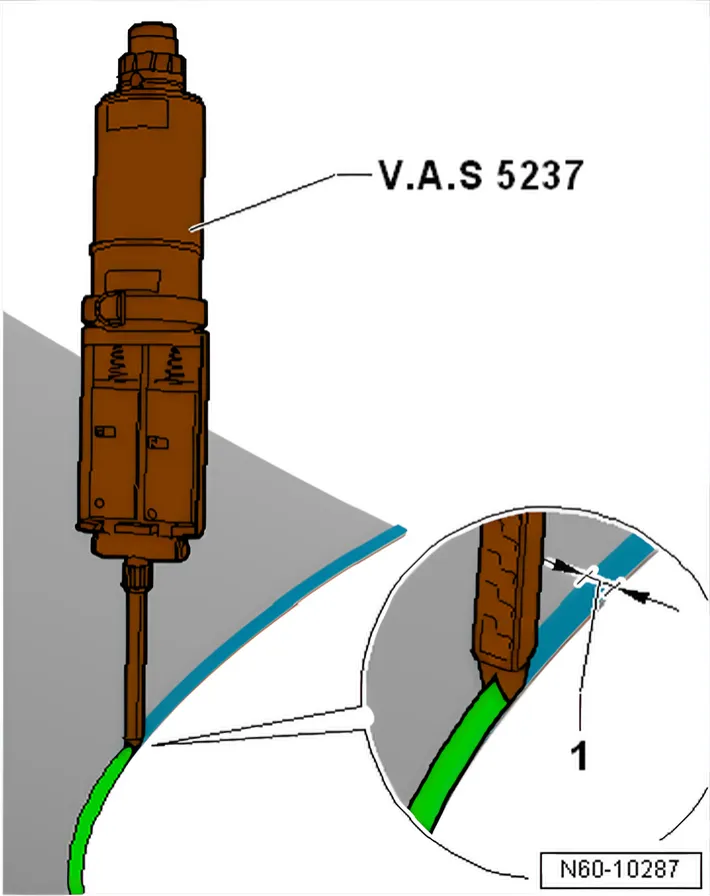
- Apply adhesive sealing material in continuous bead, holding applicator at right angle to front trim.
1.11.3 Cleaning in the event of dirt caused by adhesive sealant
- Adhesive remover works well as a cleaning solution. Safety precautions must be observe for all work procedures.
- First, clean the painted surface roughly with a lint-free cloth. Remove residue using adhesive remover.
- Cleaning plastic trim: Allow adhesive sealant to cure (approx. 1 hour) and then peel off.
1.11.4 Materials
- 1-pack assembly adhesive
- 2-pack win‐
dow adhesive
- Primer
7) 1
- Cleaning solution
7) 1
- Applicator
7) 1
- Adhesive remover
7) 1
- Cutting cord
10) 4
- Wire reel VAS
10) 4
6452/1
- Cutting cord
10) 4
6888/1
7) Observe manufacturer's instructions enclosed in the packaging.
8) Observe minimum curing period ⇒ 1.11.1 Minimum curing period.
9) Double cartridge gun - VAS 5237- must be used to apply these materials.
10) Cutting cords can be used alternatively to cutting wires, and vice versa. They are designated for single use.
1.11.5 Preparing front trim for installation
- Clean around primer/bonding surface -3- using cleaning solution.
- Then rub primer/bonding surfaces -3- using a lint-free cloth.
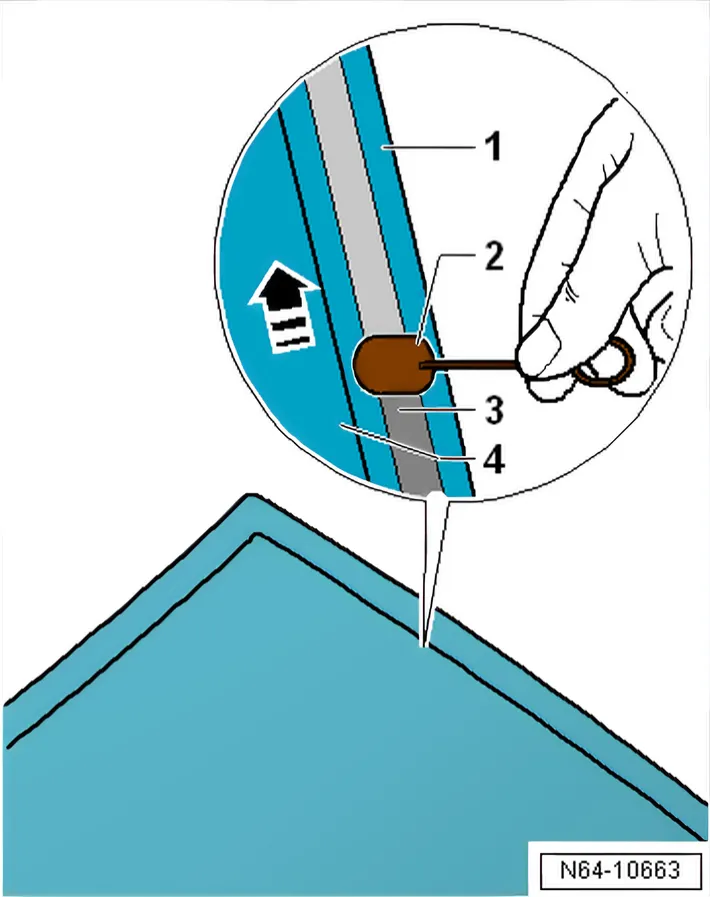
- Using applicator -2-, apply primer evenly in one pass.
- Allow to air dry for approx. 10 minutes.
1.11.6 Preparing sliding sunroof frame for installation of front trim
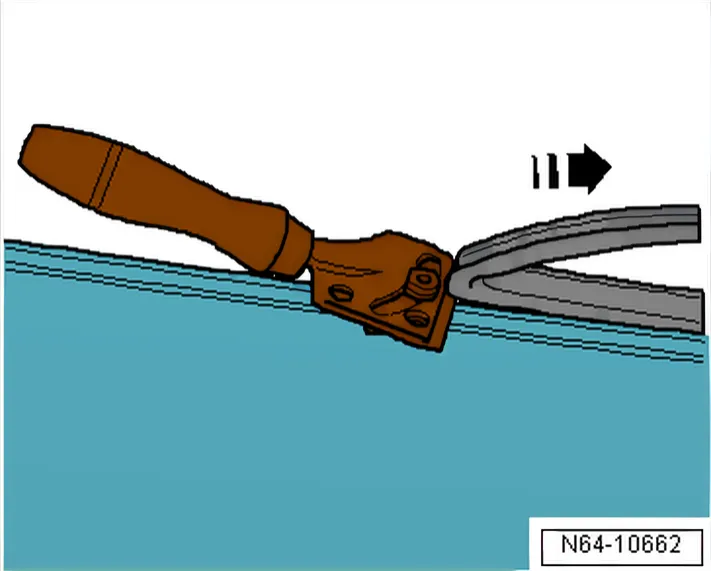
- Cut back residual adhesive sealant to 1 to 2 m shortly before bonding window back in.
- When doing this, take care not to damage the primer layer.
- Keep bonding surface free of dirt and grease.
- Do not treat bonding surface with activator, glass/paint primer or cleaning solution immediately after cutting back.
- The remaining material is required as a base for better adhesion of the new adhesive sealing material to be applied.
- Cut back remaining material using scraper set - VAS 861 005- but do not remove completely.
- Exception: if bonding is performed later than one day after cutting back adhesive bead, the remaining residual material must be activated with activator.
- Apply activator evenly in one stroke using applicator.
1.11.7 Removing and installing front trim for sliding sunroof
Special tools and workshop equipment required
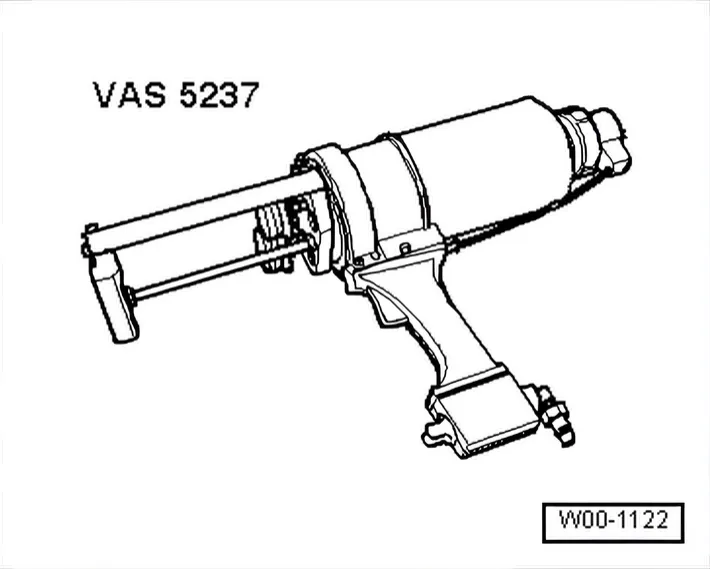
- Double cartridge gun - VAS 5237-
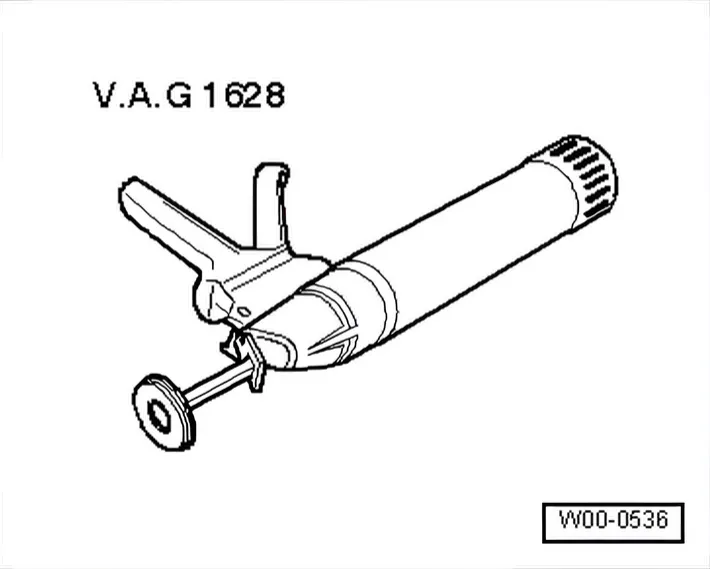
- Hand-cartridge gun - V.A.G 1628-
- Electric cutter - V.A.G 1561A-
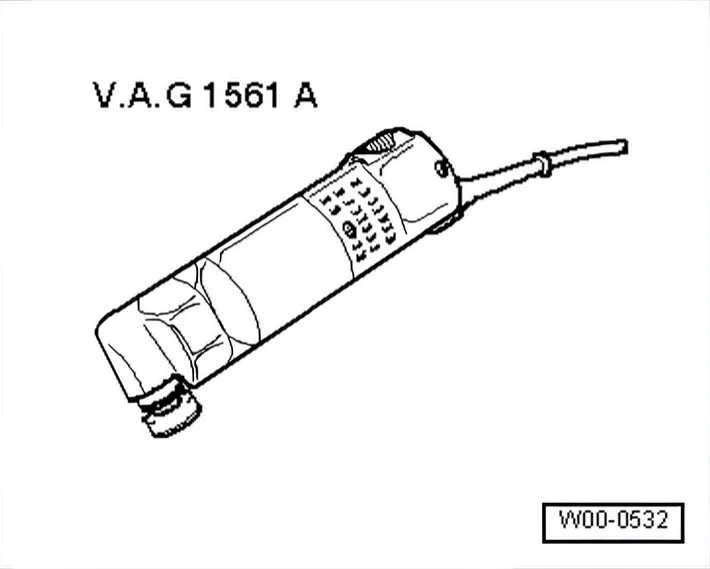
- Saw blade, 80 mm in diameter - V.A.G 1561/26-
- Either removal kit for flush bonded windows - V.A.G 1474 A-
- Or window removal set - VAS 6888-.
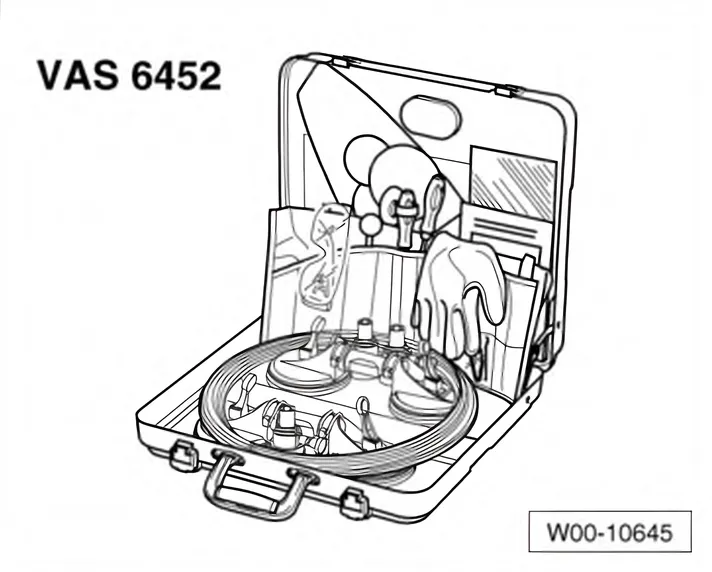
- Or wire reel - VAS 6452/1-.
- Scraper set - VAS 861 005-
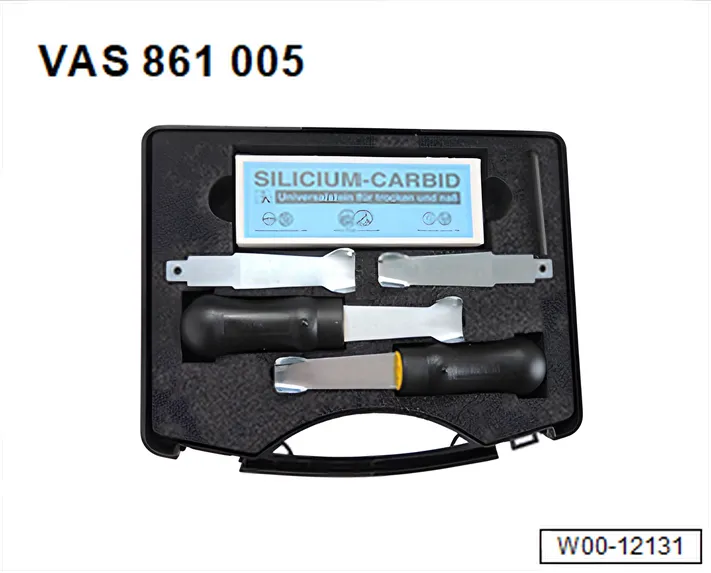
- Or scraper set - VAS 852 005-
Removing
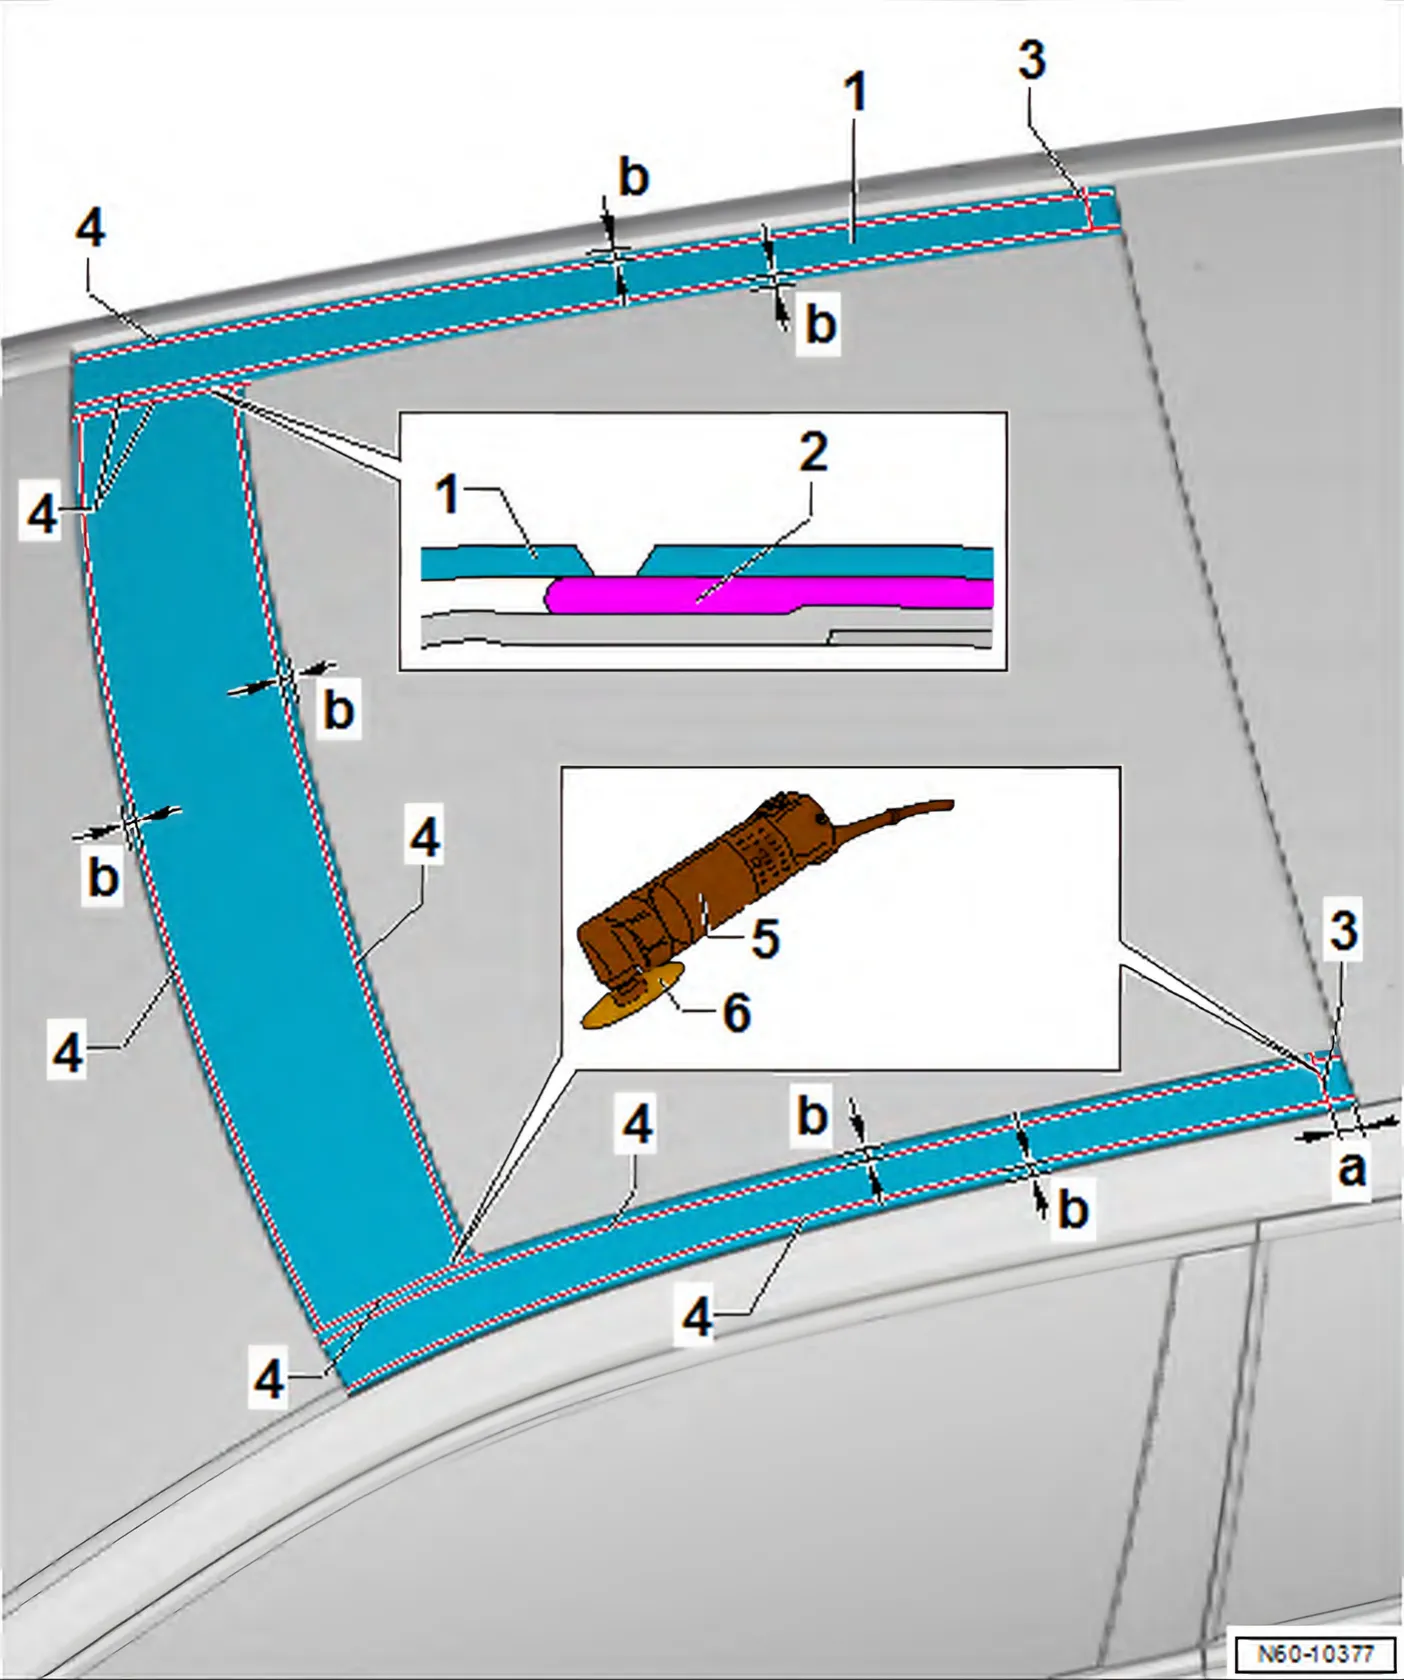
- Due to the small clearance between the front trim and the frame, make a cut with a max. depth of 5 mm only.
- If fitted, bond windscreen seal to windscreen, and press it on firmly.
- Draw a line on trim starting at distance -b- = 10 mm to edges.
- Draw a line on both sides of trim starting at distance -a- = 30 mm to rear edge.
- Draw a line along entire length of trim starting at distance -a- = 10 mm to inner edge.
- Using electric cutter - V.A.G 1561A- and saw blade, 63 mm in diameter - V.A.G 1561/25-, separate the front trim along the markings -3 and 4-.
- Make a cut with a width of approx. 5 mm along line -4- in front area on left and right to allow for insertion of cutting cord.
- With front trim edges removed, the adhesive beads of the trim are accessible.
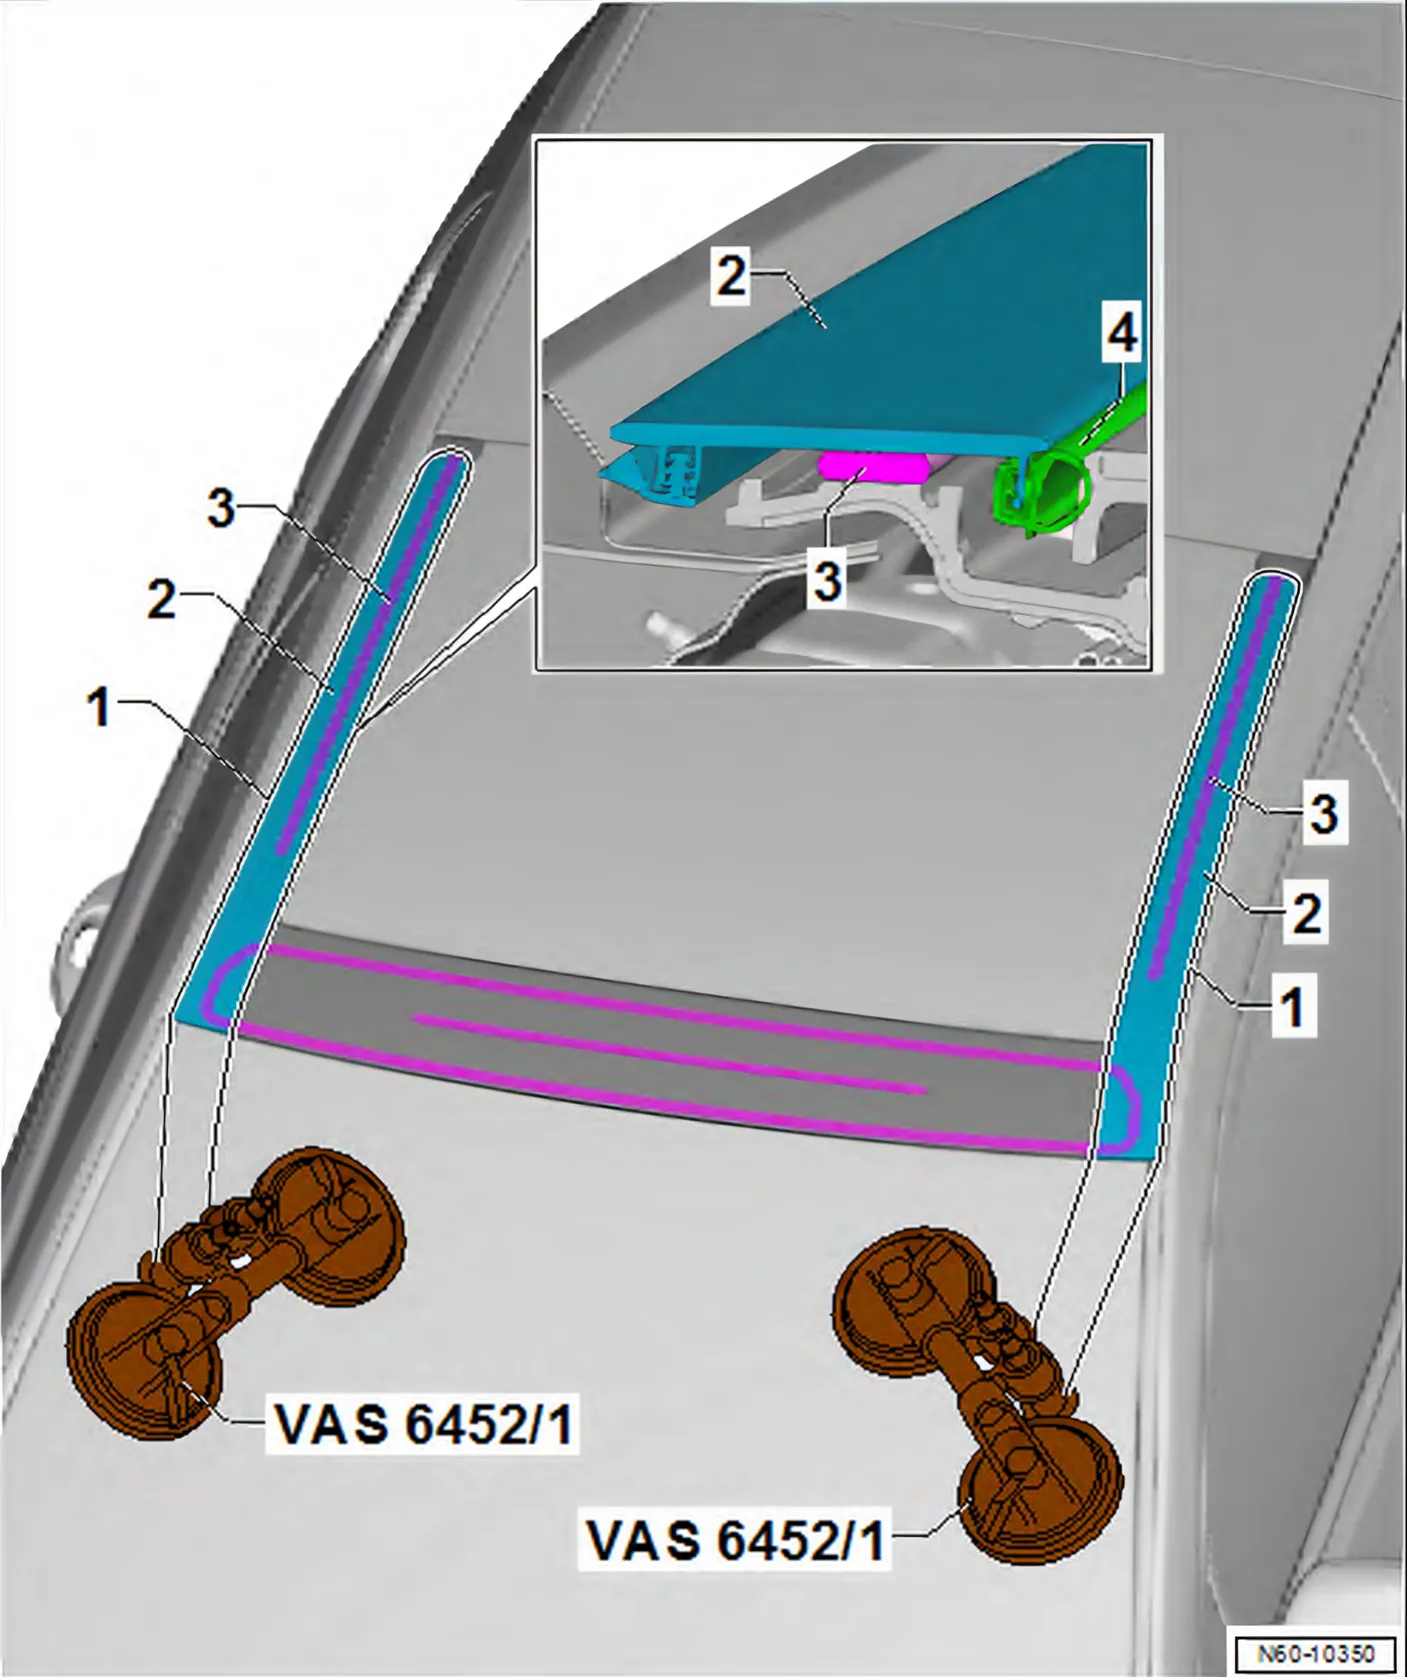
Seal -4- has been pulled off.
- Insert cutting cord -1- all round on one side, and secure it to wire reel - VAS 6452/1-.
- Cut through adhesive bead -3-, and remove part of front trim -2-.
- Fit wire reel - VAS 6452/1- on other side, and repeat the procedure.
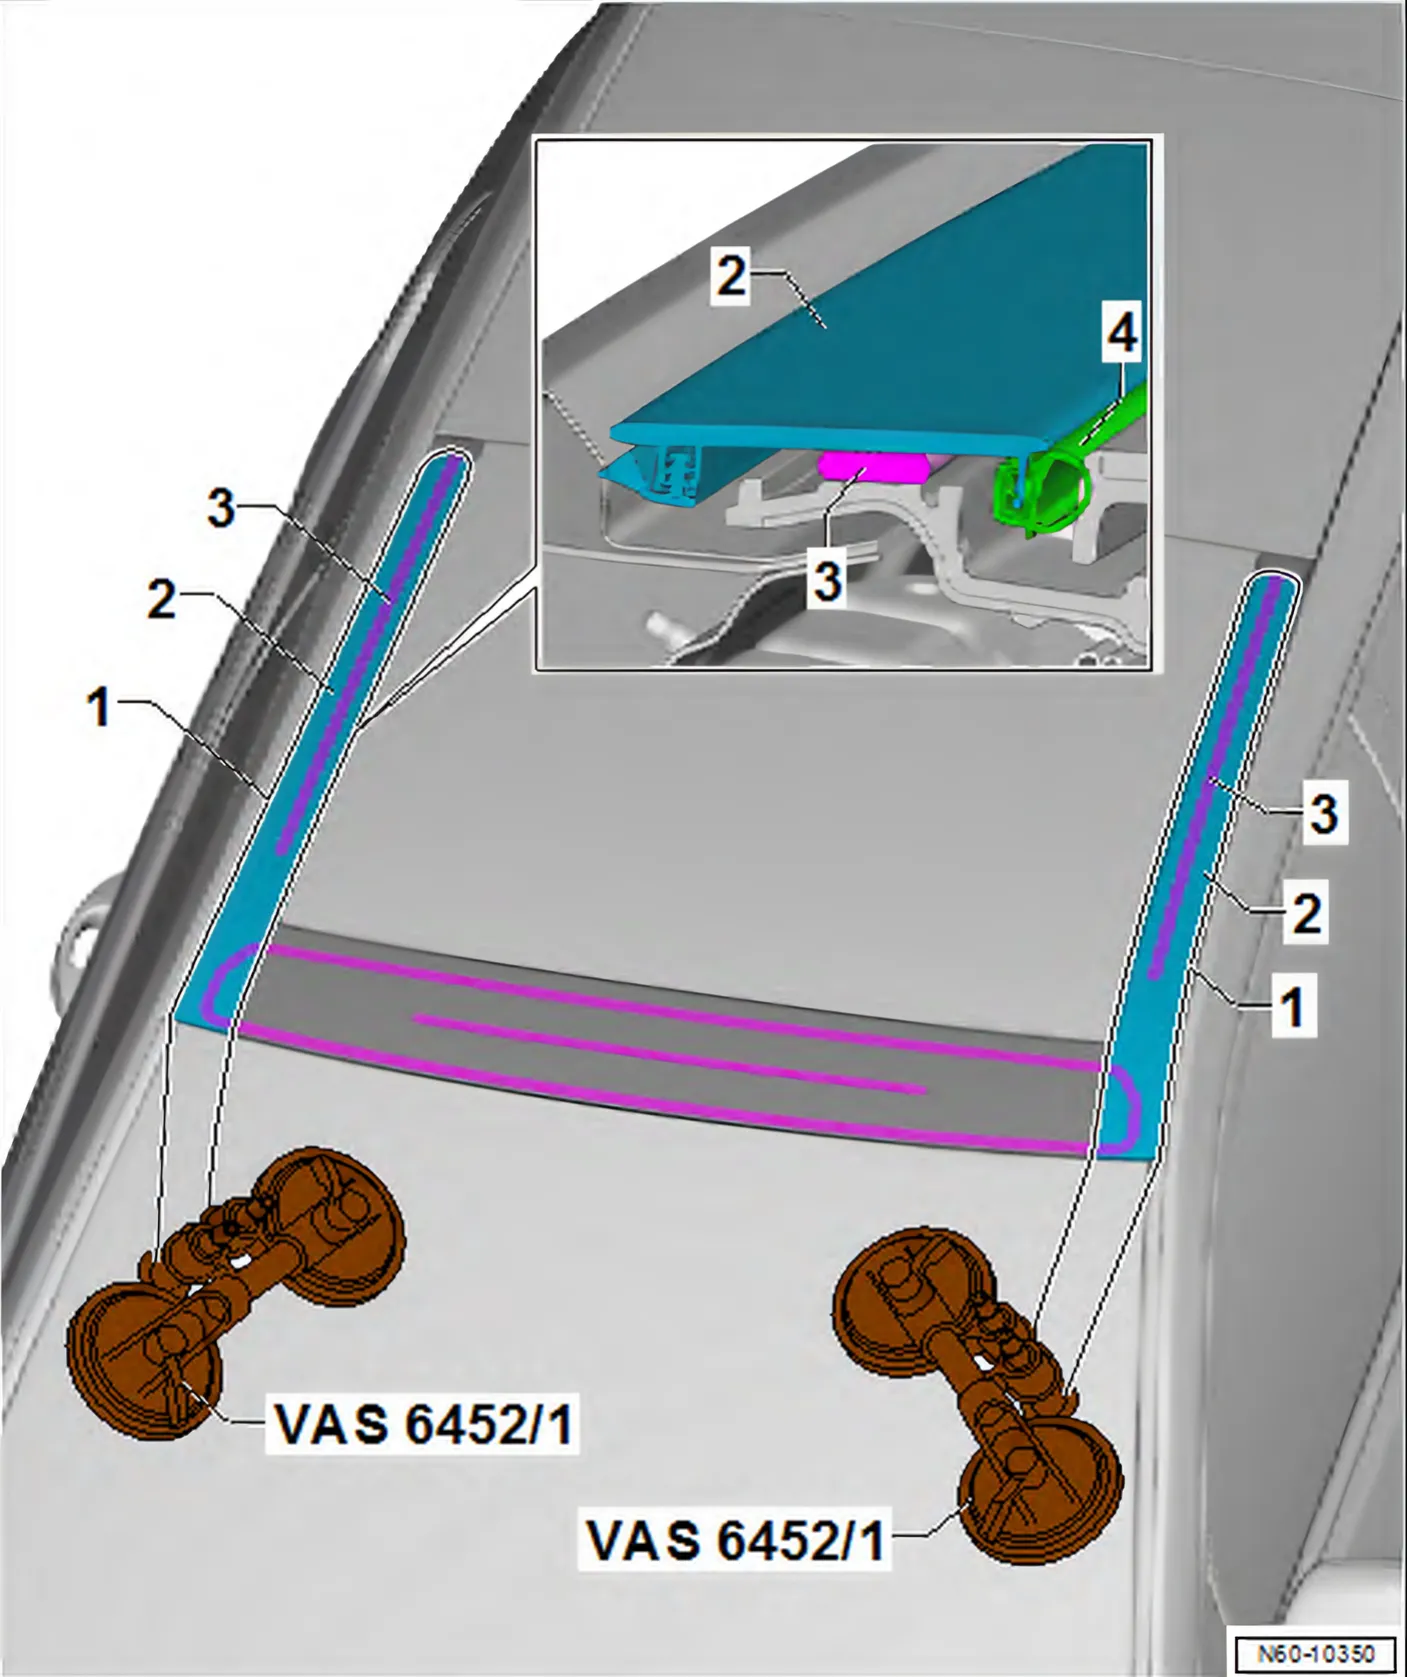
Seal -4- has been pulled off.
- Insert cutting cord -1- all round on one side, and secure it to wire reel - VAS 6452/1-.
- Cut through adhesive bead -3-, and remove part of front trim -2-.
- Fit wire reel - VAS 6452/1- on other side, and repeat the procedure.
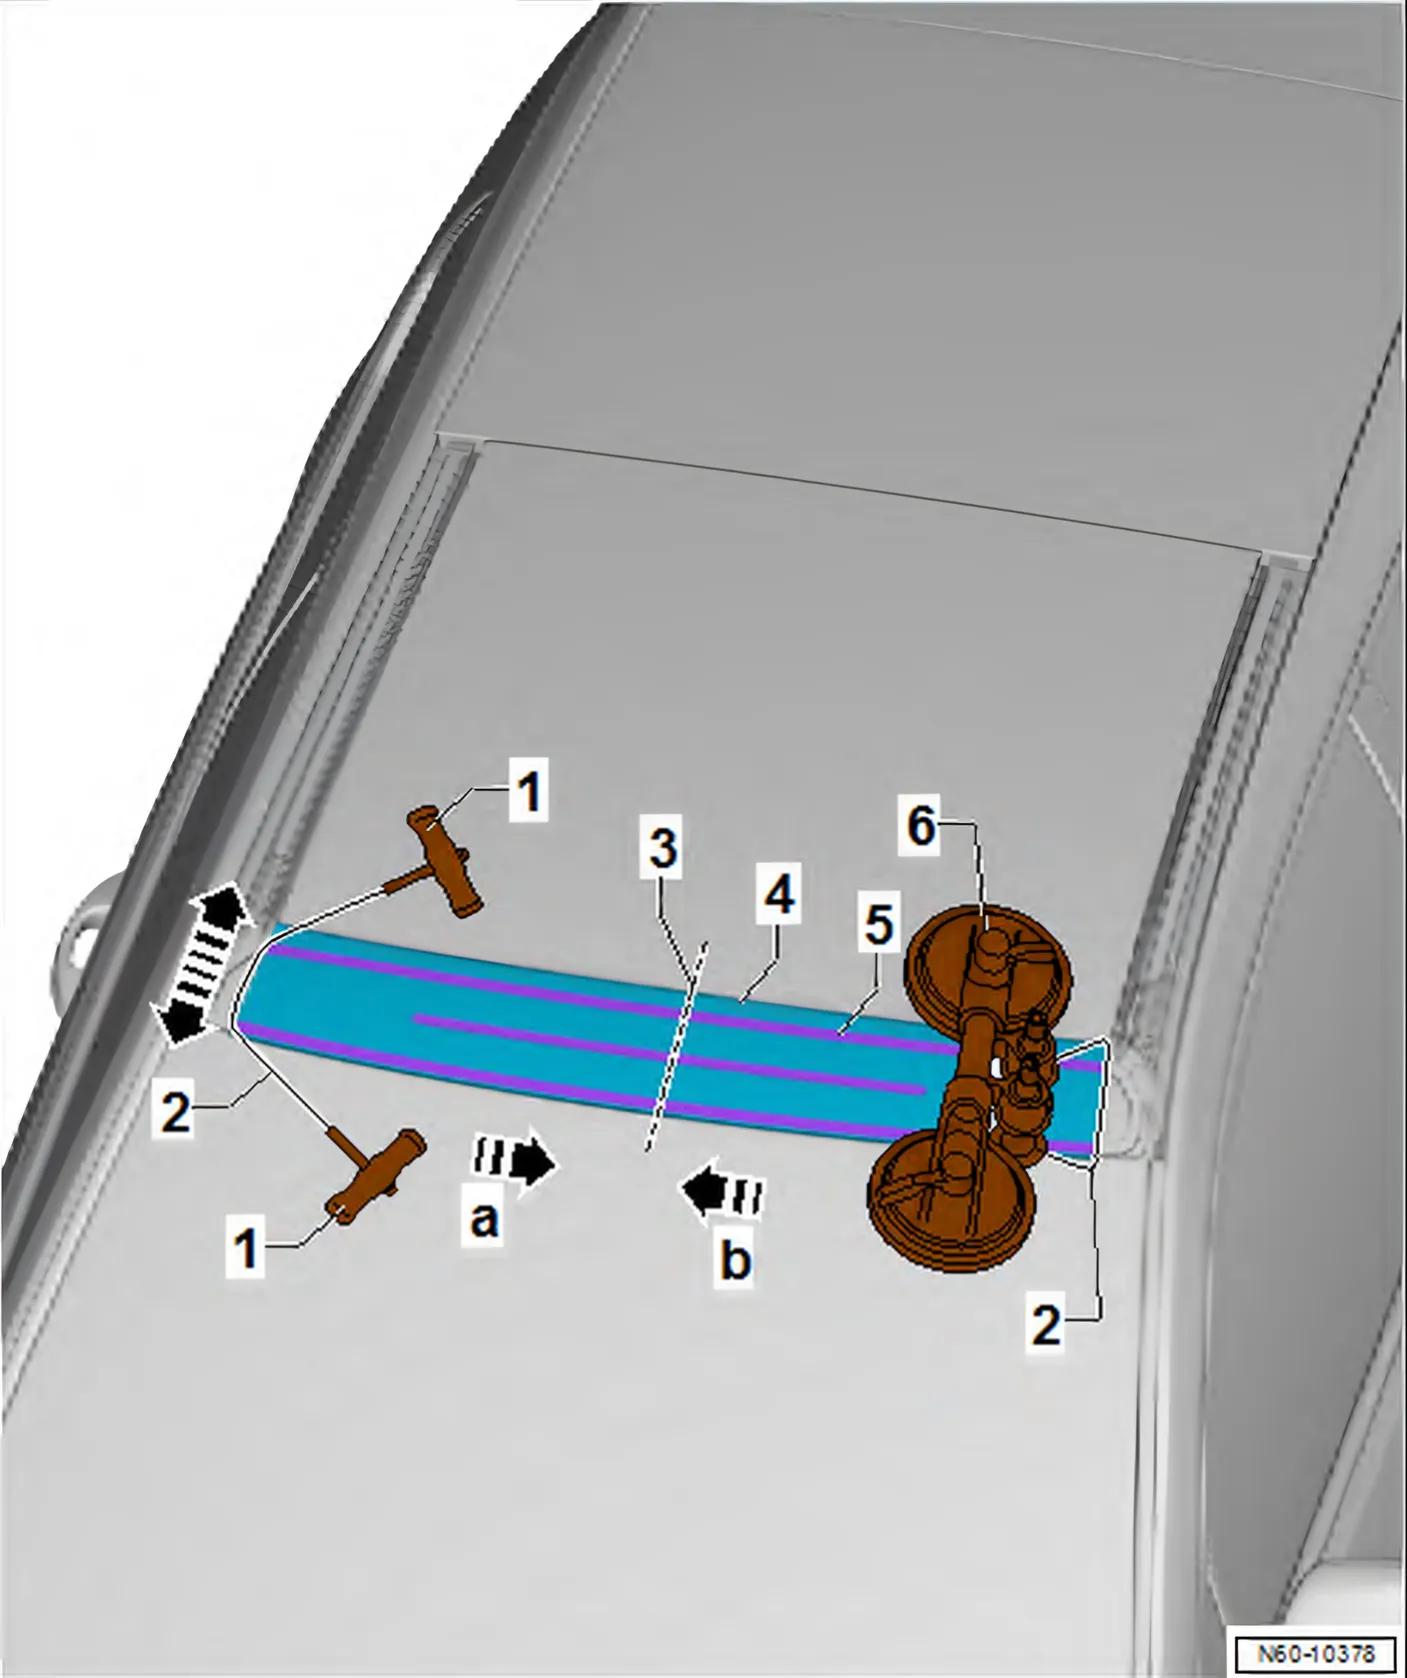
- Secure a handle -1- from window removal kit - V.A.G 1755- to each end of cord -2-.
The cutting of the adhesive bead is only possible with the help of a second mechanic.
- Or work is carried out e.g. with wire reel - VAS 6452/1- -6-.
- Now, cut through adhesive beads -5- on roof cross member at front as far as the middle -3- on one side.
- Then, cut through adhesive beads as far as the middle -3- on the other side.
- Remove front trim -4-.
Installing
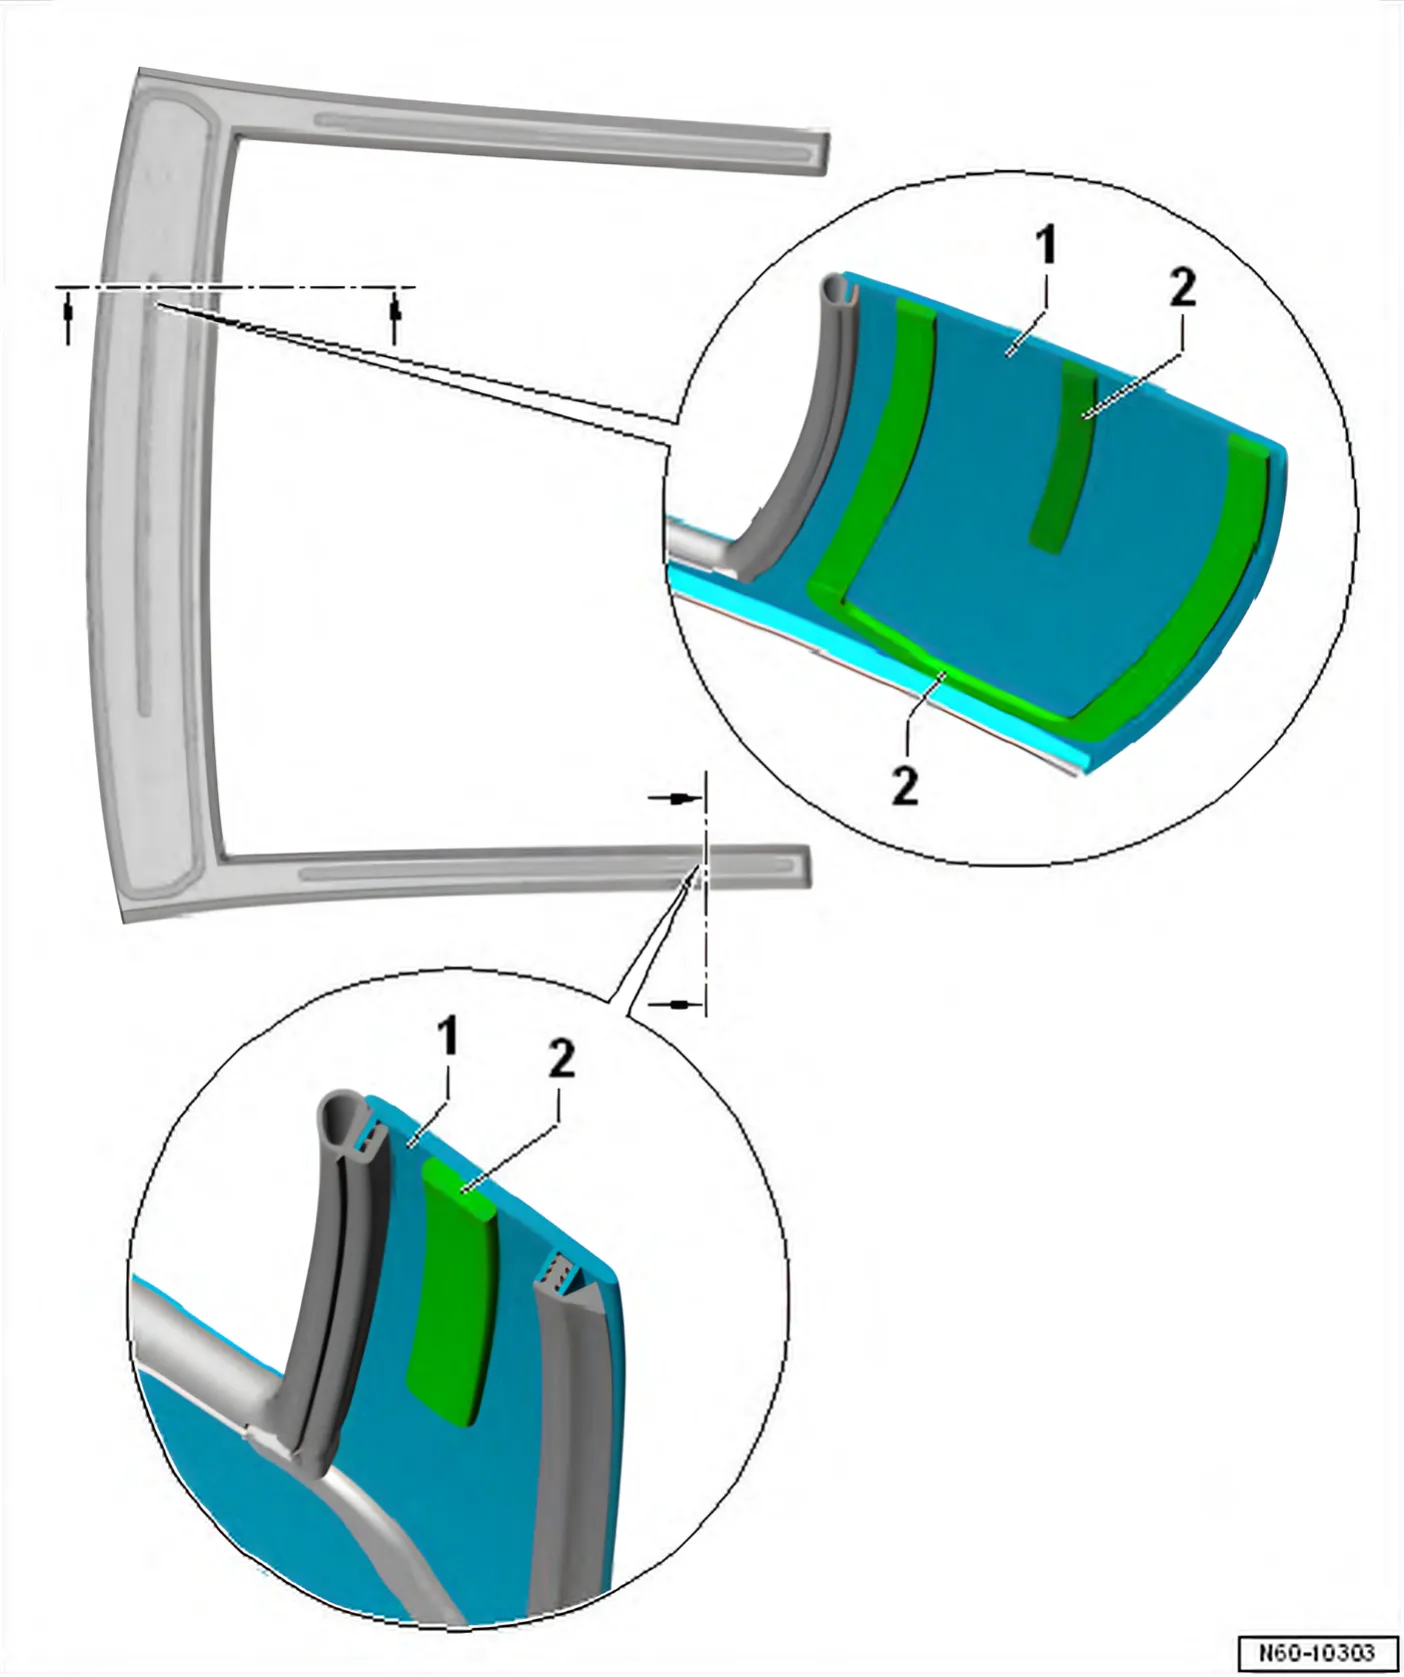
- The glass panel has been built into the frame.
- Prepare sliding sunroof frame for installation of front trim ⇒ 1.11.6 Preparing sliding sunroof frame for installation of front trim.
- Prepare front trim -1- for installation ⇒ 1.11.5 Preparing front trim for installation.
- Installation instructions ⇒ 1.11.2 Fitting instructions
- Clean around bonding surface -2- thoroughly, using cleaning solution.
- Using applicator, apply primer evenly in one pass.
- Drying time for primer is 10 minutes.
- Apply adhesive.
Width of adhesive bead: 8 mm.
Height of adhesive bead: 12 mm.
- Insert trim into roof aperture and centre it. Fix in place with adhesive tape.
- Observe minimum curing period ⇒ 1.11.1 Minimum curing period.