
Body interior · Trim, insulation · Dash panel
Removing and installing dash panel
Special tools and workshop equipment required
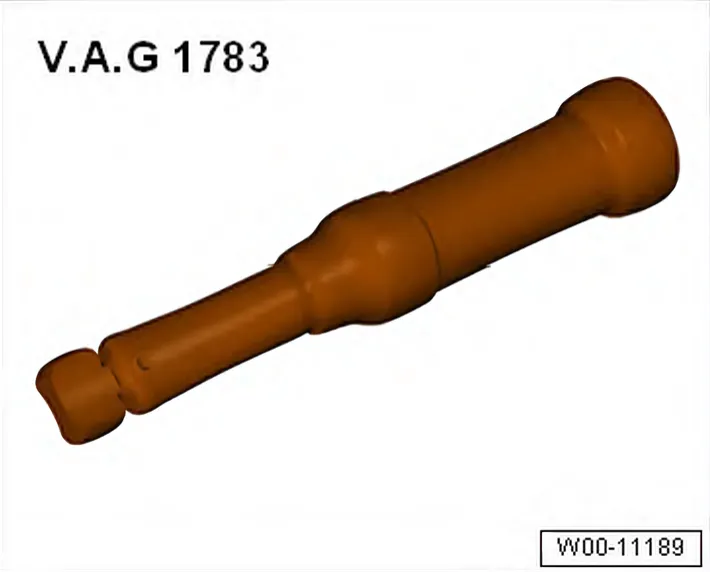
- Torque wrench - V.A.G 1783-
Removing
6R 2009–2014
- Release gearstick boot or gear shift cover from mountings ⇒ Rep. gr. 34;.
- 6C 2014–2017 Release gear lever gaiter or selector cover from mountings ⇒ Rep. gr. 34; Selector mechanism; Assembly overview – gear knob and cover.
- Remove parking brake lever trim ⇒ Brake system; Rep. gr. 46; Parking brake; Assembly overview - parking brake lever.
- Remove hand brake cover ⇒ 3.2 Removing and installing parking brake cover cap.
- 6C 2014–2017 Remove mounting frame for radio/navigation system ⇒ 3.1 Removing and installing mounting frame for radio/navigation system.
- Remove trim for operating and display unit ⇒ 3.3 Removing and installing trim for operating and display unit.
- Remove centre console cover ⇒ 3.4 Removing and installing cover for centre console.
- Removing rear cup holder in vehicles with arm rest ⇒ 3.1 Removing and installing drinks holder.
- Removing arm rest if fitted ⇒ 4.1 Removing and installing front centre armrest.
- Remove centre console:
- Without armrest ⇒ 3.5.1 Removing and installing centre console, centre console without armrest.
- With armrest ⇒ 3.5.2 Removing and installing centre console, centre console with armrest.
- Remove driver airbag unit ⇒ 3.2 Removing and installing airbag unit with igniter.
- Remove steering wheel ⇒ Running gear, axles, steering; Rep. gr. 48; Steering wheel; Removing and installing steering wheel.
- Remove lower steering column trim ⇒ 1.3 Removing and installing lower steering column trim.
- Remove steering column switch ⇒ Electrical system; Rep. gr. 94; Steering column switch module; Removing and installing steering column combination switch.
- Remove dash panel insert ⇒ Electrical system; Rep. gr. 90; Dash panel insert; Removing and installing dash panel insert
- KX2-.
- Remove light switch - E1- ⇒ Electrical system; Rep. gr. 96; Controls; Removing and installing rotary light switch - EX1-.
- Removing fuse box cover ⇒ 1.1 Removing and installing fuse box cover.
- Remove dash panel end trim ⇒ 3.4 Removing and installing dash panel end cover.
- Remove glove compartment ⇒ 1.4 Removing and installing glove compartment.
- Remove front passenger airbag unit ⇒ 4.1 Removing and installing front passenger side airbag unit with igniter.
- If fitted, remove telephone bracket ⇒ Communication; Rep. gr. 91; Telephone system; Removing and installing telephone bracket - R126-.
- If fitted, remove radio (⇒ Communication; Rep. gr. 91; Radio; Removing and installing radio or radio/navigation system (⇒ Communication; Rep. gr. 91; Navigation system; Overview of fitting locations - navigation system ).
Air conditioning system with manual regulation “Climatic”
- Remove heating regulation and air conditioning system “Climatic” ⇒ Heating, air conditioning; Rep. gr. 87; Operating and display unit; Removing and installing operating and display unit.
Air conditioning system with automatic regulation “Climatronic”
- Remove operating and display unit for Climatronic air conditioning system - E87- with Climatronic control unit - J255- ⇒
Heating, air conditioning; Rep. gr. 87; Operating and display unit; Removing and installing operating and display unit.
- Remove sunlight penetration photosensor - G107- or sunlight penetration photosensor 2 - G134- ⇒ Heating, air conditioning; Rep. gr. 87; Other control components; Removing and installing sunlight penetration photosensor - G107-.
- Disconnect wiring harnesses from left vent temperature sender - G150- and right vent temperature sender - G151- ⇒ Heating, air conditioning; Rep. gr. 87; Other control components; Removing and installing left vent temperature sender - G150-.
Vehicles without air conditioning system
- 6R 2009–2014 Remove hot air and fresh air controls ⇒ Heater, air conditioning system; Rep. gr. 80; Repairing heater; Removing and installing hot air and fresh air controls.
- 6C 2014–2017 Remove controls for fresh and heated air ⇒ Heating, air conditioning; Rep. gr. 80; Operating and display unit; Removing and installing operating and display unit.
All vehicles
- Remove centre dash panel storage compartment in vehicles without radio or radio/navigation system ⇒ 3.2 Removing and installing centre dash panel compartment.
- Remove centre dash panel storage compartment ⇒ 3.3 Removing and installing mounting for storage compartment in centre dash panel.
- Remove upper A-pillar trims ⇒ 5.2 Removing and installing A-pillar trim.
- Remove fuse holder on left under dash panel insert ⇒ Electrical system; Rep. gr. 97; Relay carriers, fuse holders, electronic boxes.
- Remove left footwell light - W9- and right footwell light - W10- ⇒ Electrical system; Rep. gr. 96; Lights; Removing and installing footwell light -W9- / -W10-.
- Unclip diagnosis connector in footwell on driver side.
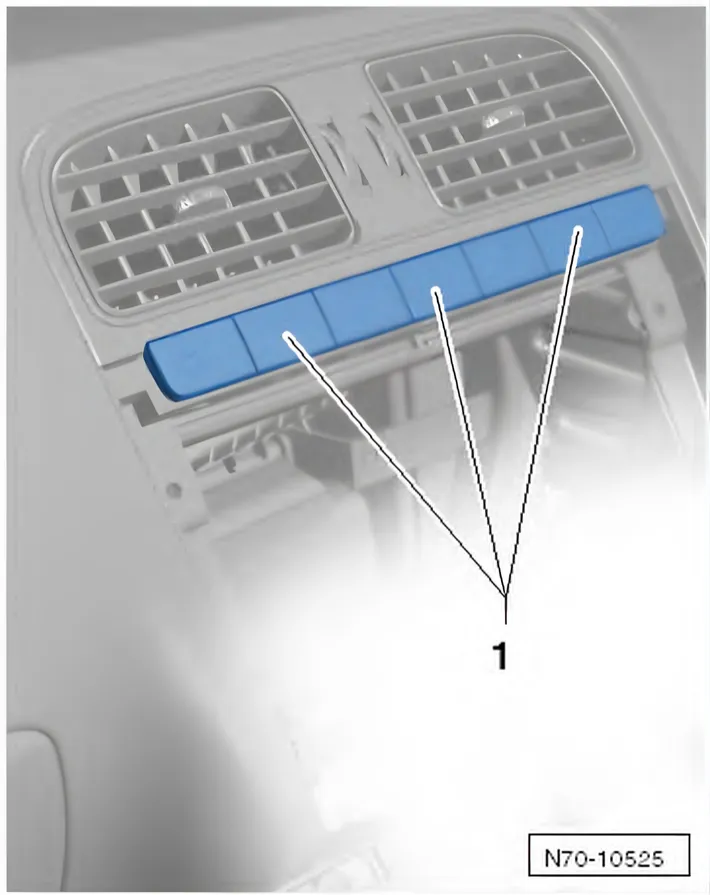
- Pull connectors off switches -1- depending on vehicle equipment.
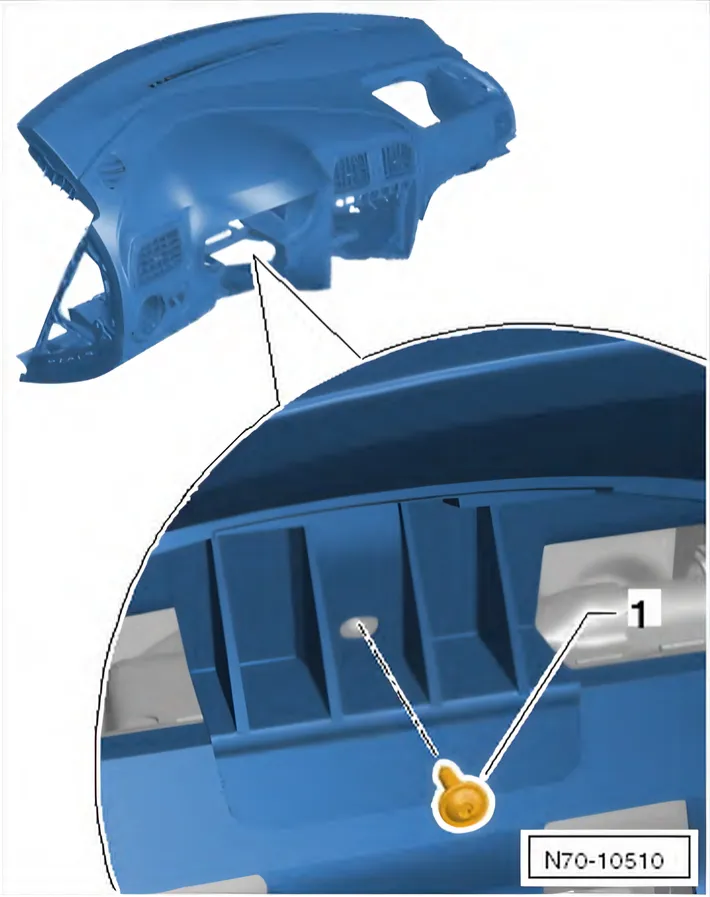
- Remove bolt -1- (1.5 Nm).
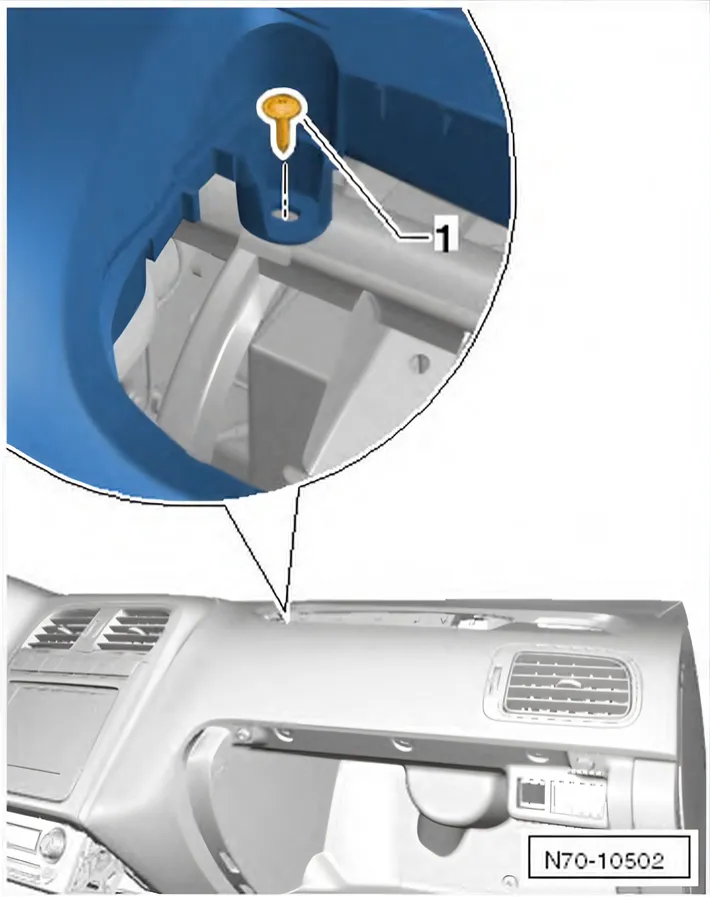
- Remove bolt -1- (1.5 Nm).
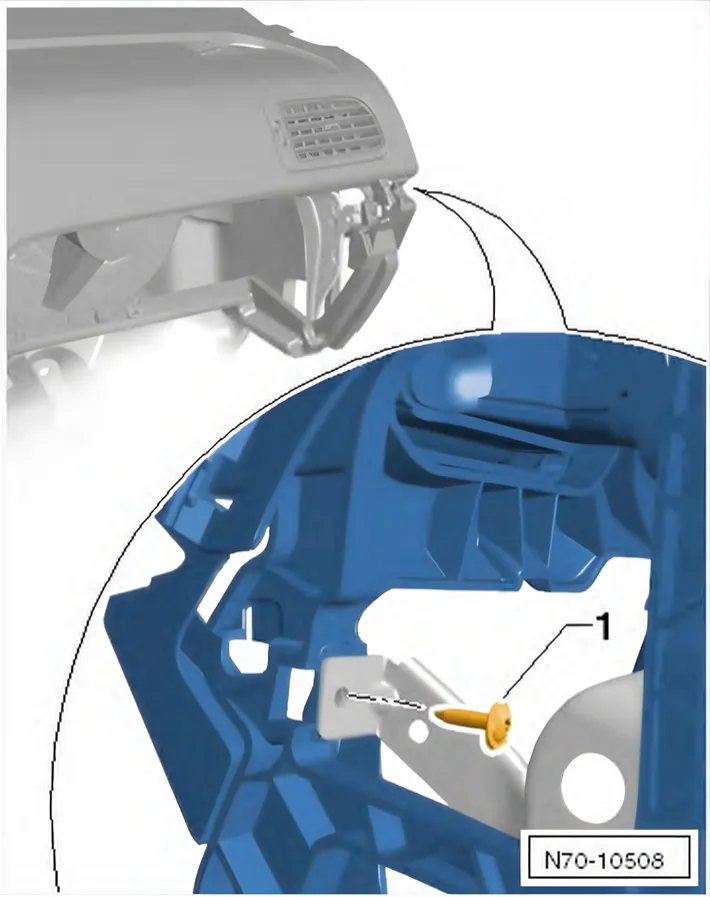
- Remove bolt -1- (1.5 Nm).
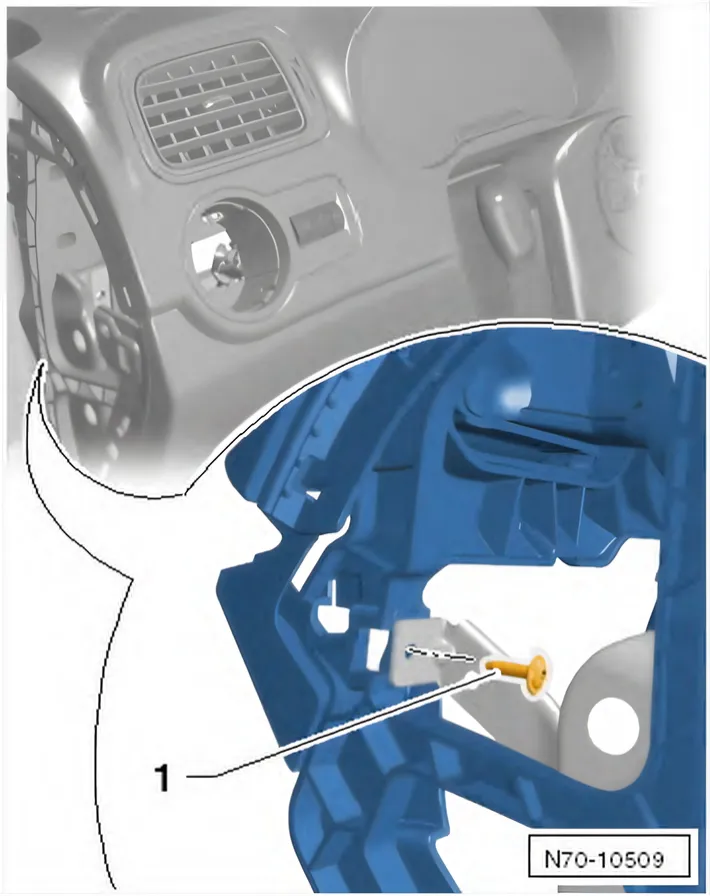
- Remove bolt -1- (1.5 Nm).
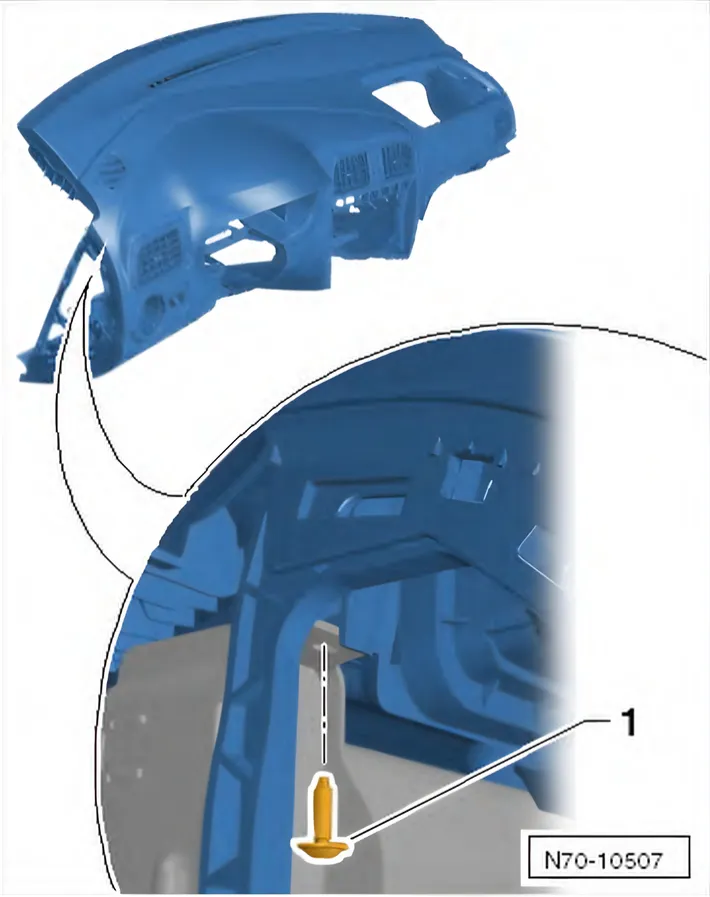
- Remove bolt -1- (1.5 Nm).
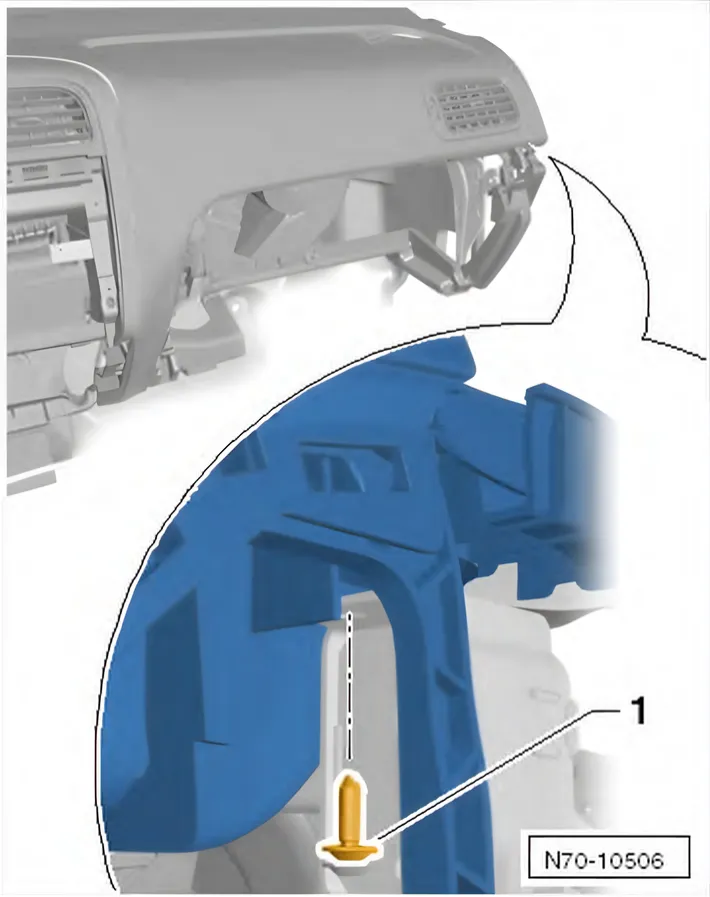
- Remove bolt -1- (1.5 Nm).
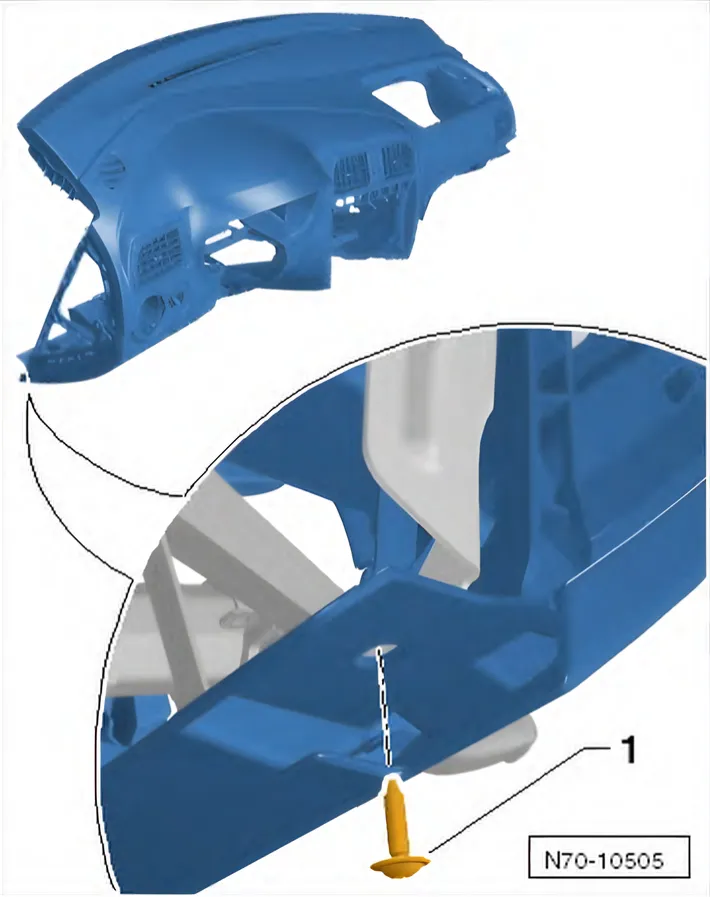
- Remove bolt -1- (1.5 Nm).
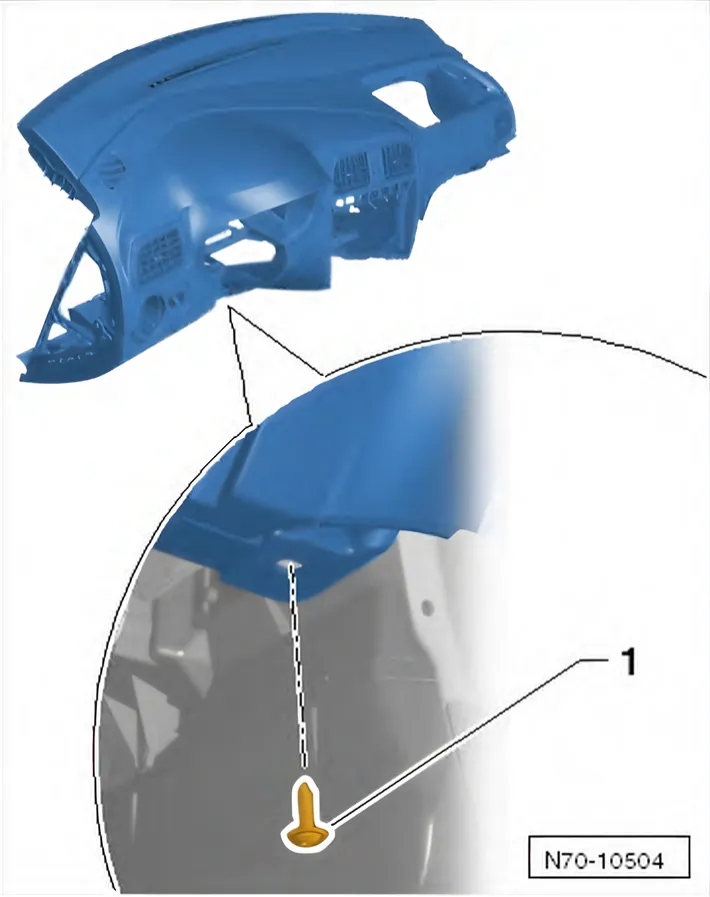
- Remove bolt -1- (1.5 Nm).
- Pull dash panel out of mountings in area of transition to windscreen.
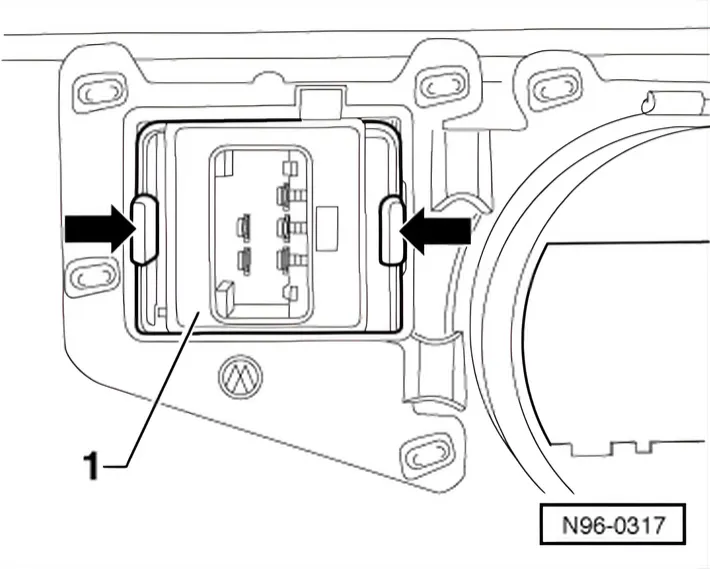
- Press locking hooks -arrows- together and slide headlight range control regulator - E102- and switch and instrument illumination regulator - E20- -1- out of dash panel in direction of travel.
- Detach cable retainer of left footwell light - W10- from dash panel.
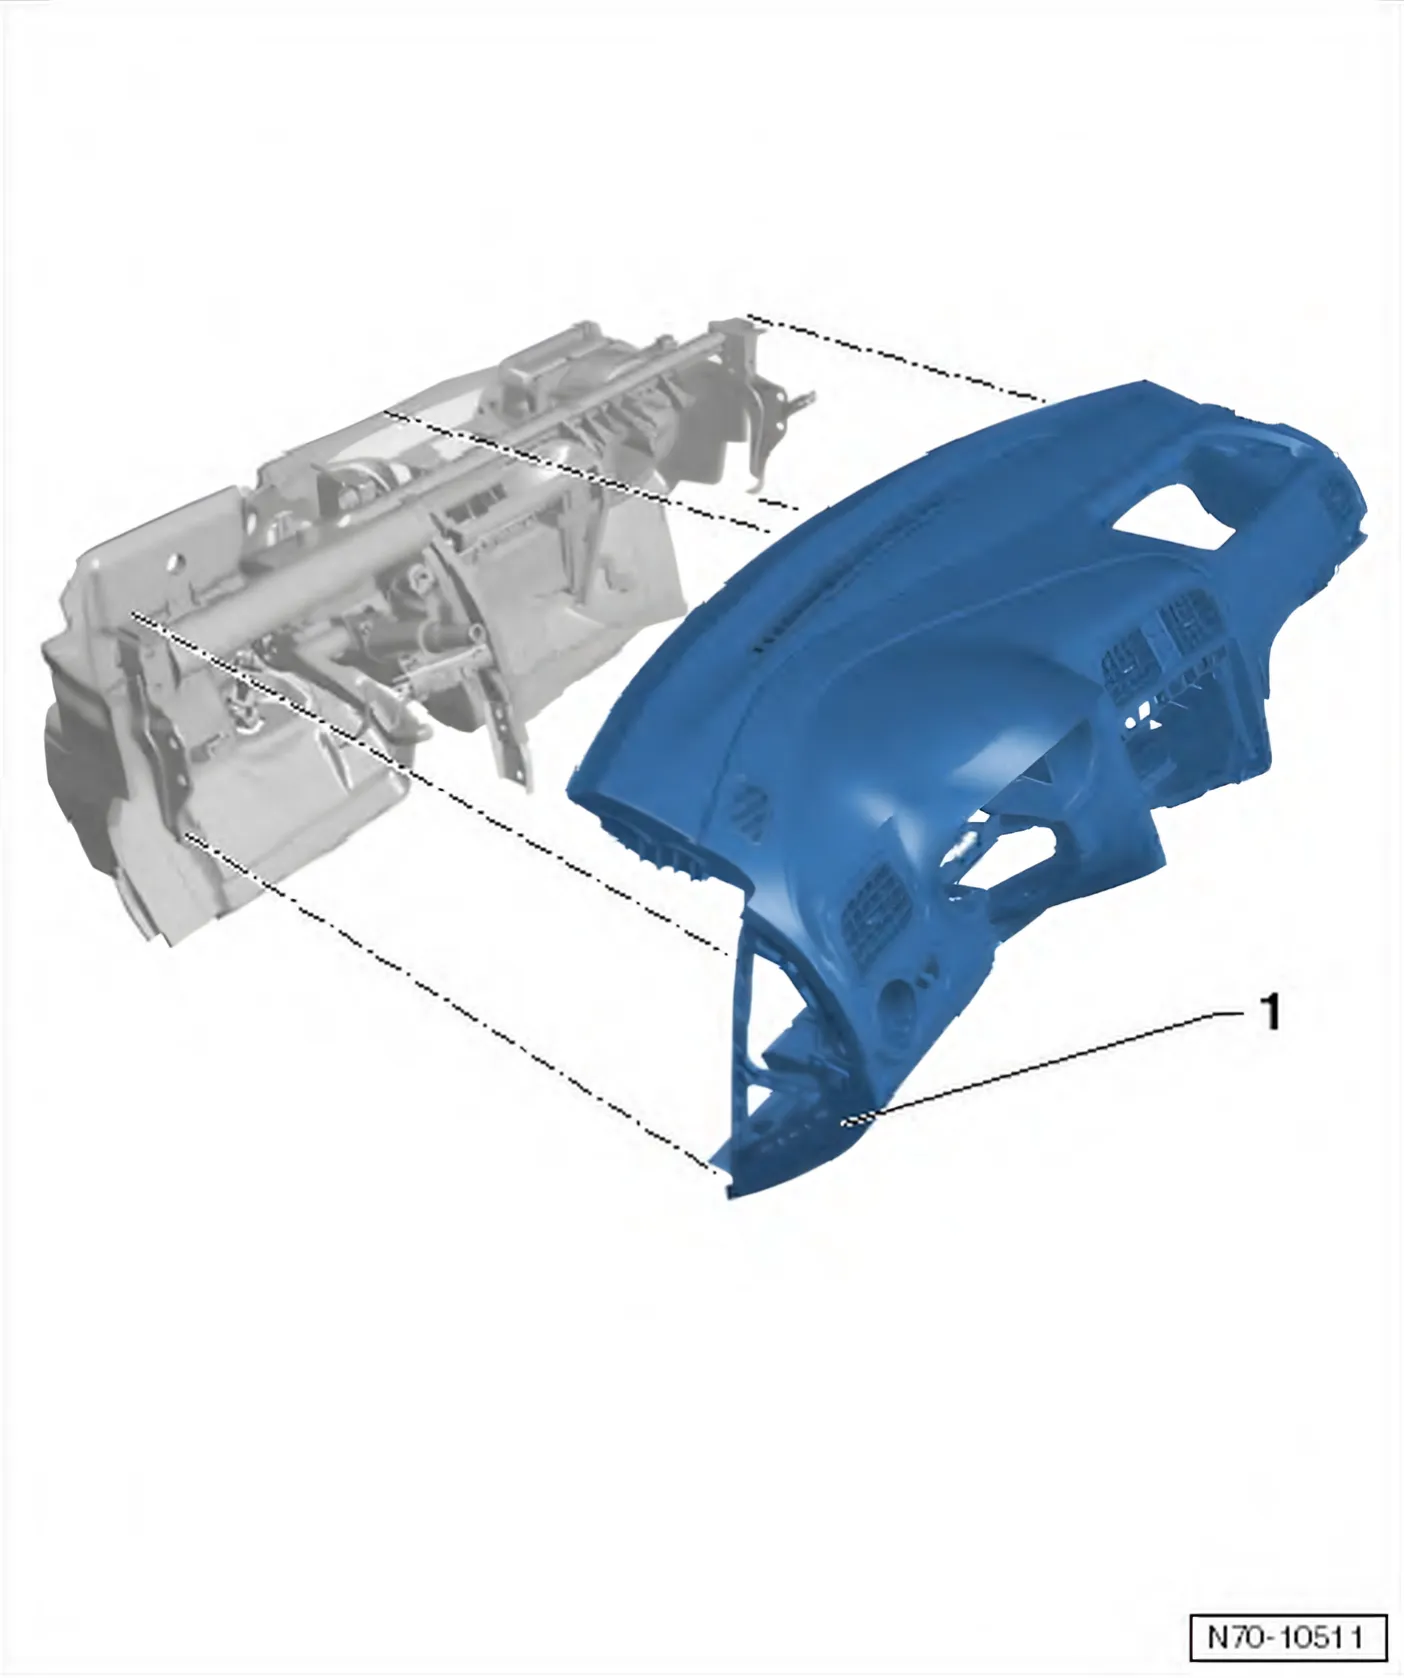
- Remove dash panel -1- from vehicle with the aid of a second mechanic.
Installing
- Install in reverse order of removal.