
Body interior · Trim, insulation · Interior trims
Removing and installing B-pillar trim
⇒ 5.4.1 Removing and installing B-pillar trim, 2-door models
⇒ 5.4.2 Removing and installing B-pillar trim, 4-door models
5.4.1 Removing and installing B-pillar trim, 2-door models
Special tools and workshop equipment required
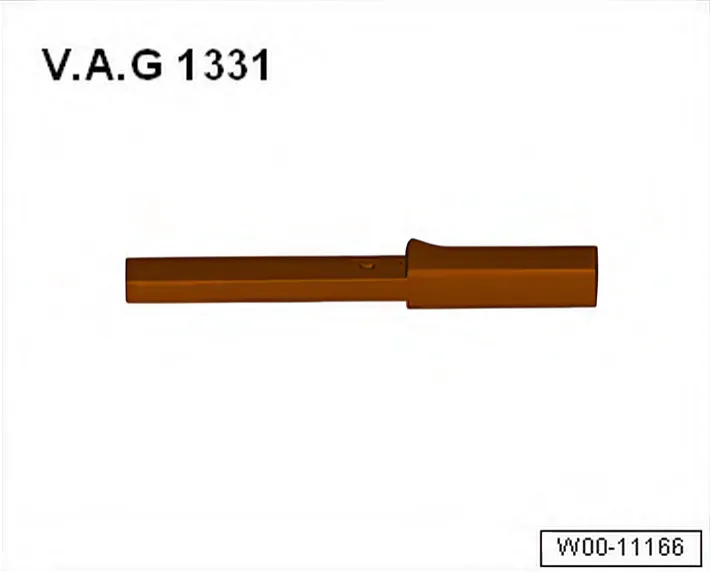
- Torque wrench - V.A.G 1331-
Removing
- Remove bench seat ⇒ 2.1 Removing and installing bench seat / individual seats.
- Remove backrest ⇒ 2.2 Removing and installing rear seat backrest.
- Release sill panel moulding from fasteners in sill at transition to side panel.
- Remove side trim panel ⇒ 5.7 Removing and installing side trim panel.
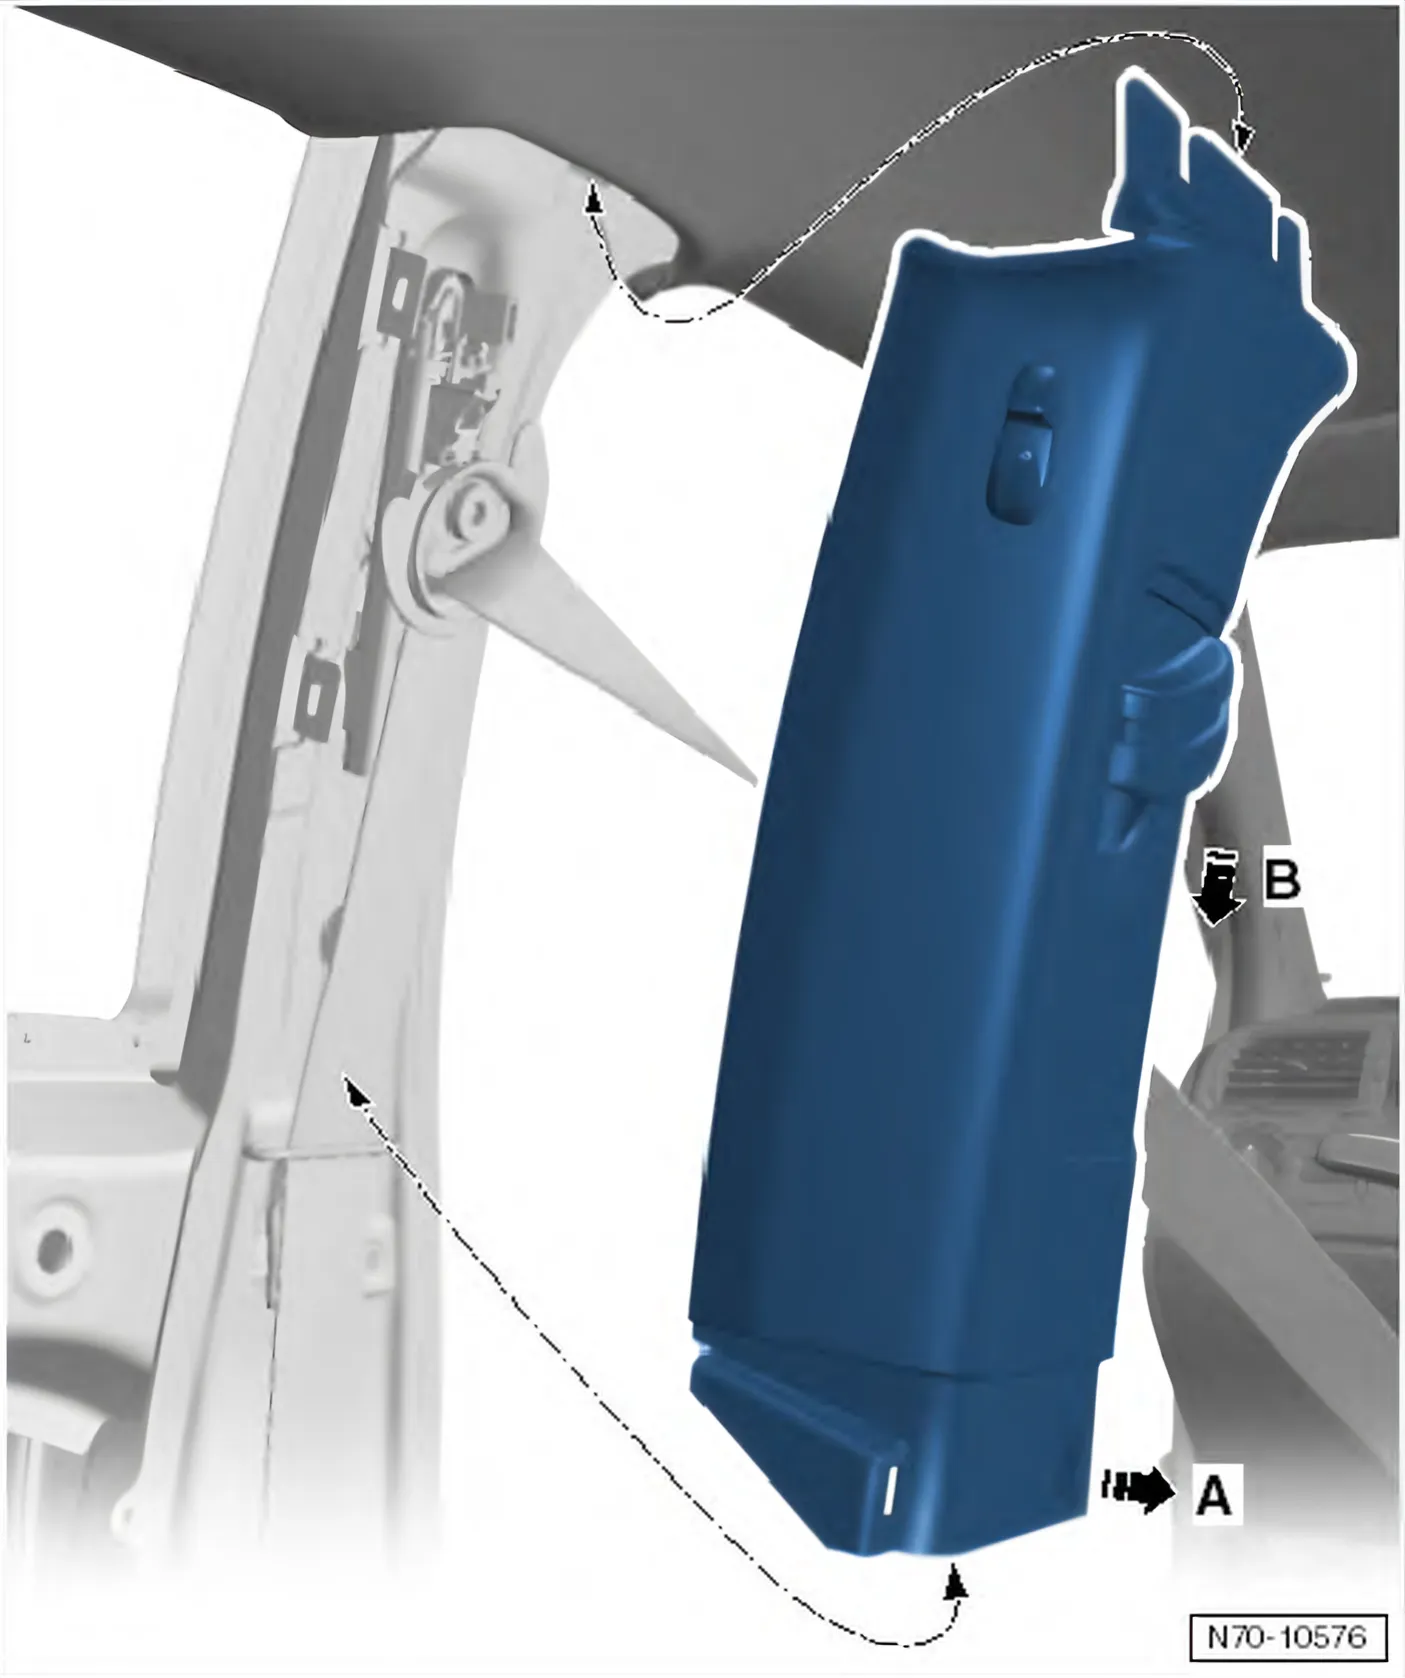
- Pull lower end of trim out of mountings -arrow A-.
- Pull out trim from under moulded headliner -arrow B-.
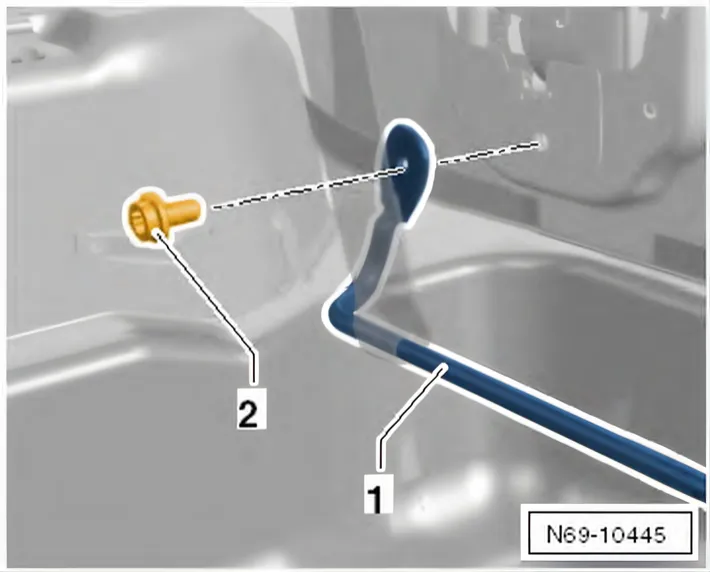
- Unscrew bolt -2- (20 Nm) and pull belt loop off belt anchor rail -1-.
Installing
- Install in reverse order of removal.
Ensure seat belt is positioned correctly.
- Ensure that trim is positioned in beading of door seal.
5.4.2 Removing and installing B-pillar trim, 4-door models
Only what differs from the procedure above; everything else is as above.
Removing
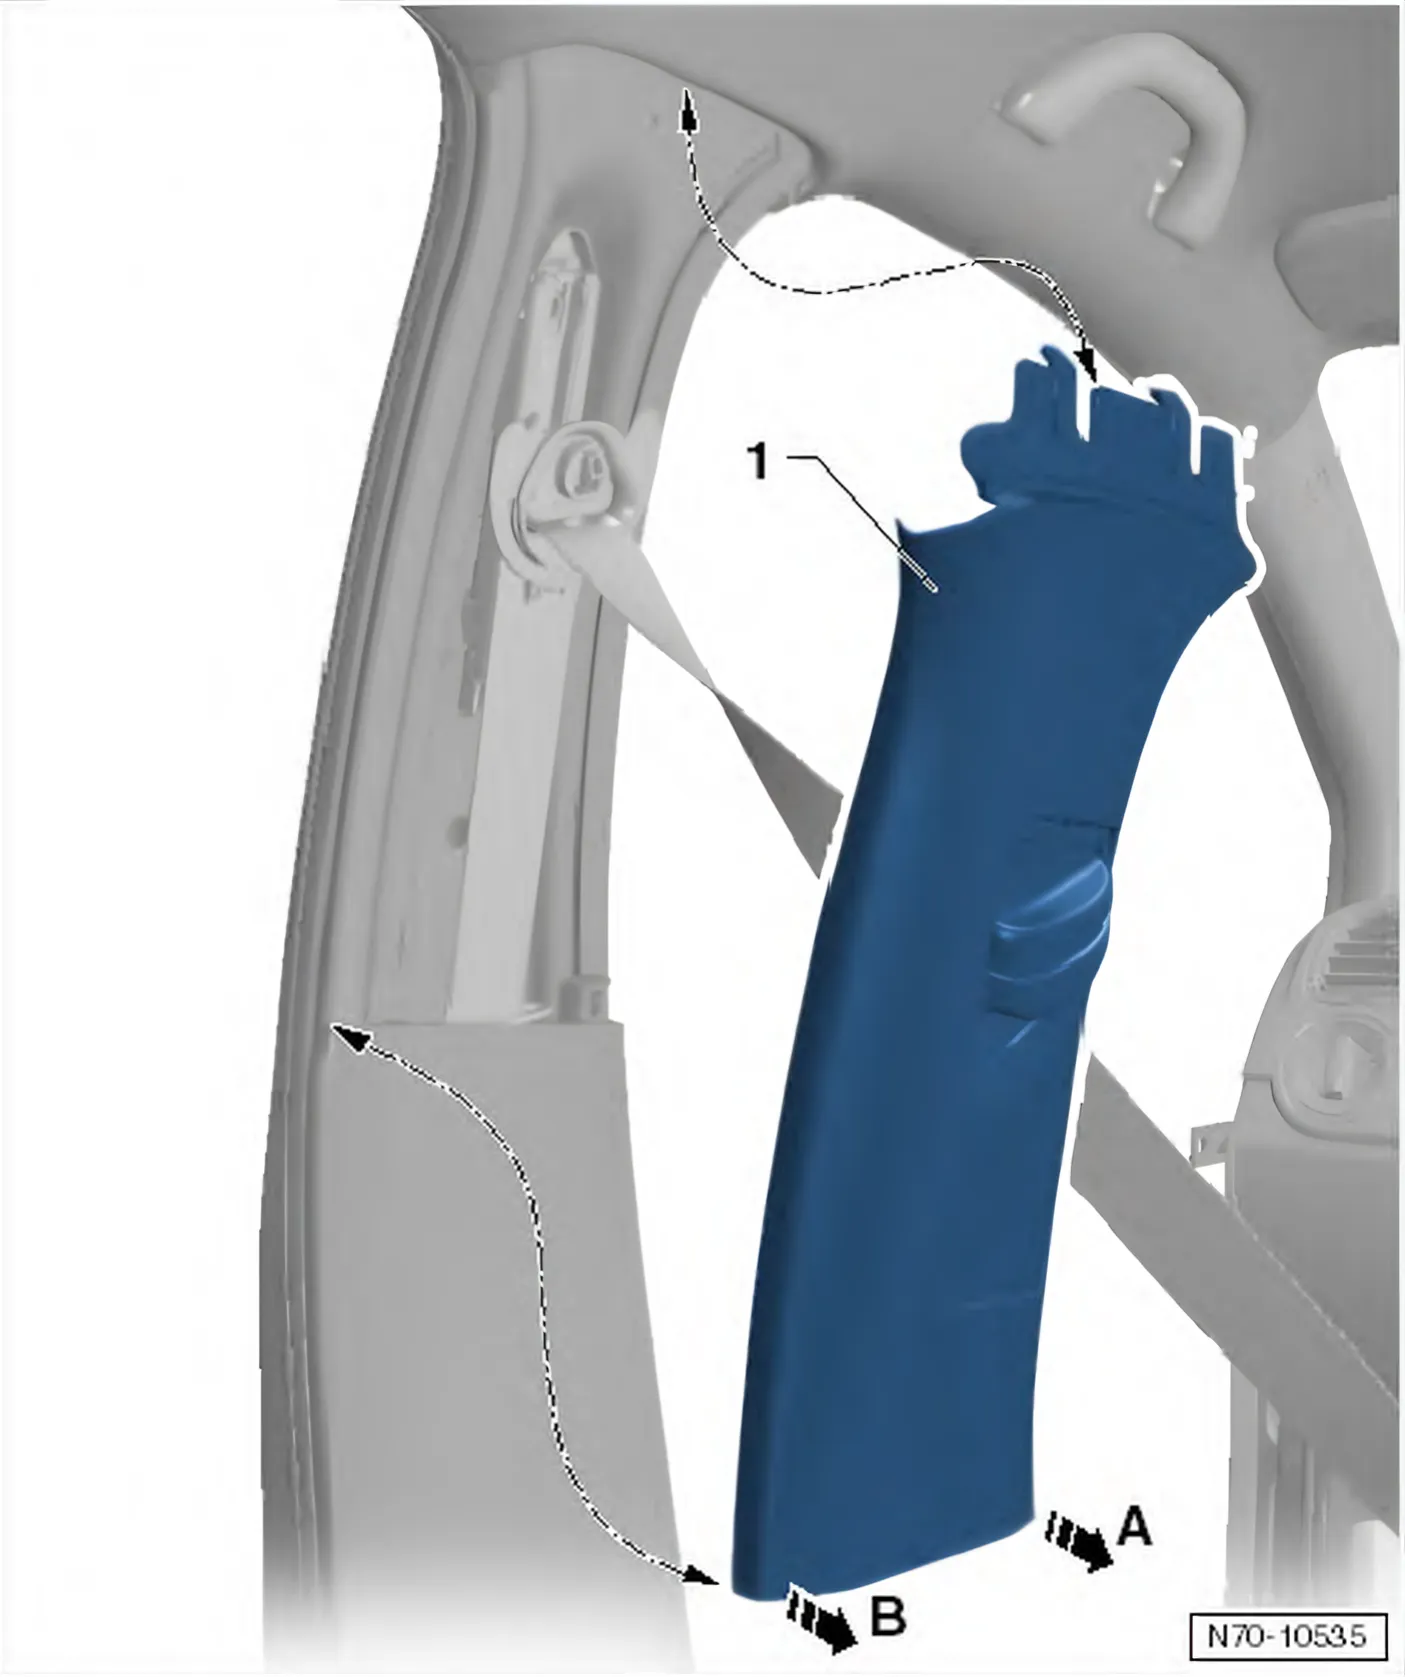
- Pull lower end of upper trim -1- out of mountings -arrow A- and -arrow B-.
- Fold floor covering inwards in area of belt end anchor.
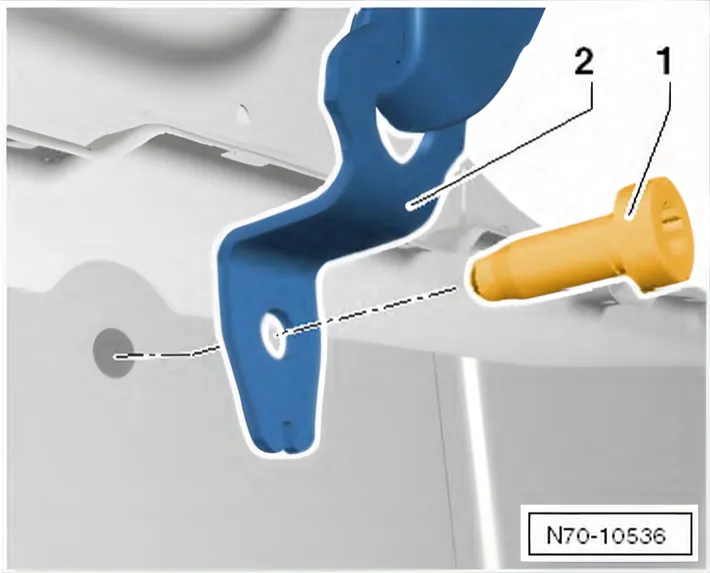
- Remove bolt -1- (40 Nm).
- Guide seat belt -2- through opening in trim.
- Pull upper end of lower trim -1- out of mountings -arrow A- and -arrow B-.