
Body interior · Trim, insulation · Front door trims
Removing and installing door trim at front
⇒ 1.1.1 Removing and installing front door trim, 2-door models
⇒ 1.1.2 Removing and installing front door trim, 4-door models
1.1.1 Removing and installing front door trim, 2-door models
Special tools and workshop equipment required
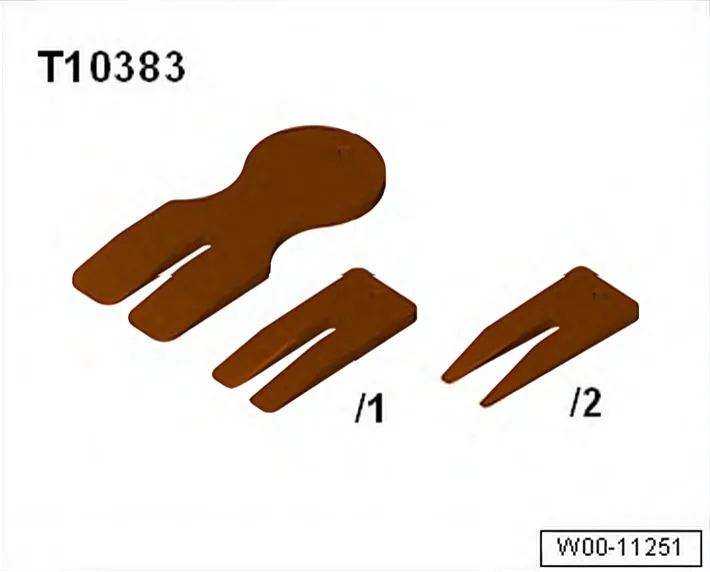
- Wedges - T10383-
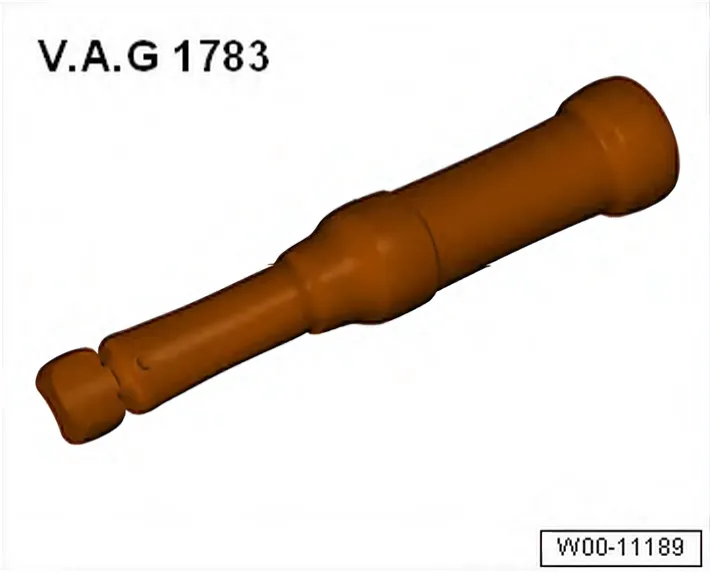
- Torque wrench - V.A.G 1783-
Removing
- Switch off ignition.
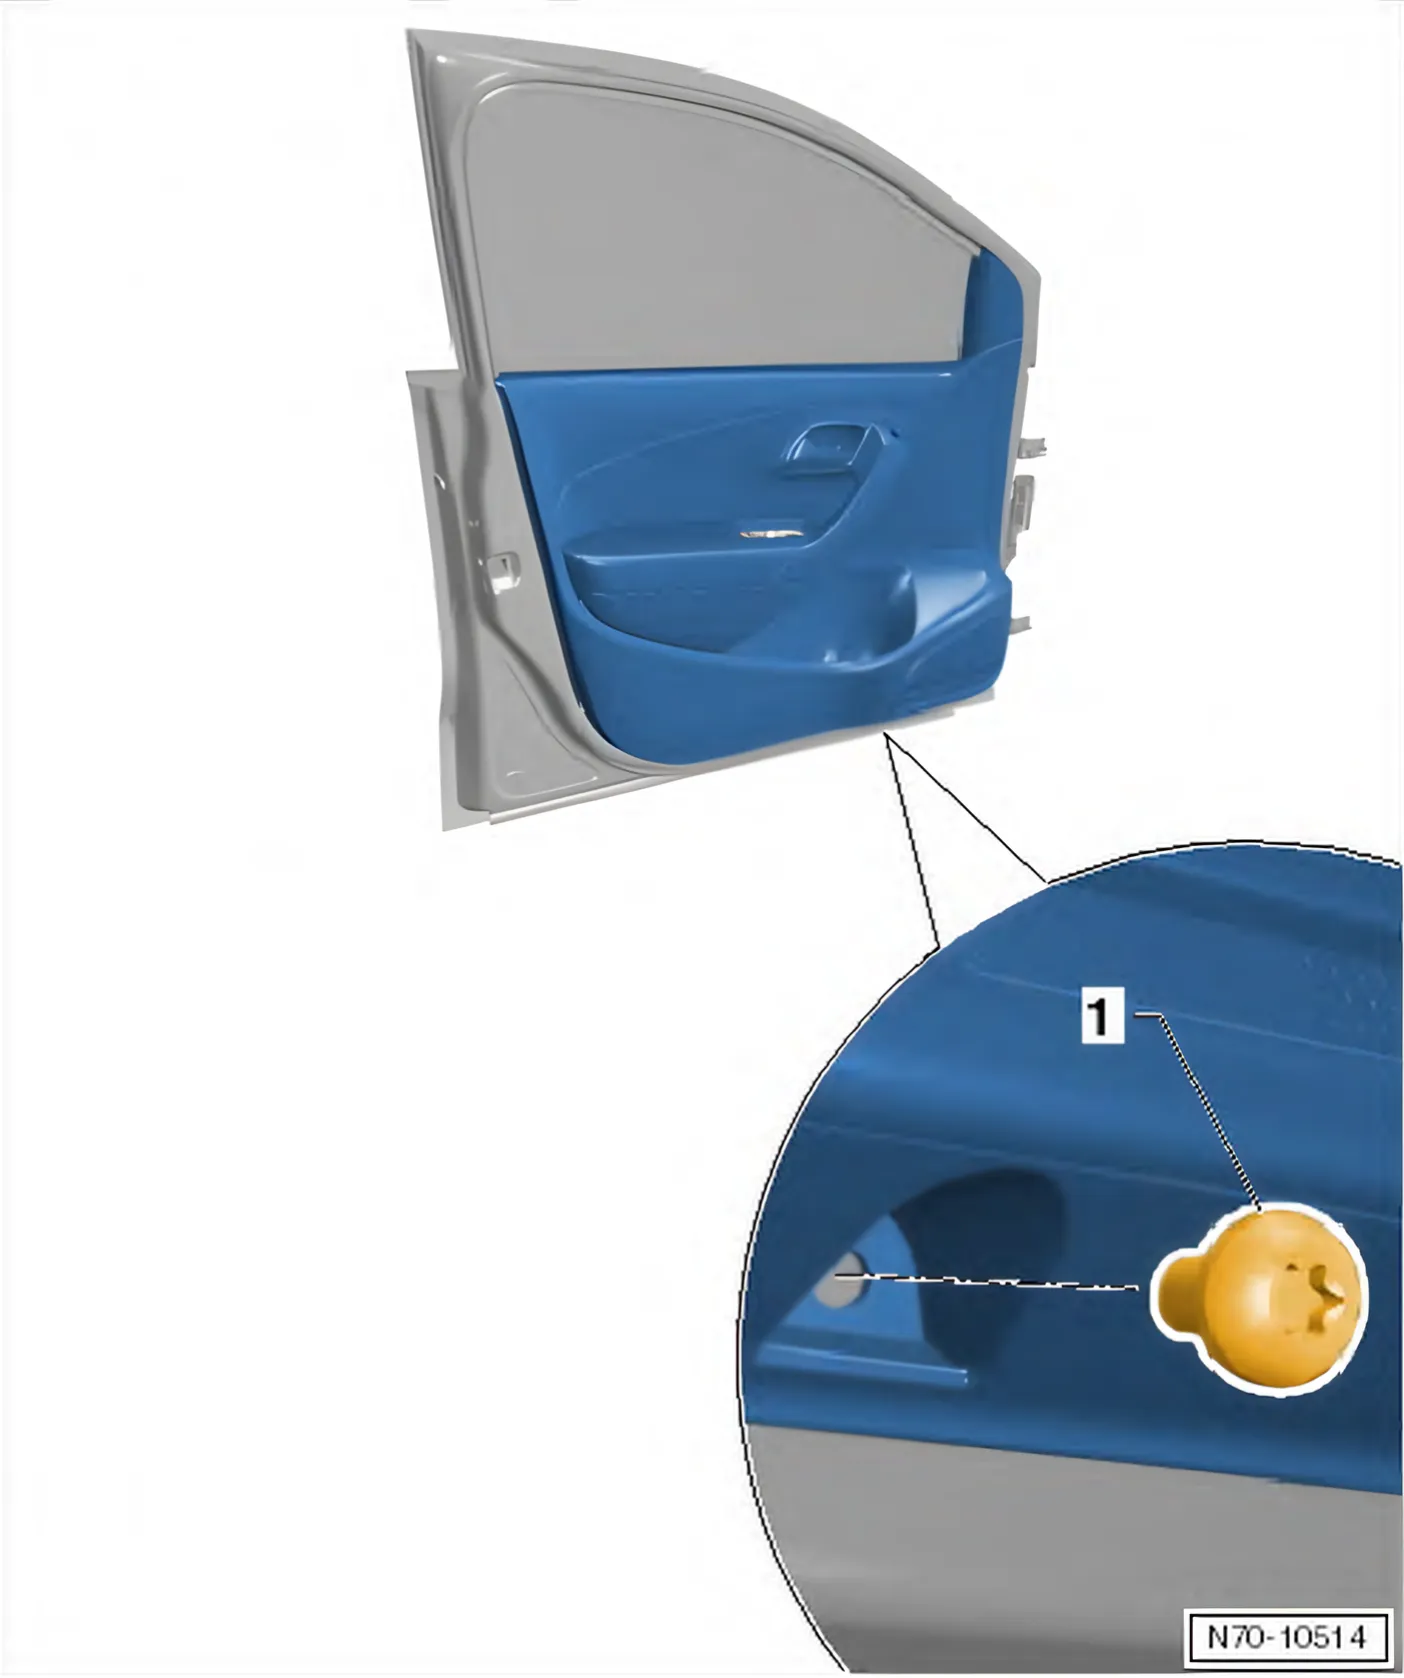
- Remove bolt -1- on underside (4.5 Nm).
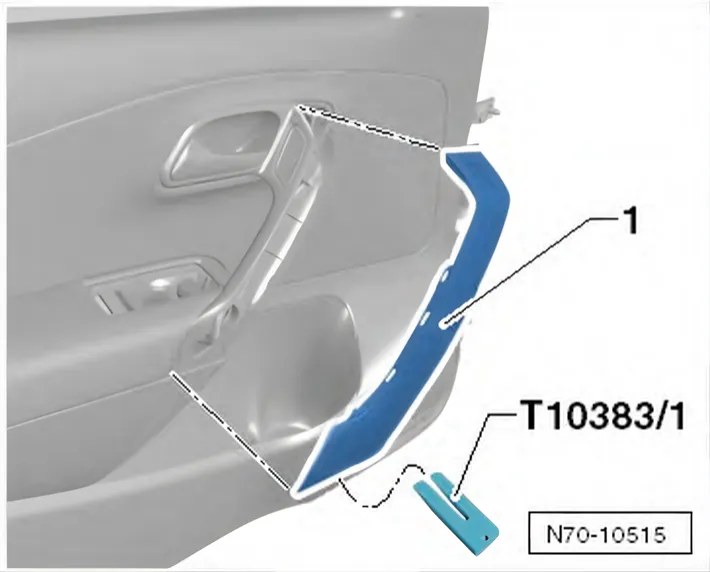
- Models with manual adjustment of exterior mirror, unclip trim -1- from door trim using wedge - T10383/1-.
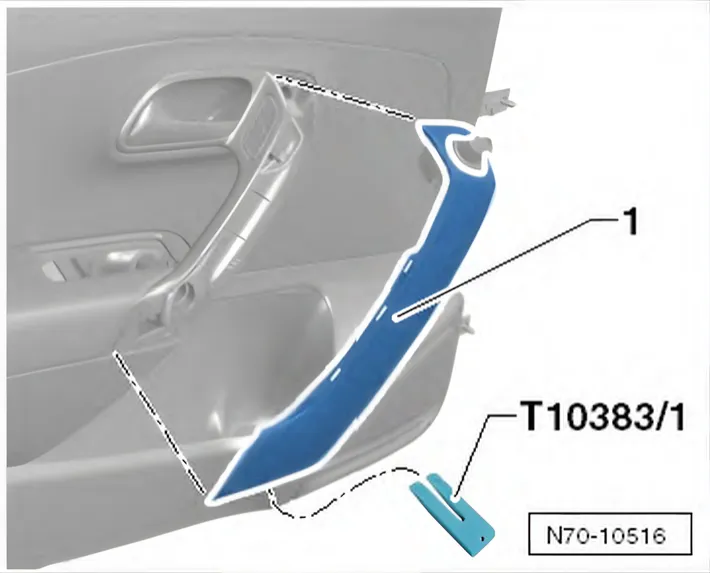
- Models with electric adjustment of exterior mirror, unclip trim -1- from door trim using wedge - T10383/1- and disconnect connector.
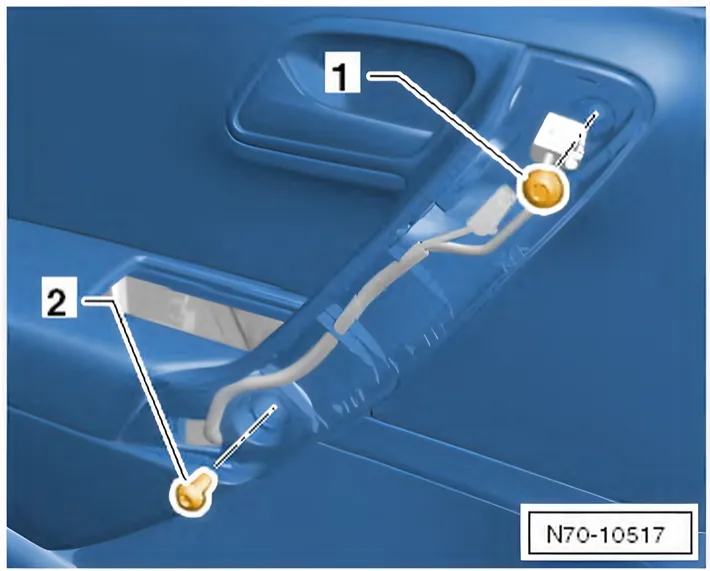
- Unscrew bolts -1- and -2- (4.5 Nm).
- Release door trim from clips in -specified sequence-. Use wedges - T10383- to do this.
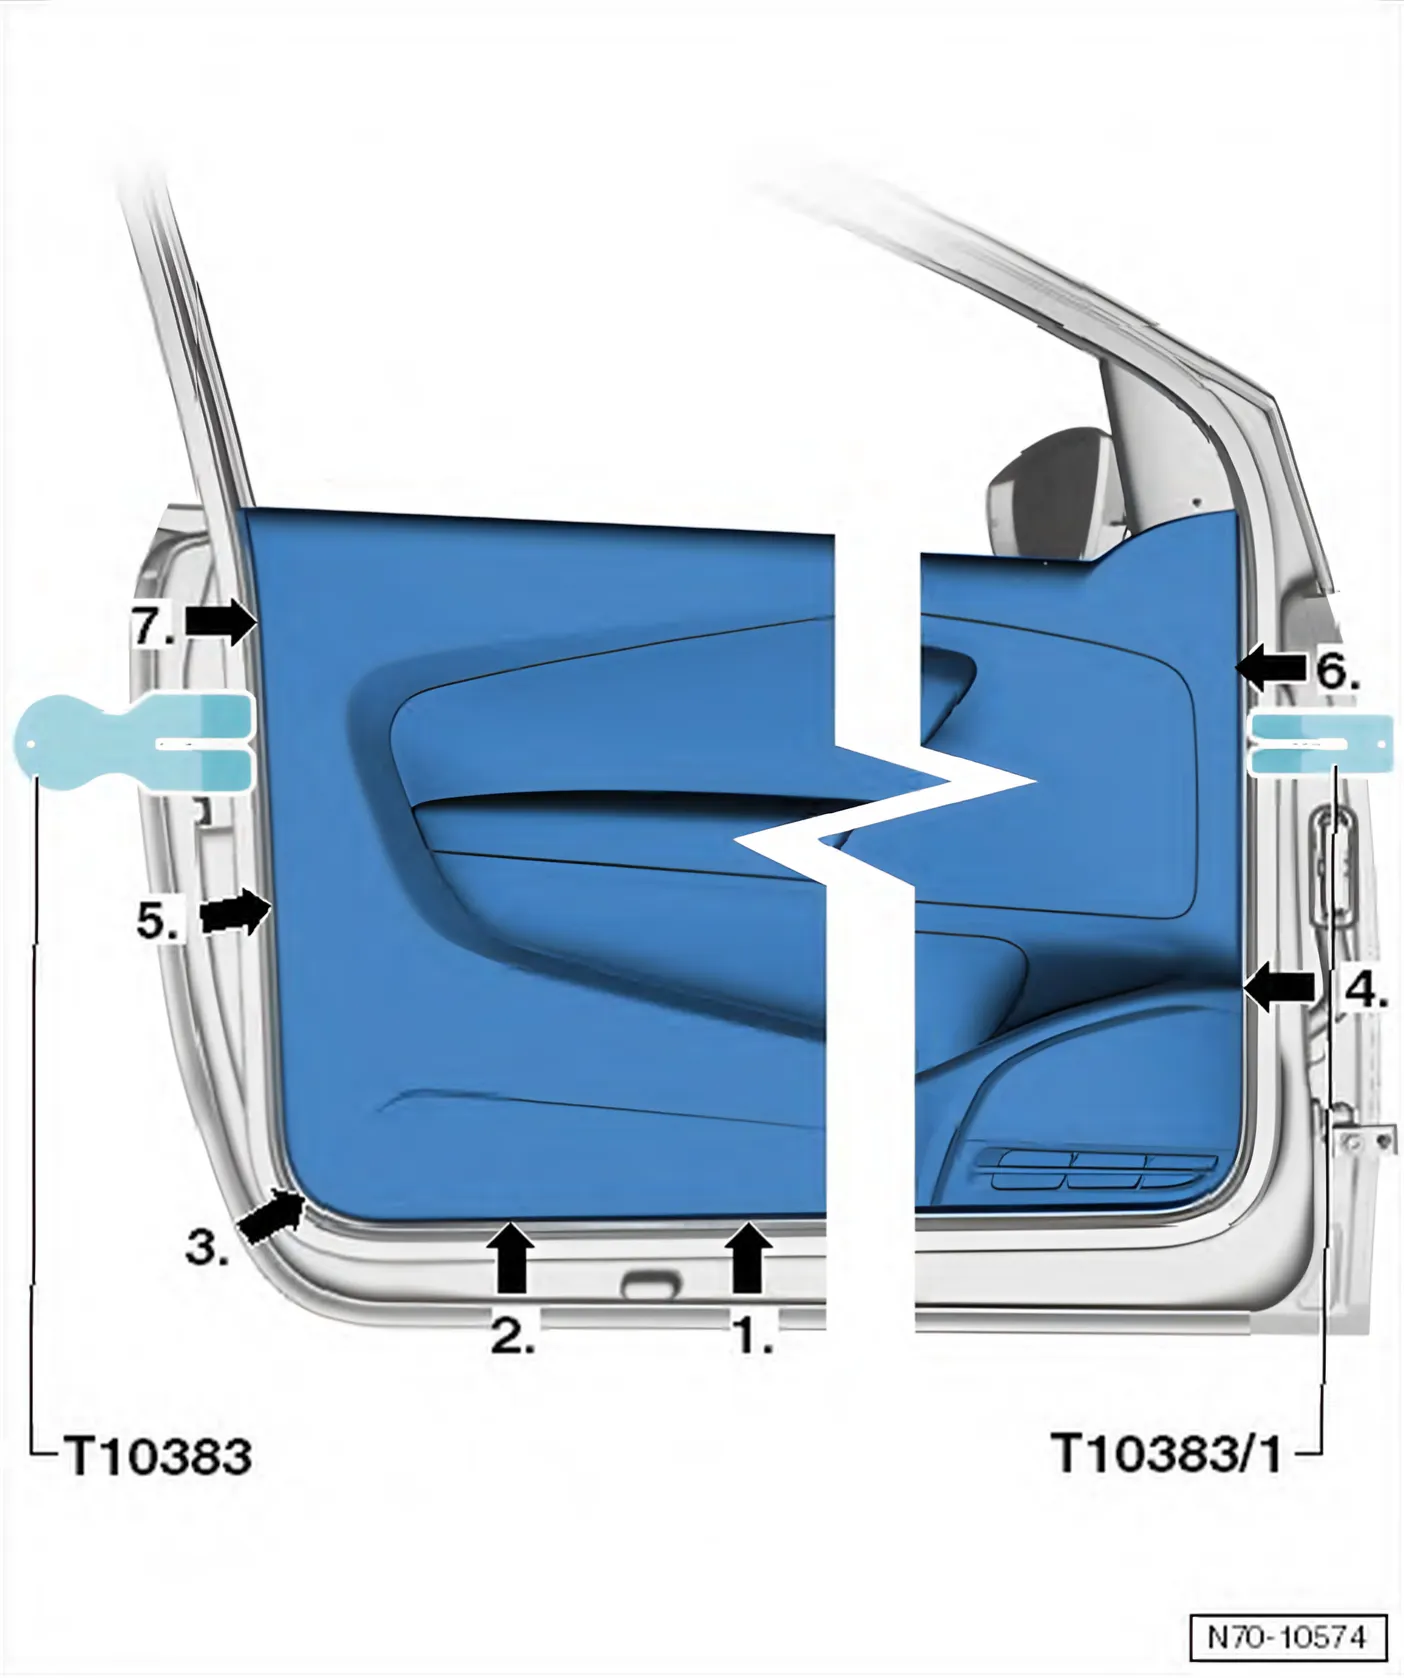
- Swivel rear area of door trim panel upwards slightly.
- Pull door trim panel out of window slot.
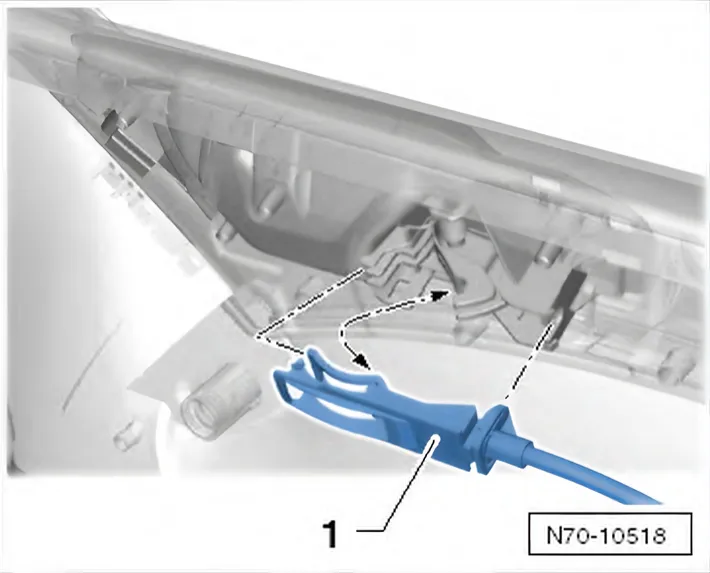
- Now unhook Bowden cable -1- from interior door handle on inside of door trim.
- Depending on vehicle equipment, disconnect wiring harnesses from door trim.
Installing
It is not possible to install the door trim without problem if clips are in -position 2-!
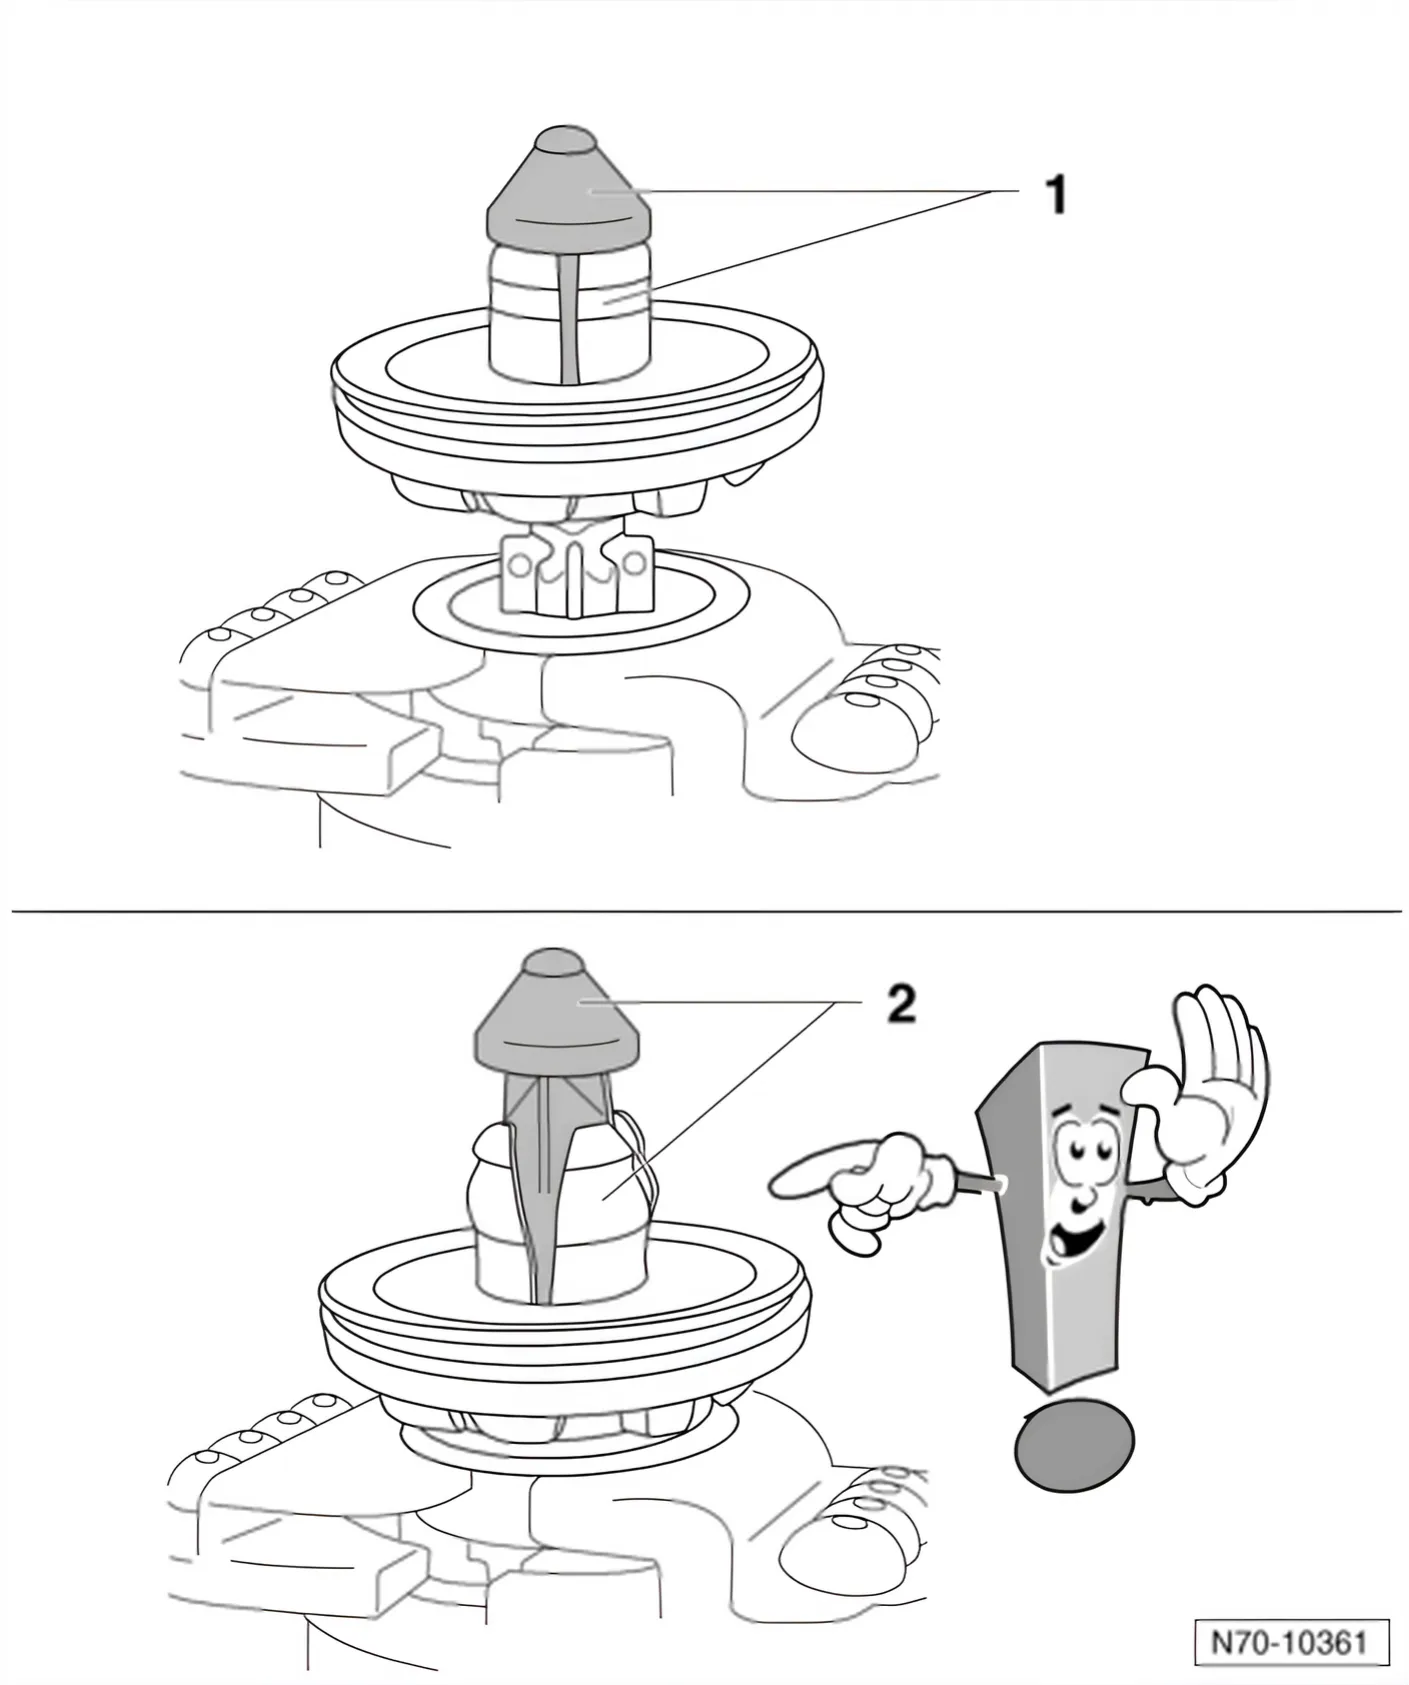
- Install in reverse order of removal.
1.1.2 Removing and installing front door trim, 4-door models
Only what differs from the procedure above; everything else is as above.
Removing
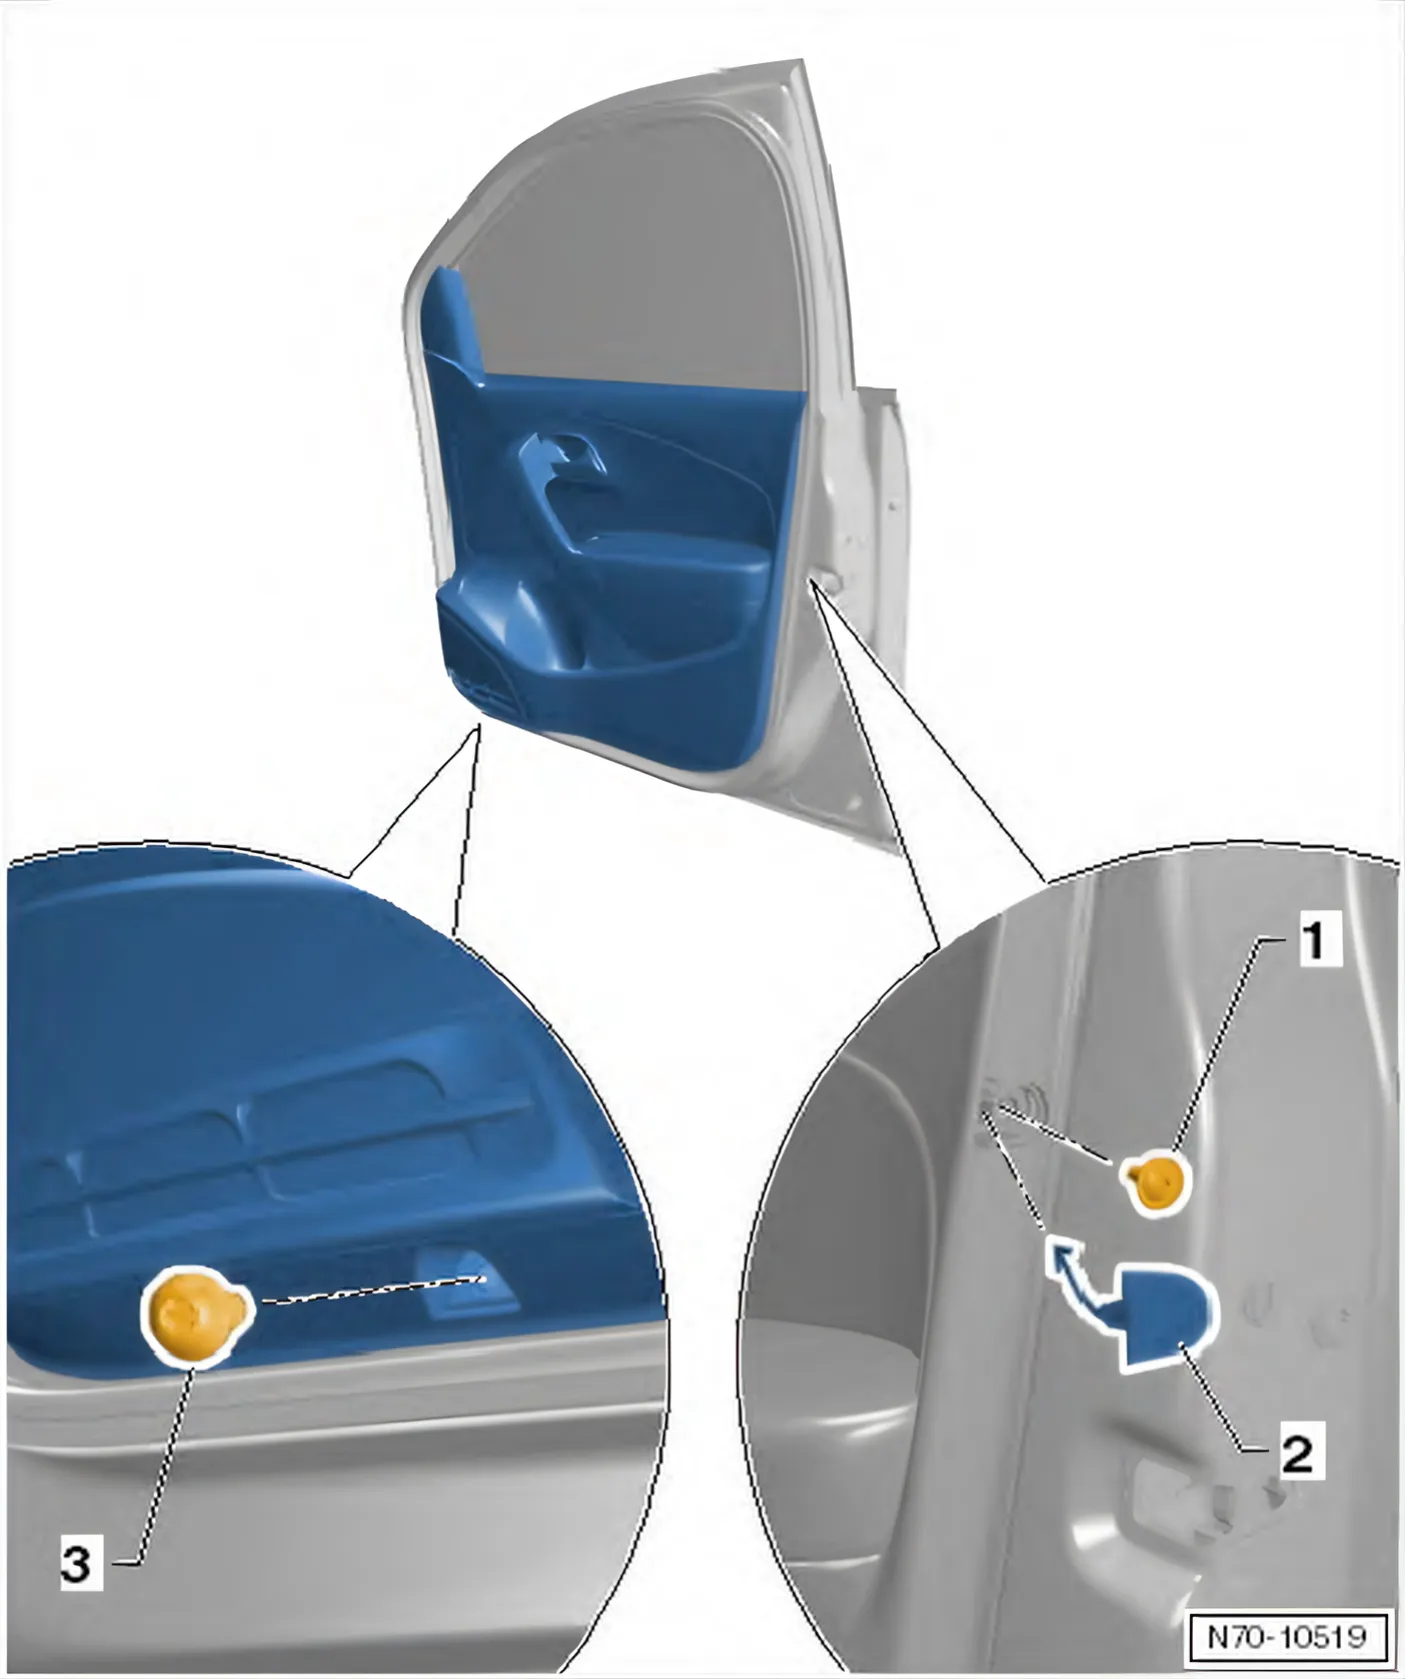
- Unclip cover cap -2- and unscrew bolt -1- (1.5 Nm).
- Remove bolt -3- on underside (4.5 Nm).
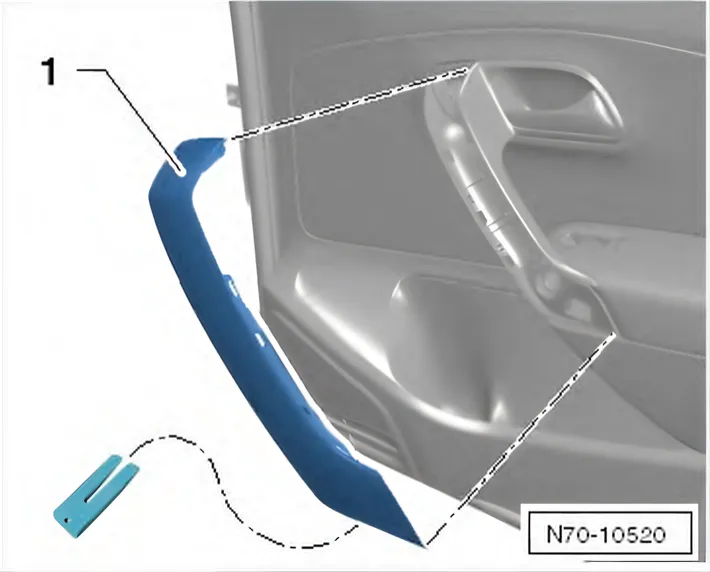
- Unclip trim -1- out of door trim using wedge - T10383/1-.