
Body interior · Passenger protection · Seat belts
Removing and installing front 3-point seat belt
⇒ 1.1.1 Removing and installing front 3-point seat belt, 2-door models
⇒ 1.1.2 Removing and installing front 3-point seat belt, 4-door models
1.1.1 Removing and installing front 3-point seat belt, 2-door models
6R 2009–2014 Removing
Special tools and workshop equipment required
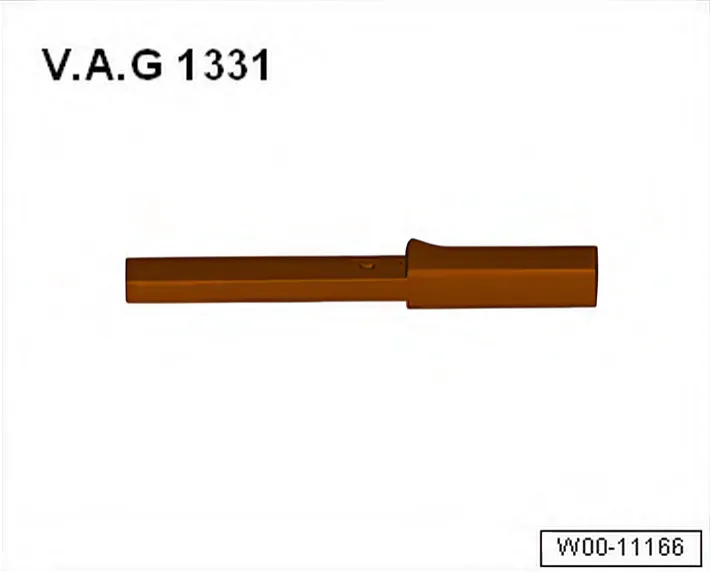
- Torque wrench - V.A.G 1331-
6C 2014–2017 Removing
- Switch ignition on.
- Disconnect vehicle battery ⇒ Electrical system; Rep. gr. 27; Battery; Disconnecting and reconnecting battery.
- Remove bench seat ⇒ 2.1 Removing and installing bench seat / individual seats.
- Release sill panel moulding from fasteners in sill at transition to side panel.
- Remove side trim panel ⇒ 5.7 Removing and installing side trim panel.
- Releasing upper B-pillar trims (2-door models) ⇒ 5.3.1 Detaching and attaching B-pillar trim, 2-door models.
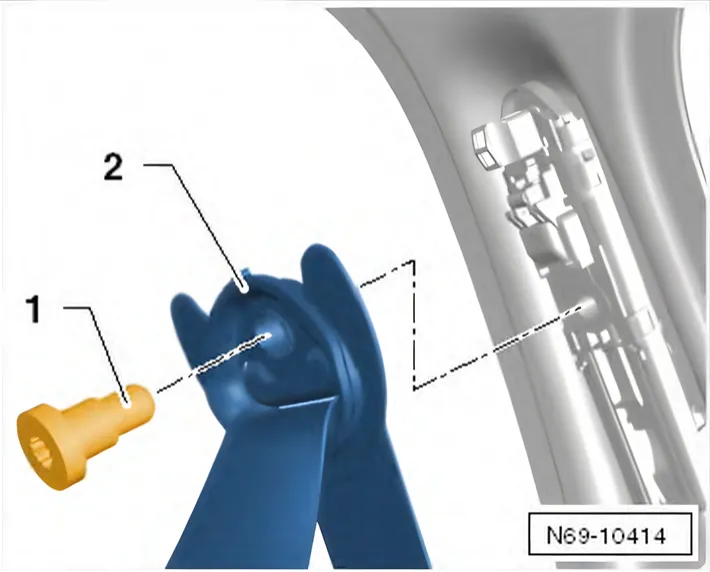
- Unscrew bolt -1- (40 Nm) and remove belt guide fitting -2- from belt height adjuster.
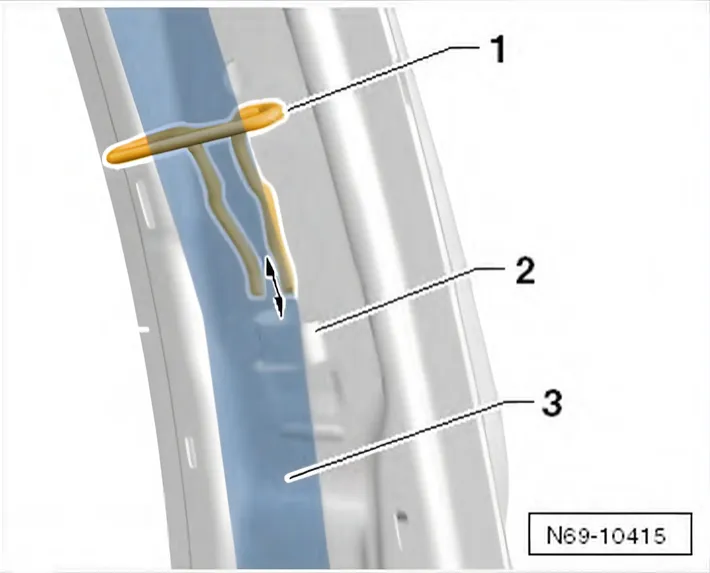
- Pull belt guide -1- out of tab -2-.
- Thread belt -3- out of belt guide.
- Separate connector from belt inertia reel.
- Unscrew bolt -1- (40 Nm) and remove belt inertia reel -2- from B-pillar.
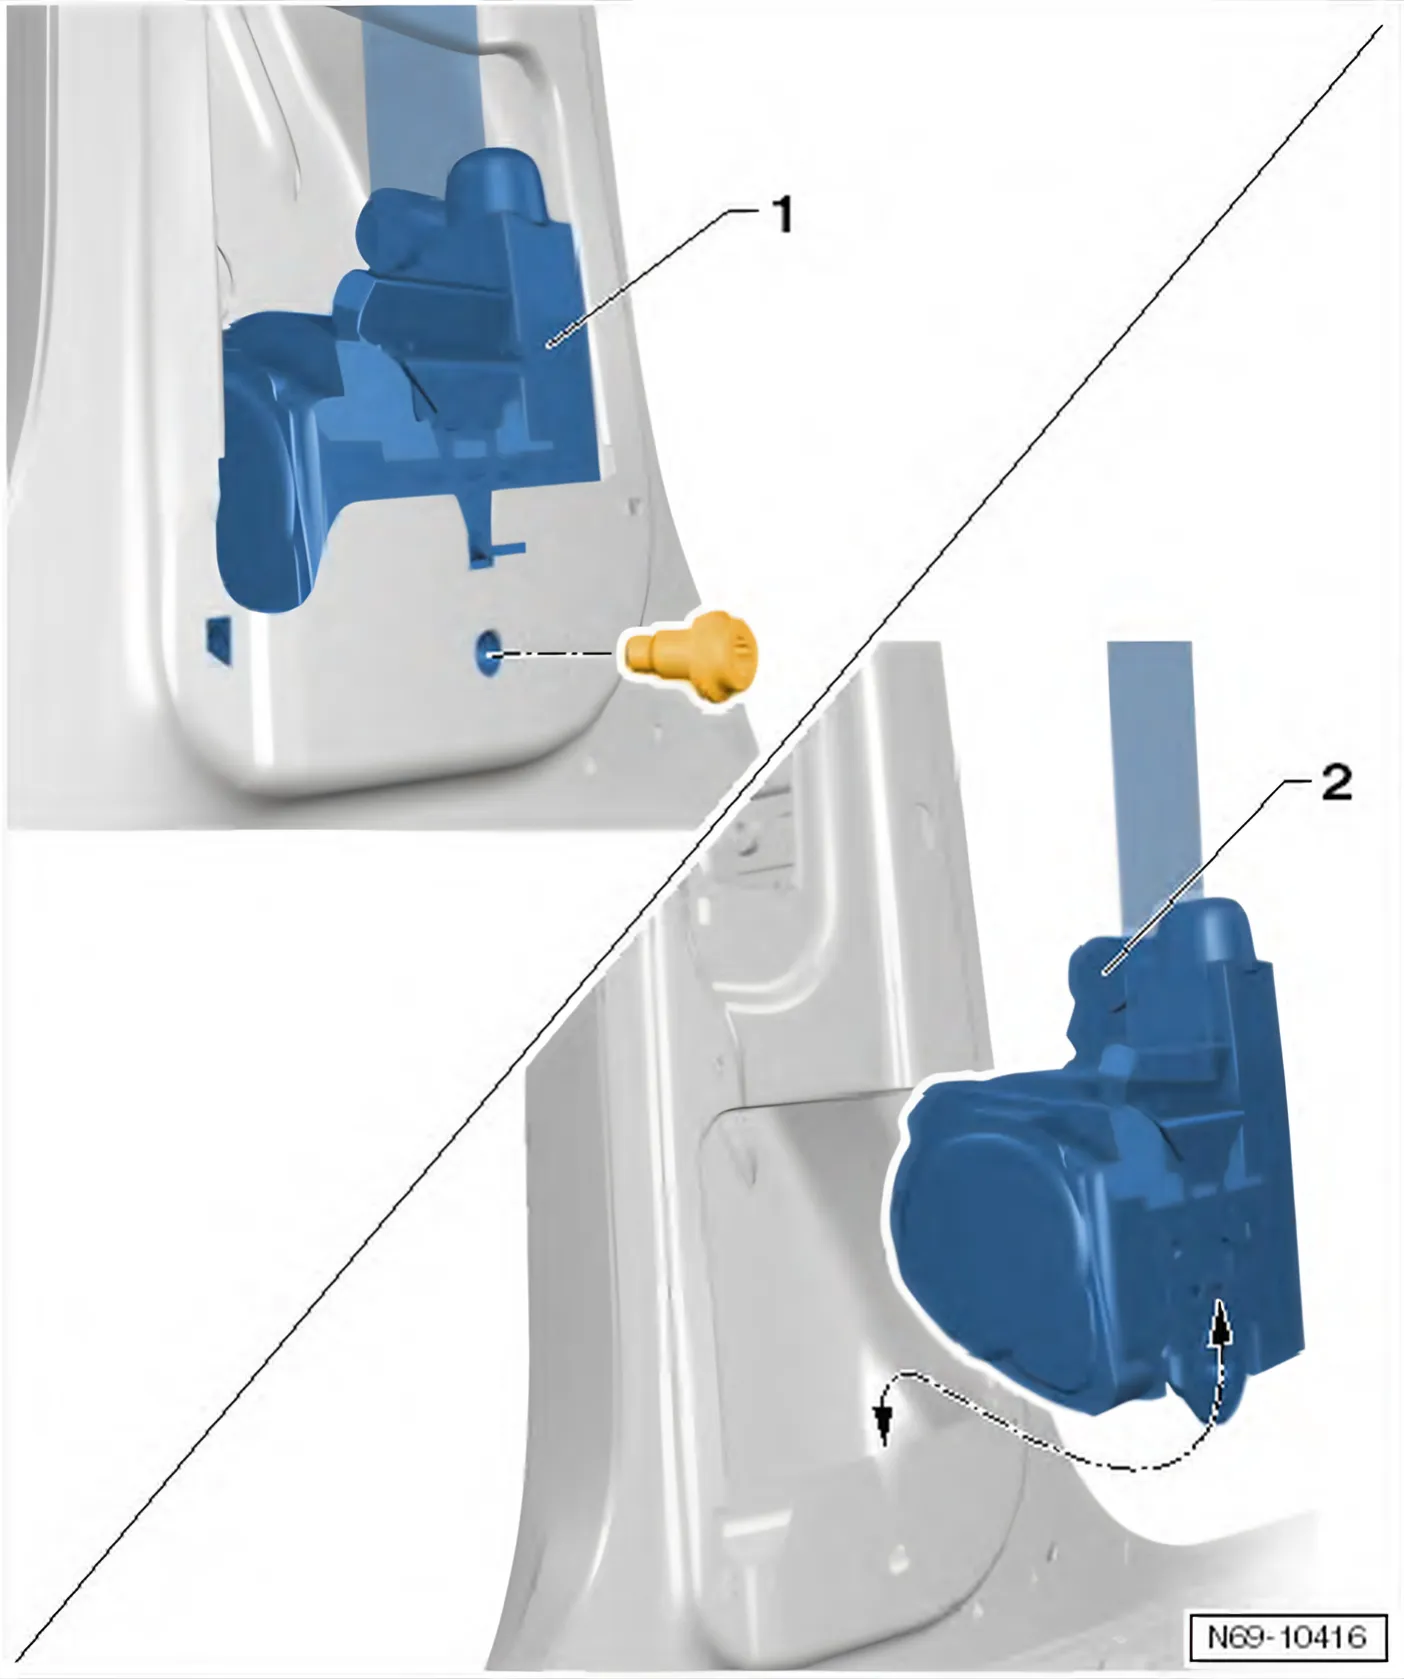
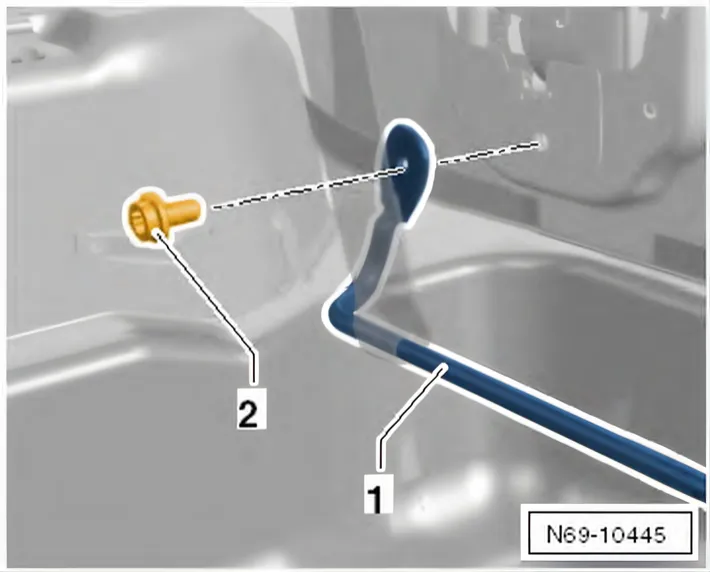
- Unscrew bolt -2- (20 Nm) and pull belt loop off belt anchor rail -1-.
Installing
Install in reverse order of removal.
- Connect vehicle battery ⇒ Electrical system; Rep. gr. 27; Battery; Disconnecting and reconnecting battery.
1.1.2 Removing and installing front 3-point seat belt, 4-door models
Only what differs from the procedure above; everything else is as above.
Removing
- Removing B-pillar trims (4-door models) ⇒ 5.4.2 Removing and installing B-pillar trim, 4-door models.
- Unclip sill panel moulding upwards from front side member.
- Unclip sill panel moulding until bolt from inertia belt reel is accessible.
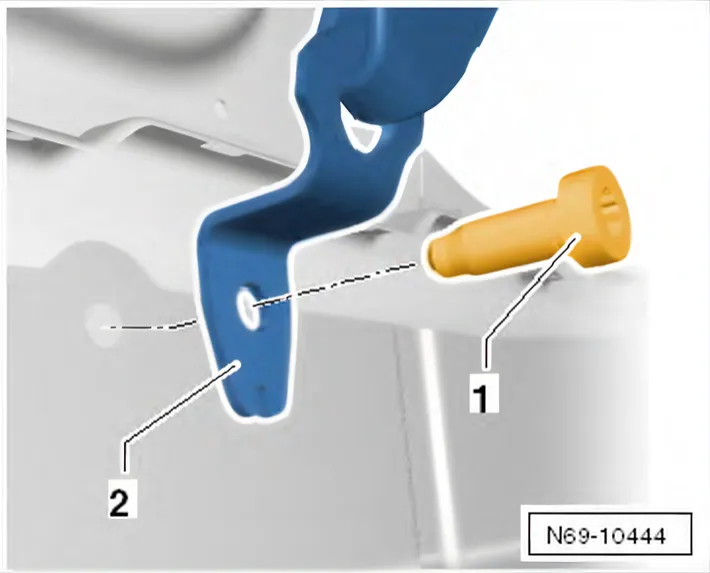
- Remove bolt -1- (40 Nm) and remove belt end anchor -2- from body.