
1.2 TDI CR engine (EA189) · Lubrication · Engine oil cooler
Removing and installing engine oil cooler
Special tools and workshop equipment required
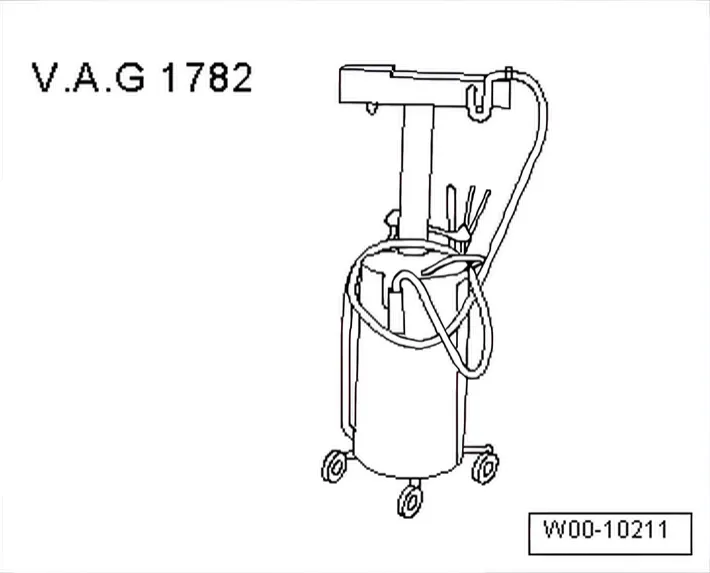
- Used oil collection and extraction unit - V.A.G 1782-
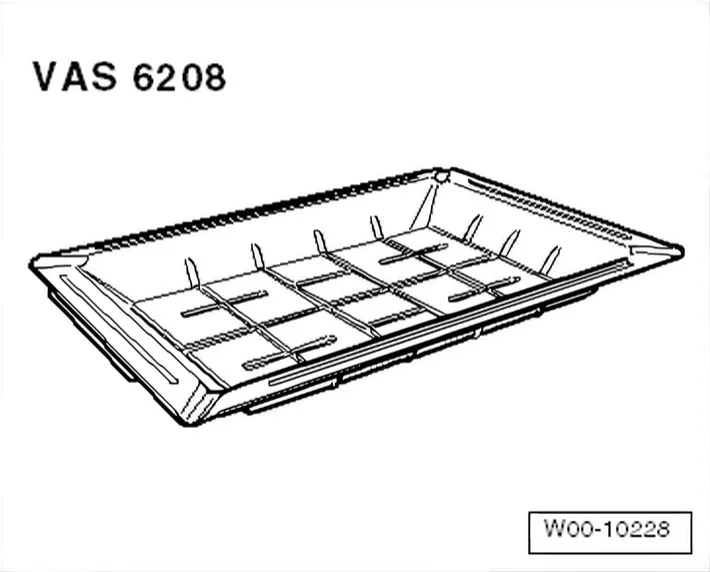
- Drip tray for workshop hoist - VAS 6208-
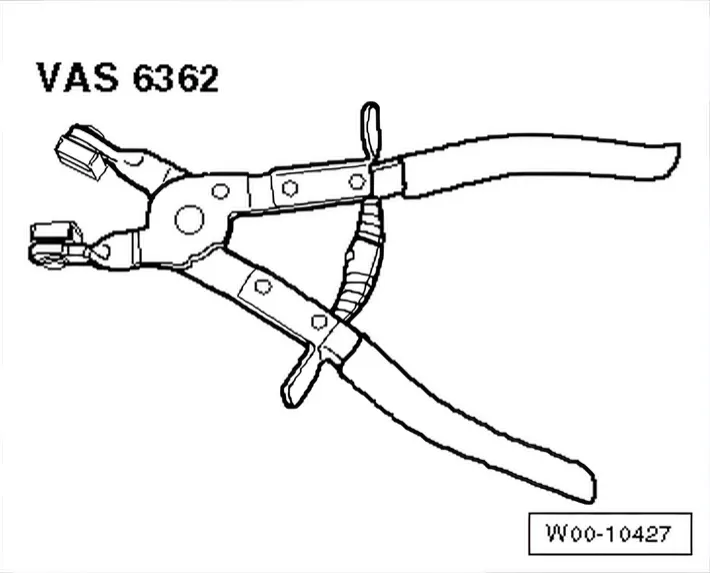
- Spring-type clip pliers - VAS 6362-
»Carry out the following work sequence«
Removing
- Remove engine cover panel ⇒ 3 Engine cover panel.
- Remove cowling ⇒ 3.2 Assembly overview - with radiator fan - V7-.
- Connection hose
- Drain coolant ⇒ 19 – Cooling.
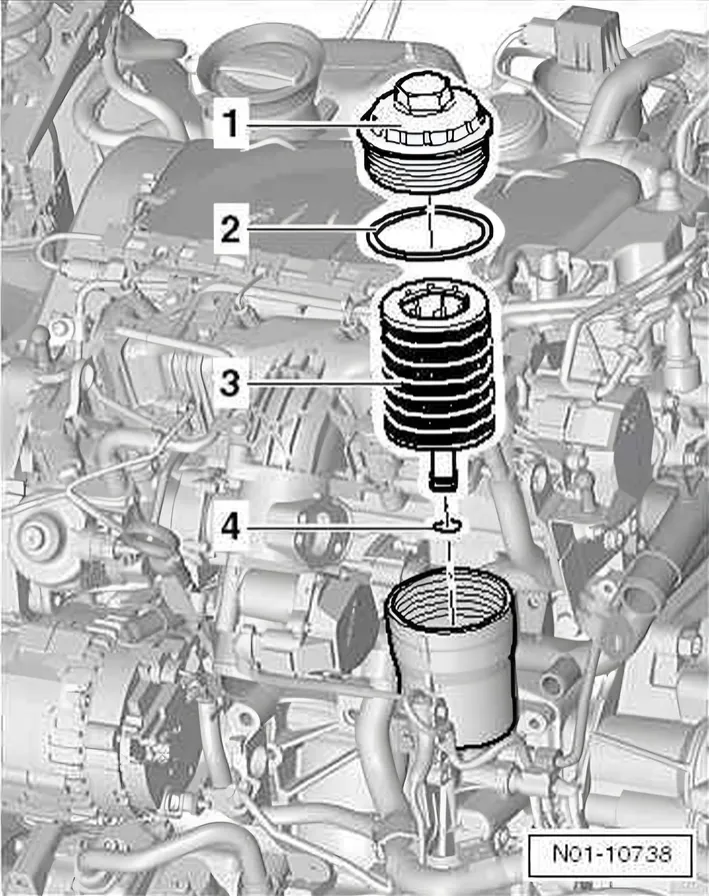
- Remove oil filter element.
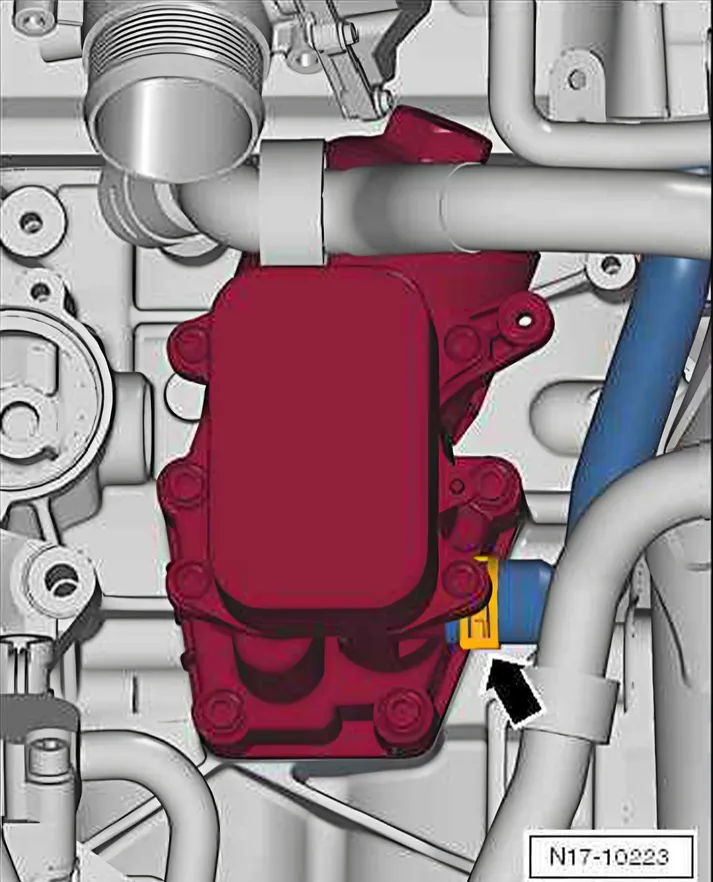
- Remove coolant hoses. To do this, loosen hose clips -1-.
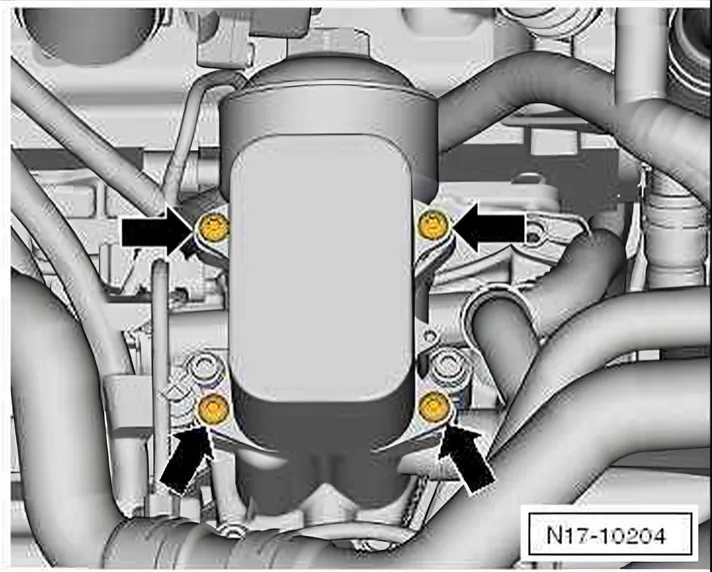
- Unscrew bolts -arrows-.
- Remove engine oil cooler from housing.
Installing
Install in reverse order.
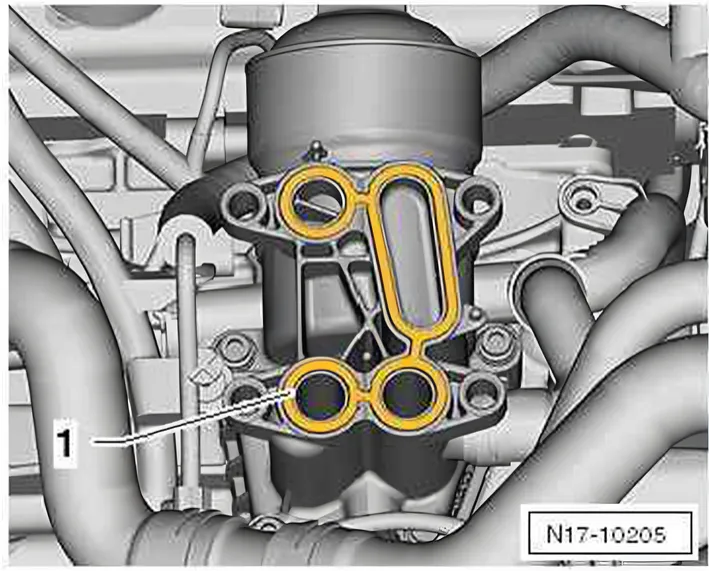
- Insert new seals into oil free lugs -1- on oil filter bracket.
- Carefully slide engine oil cooler onto centring pins.
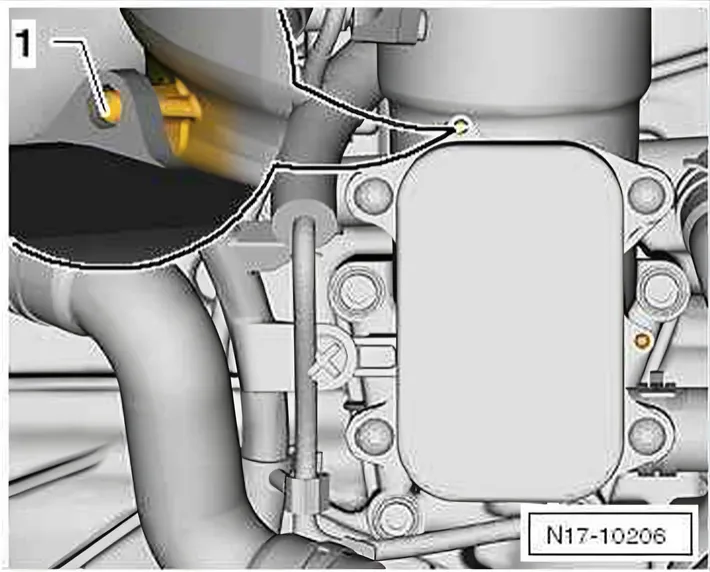
- Press oil cooler on until it is flush -1- with end of centring pins.
- Start new bolts, and screw them in until heads make contact.
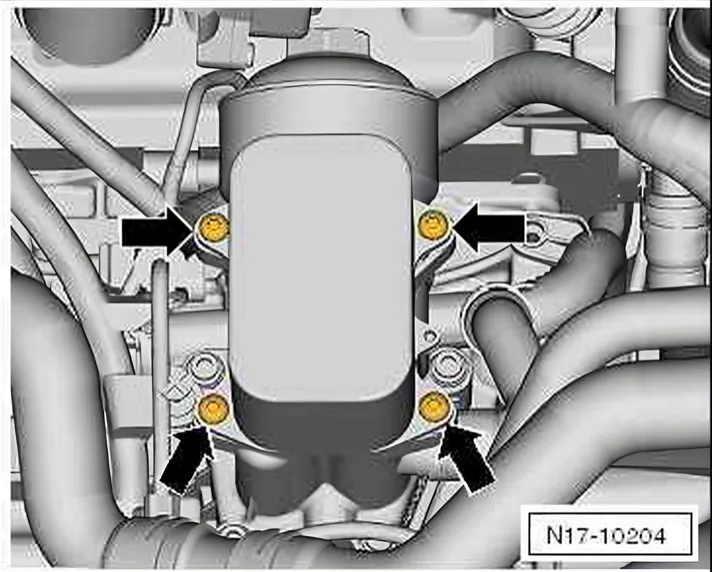
- Tighten bolts -arrows- diagonally in 3 stages.
| Stage | Bolts | Specified torque |
|---|---|---|
| 1 | -Arrows- | Screw in hand tight in diagonal sequence |
| 2 | -Arrows- | in diagonal sequence to 5 Nm |
| 3 | -Arrows- | tighten in diagonal sequence to 11 Nm |
- Install oil filter element, replenish engine oil and check oil level ⇒ 1.3 Removing and installing sump.
- Replenish coolant in cooling system, change coolant if engine oil cooler has been renewed ⇒ 1.3.1 Draining.