
1.2 TDI CR engine (EA189) · Lubrication · Engine oil cooler
Checking engine oil cooler for leaks
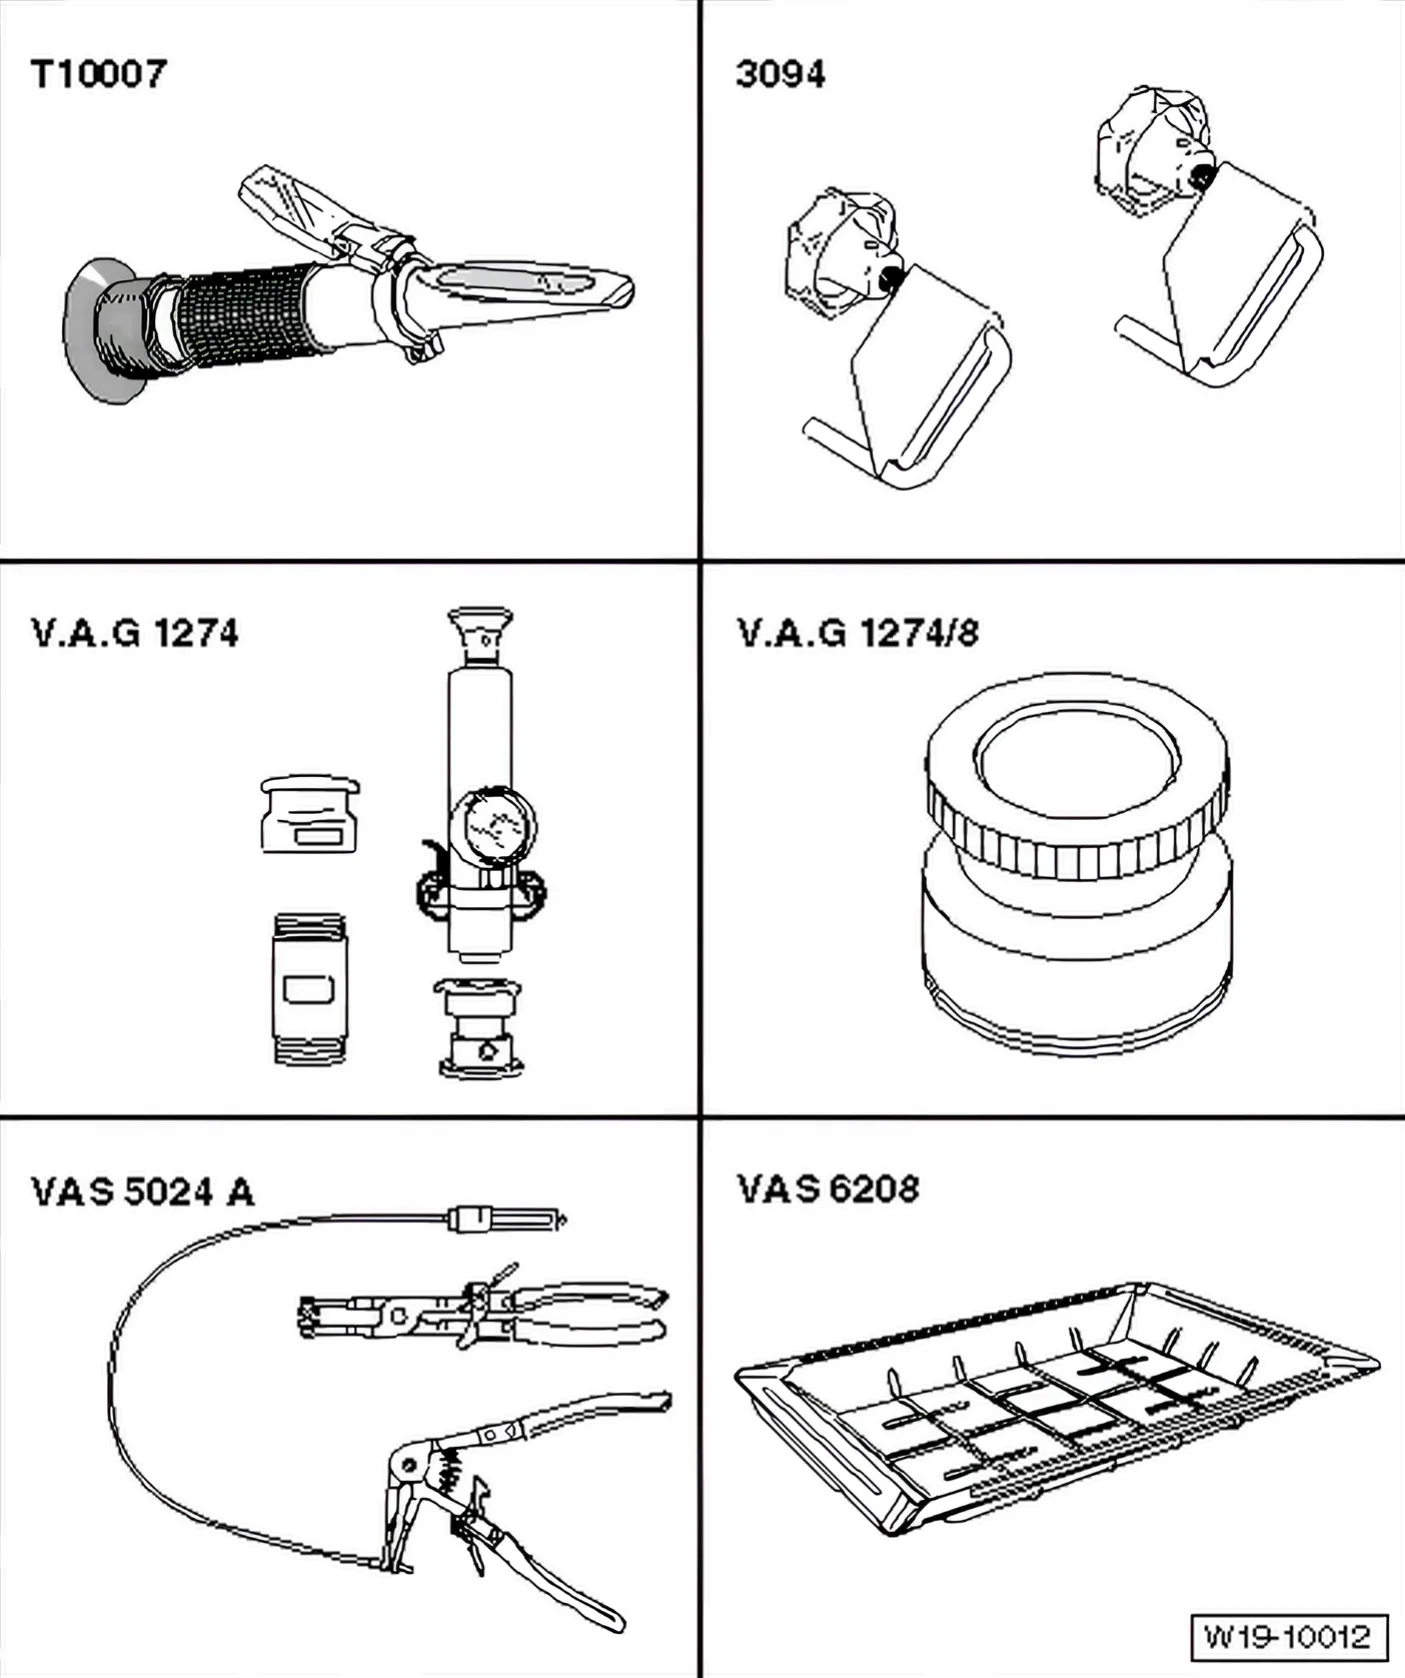
Special tools and workshop equipment required
- Refractometer - T10007-
- Hose clamps up to 25 mm - 3094-
- Cooling system tester - V.A.G 1274-
- Adapter for cooling system tester - V.A.G 1274/8-
- Pliers for spring-type clips - VAS 5024 A-
- Drip tray - V.A.G 1306- or drip tray - VAS 6208-
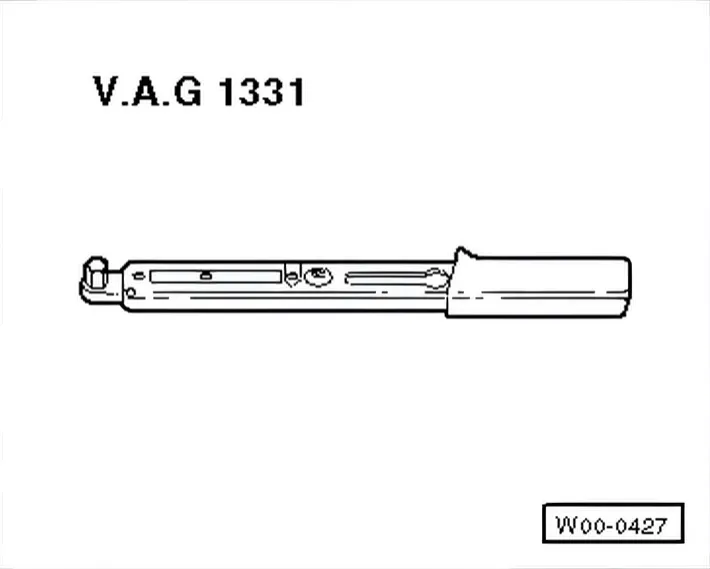
- Torque wrench - V.A.G 1331-
Without illustration:
- Expansion tank - 1K0 121 407 A- or expansion tank - 1J0 121 407 B-
- Sealing plugs - 191 211 343-
- Cap - 1J0 121 324-
- Coolant hose - 251 265 056-
Condition:
- Engine cold
Test sequence
- Remove noise insulation ⇒ Rep. gr. 50.
- Drain coolant ⇒ 19 – Cooling.
- Loosen hose clip on engine oil cooler with spring-type clip pliers - VAS 5024-.
- Remove engine oil cooler with housing ⇒ 3 Oil filter, oil pressure switch.
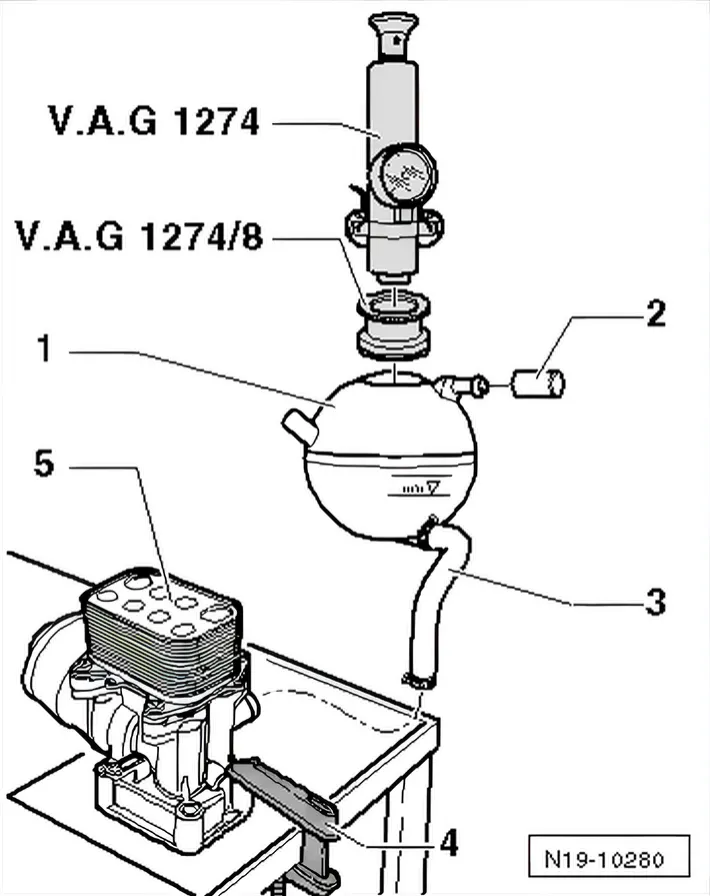
Checking when removed
- Clamp housing with old seal on a suitable, level and clean surface.
- Attach plug -2- to venting connection of expansion tank -1-.
- Secure coolant hose -3- on engine oil cooler and expansion tank.
- Fill expansion tank up to “max.” mark.
- Fit cooling system tester - V.A.G 1274- with adapter for cooling system tester - V.A.G 1274/8- on expansion tank.
- Generate about 1.6 bar pressure using hand pump of tester.
- Observe pressure drop on pressure gauge. A pressure drop within 10 minutes is not permitted.
If the pressure drops:
- Renew engine oil cooler ⇒ 3 Oil filter, oil pressure switch.
Installation is carried out in the reverse order. When installing, note the following:
- Renew seal for housing.
- Check coolant level and, if necessary, replenish ⇒ 1.3.1 Draining.
- Check engine oil level, replenish engine oil if necessary ⇒ 1.3 Removing and installing sump.