
Body repairs – exterior · Glazing · Side window
Removing and installing rear side window
⇒ 4.2.1 Removing and installing rear side window, 2-door model
⇒ 4.2.2 Removing and installing rear side window, 4-door model
4.2.1 Removing and installing rear side window, 2-door model

Special tools and workshop equipment required
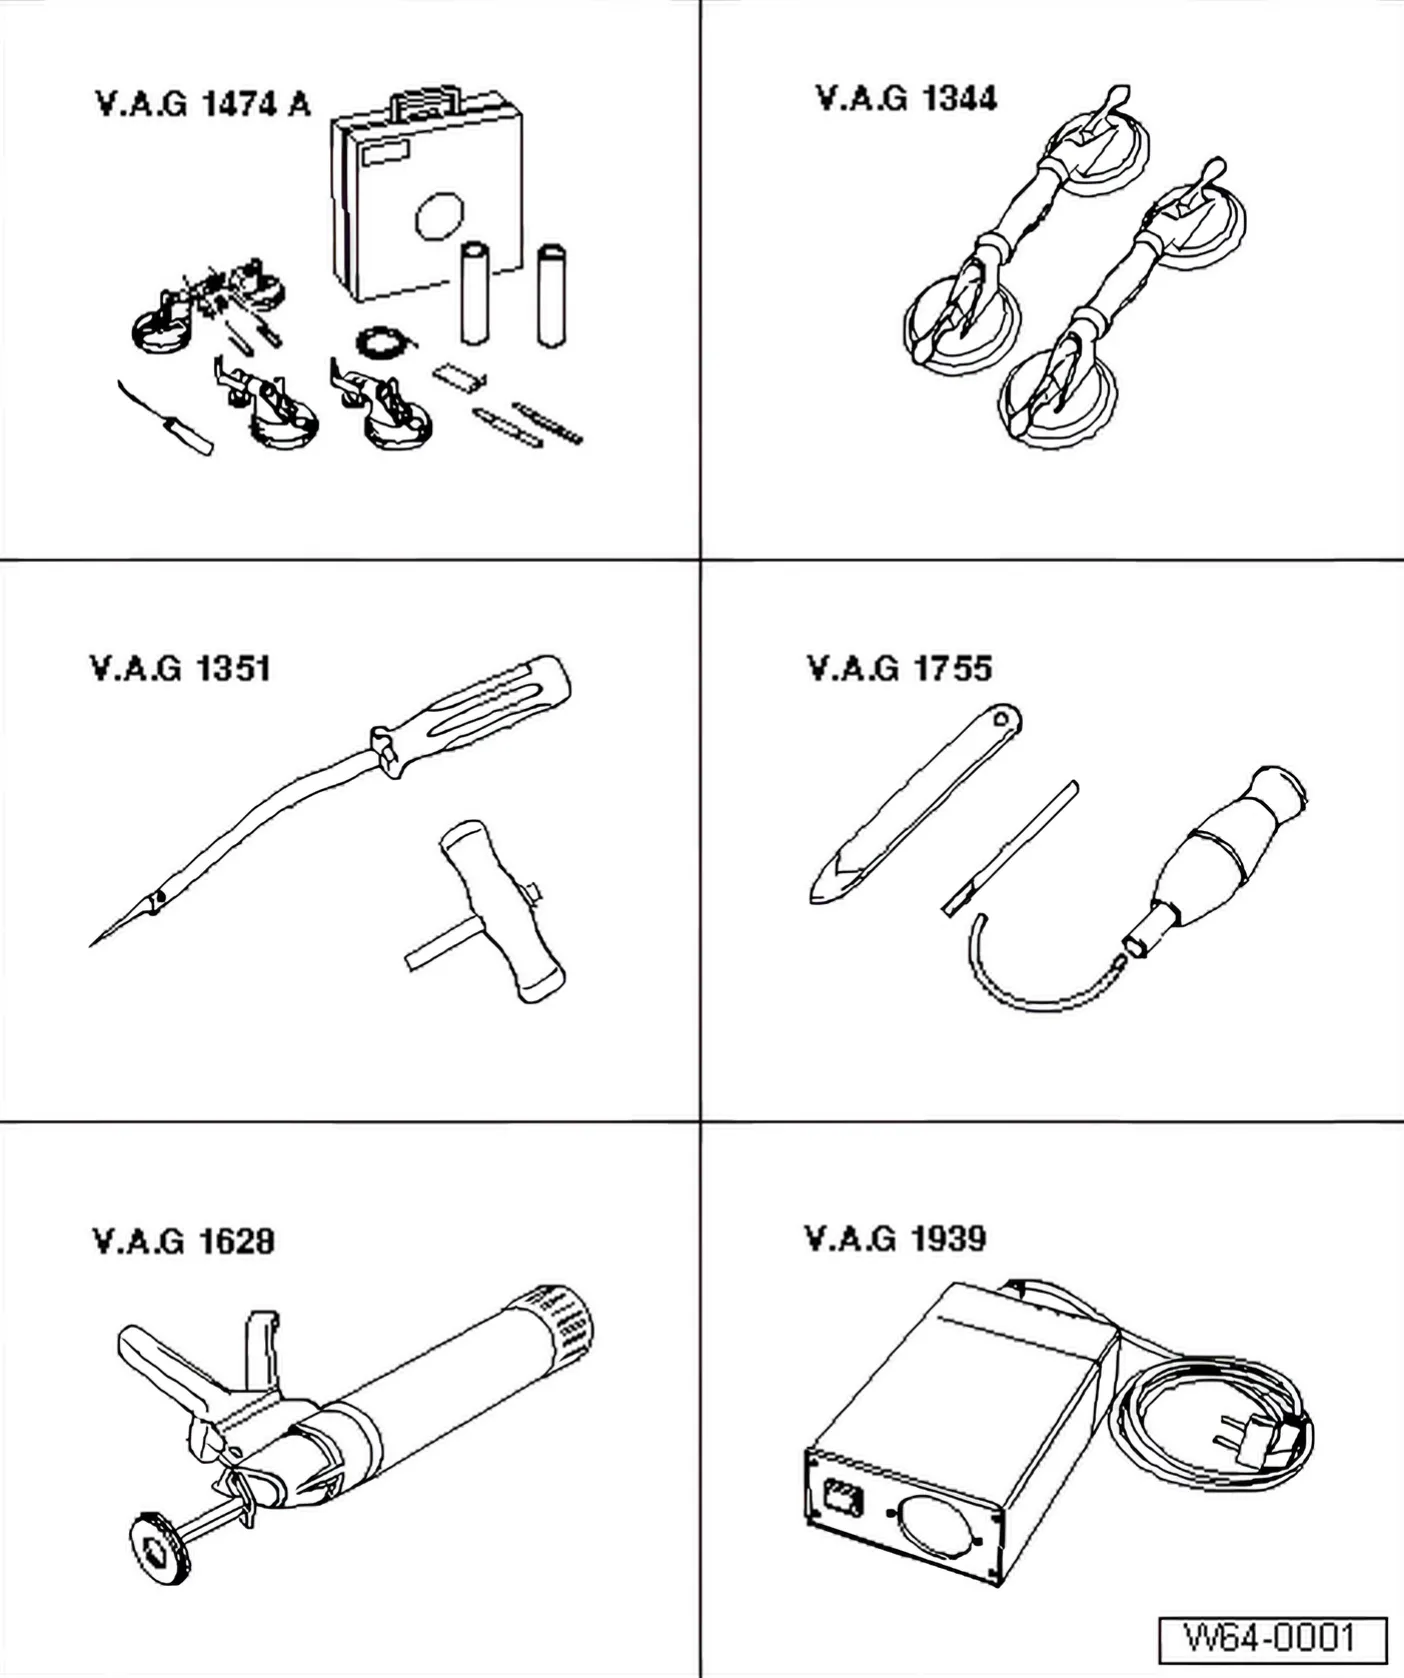
- Removal kit for flush bonded windows - V.A.G 1474 A- or Removal kit for flush bonded windows - VAS 6452-
- Suction lifter - V.A.G 1344-
- Cutting tool - V.A.G 1351-
- Windscreen removal kit - V.A.G 1755-
- Hand-cartridge gun - V.A.G 1628-
- Cartridge heater - V.A.G 1939-
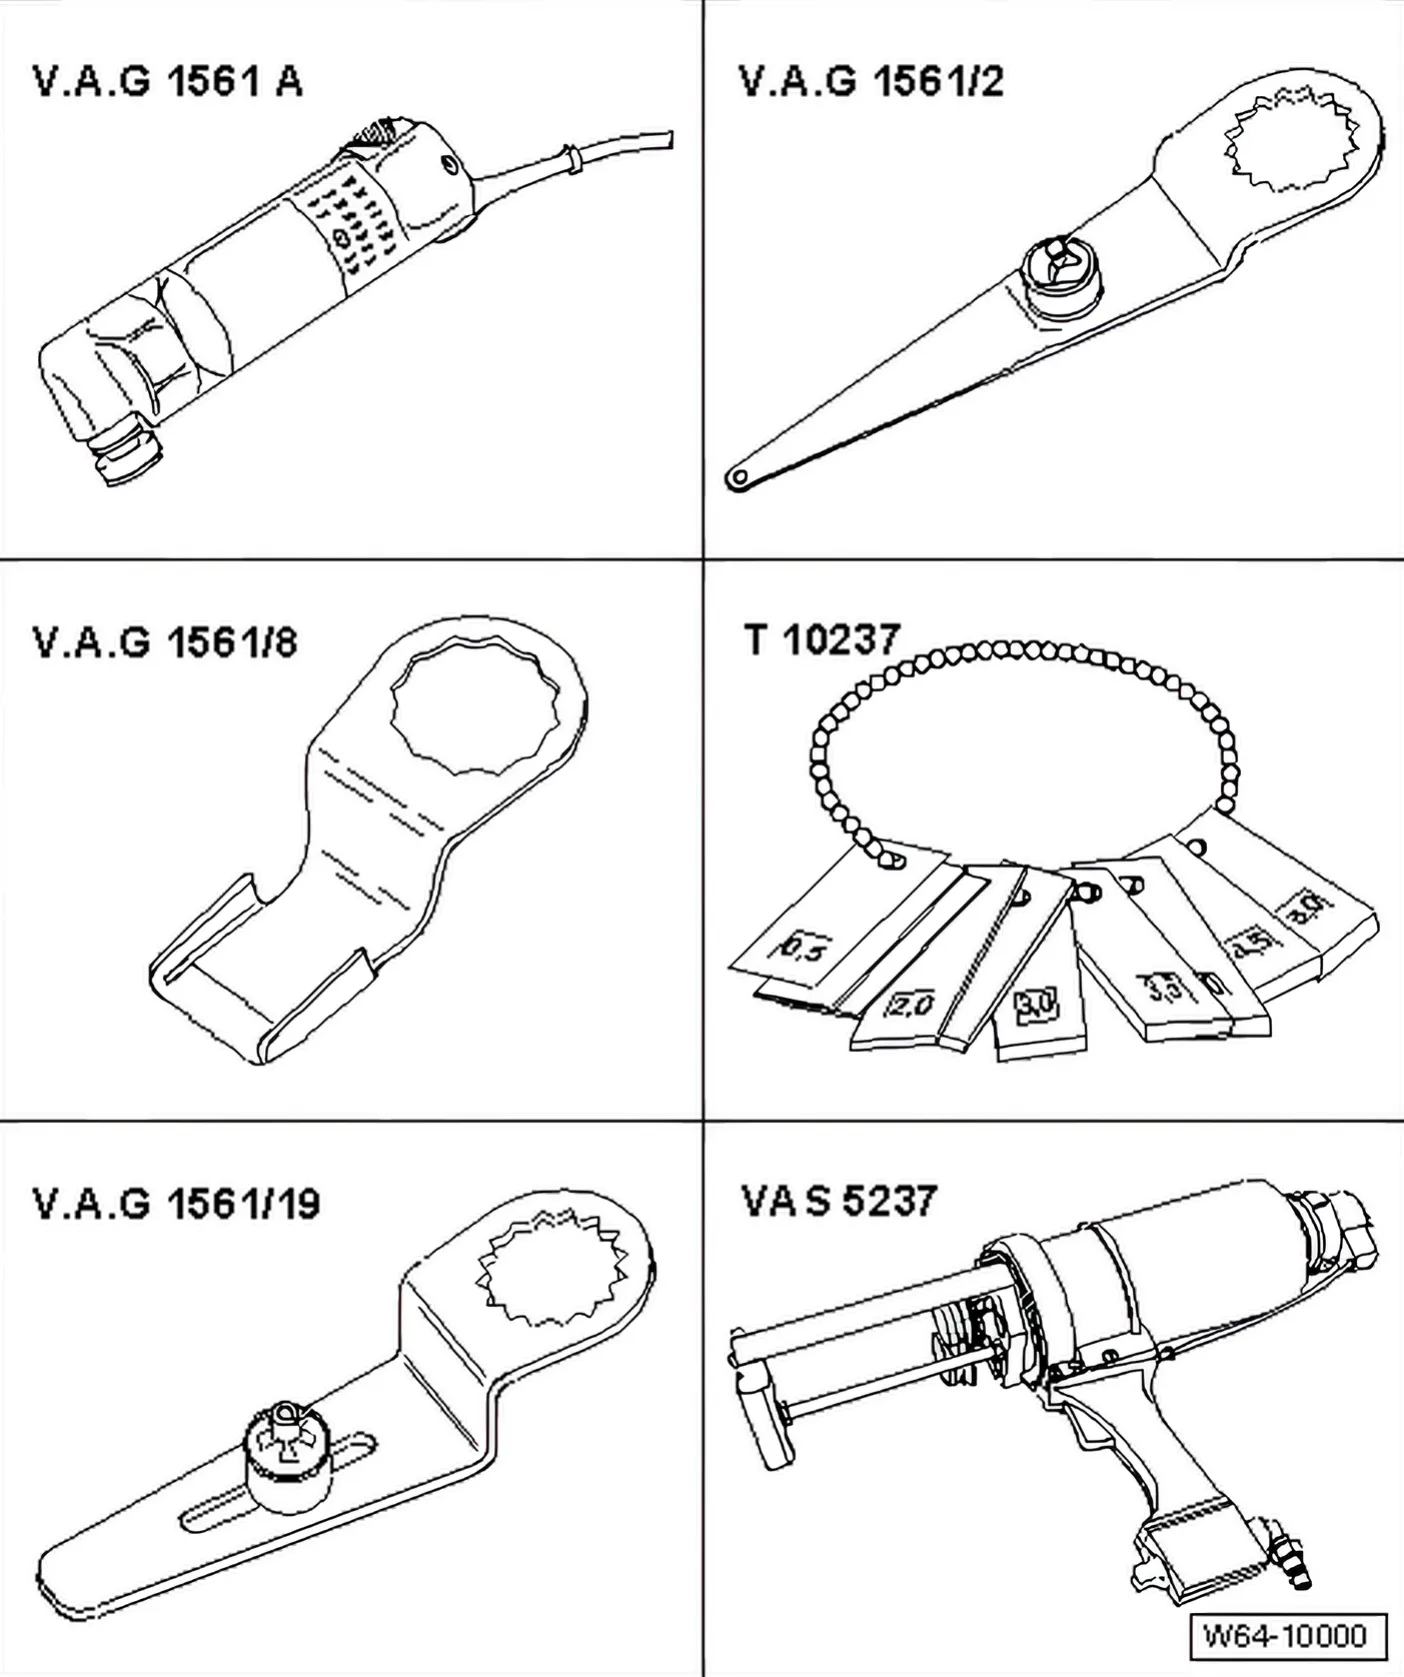
- Electric cutter - V.A.G 1561 A-
- Blade - V.A.G 1561/2-
- Blade - V.A.G 1561/8-
- Setting gauge - 3371-
- Blade - V.A.G 1561/19-
- Double cartridge gun - VAS 5237-
Removing
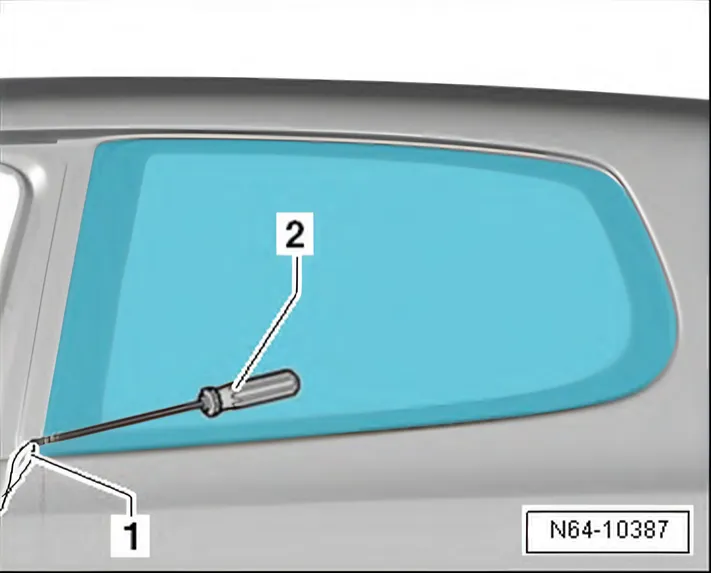
- Remove side trim panel ⇒ General body repairs, interior; Rep. gr. 70; Trims, interior; Removing and installing side trim panel.
Protect surrounding parts against damage.
- Using the awl - V.A.G 1474/2-, pull cutting cord -1- through the adhesive sealant at the place shown in the illustration.
- Press seal aside so that it is not damaged.
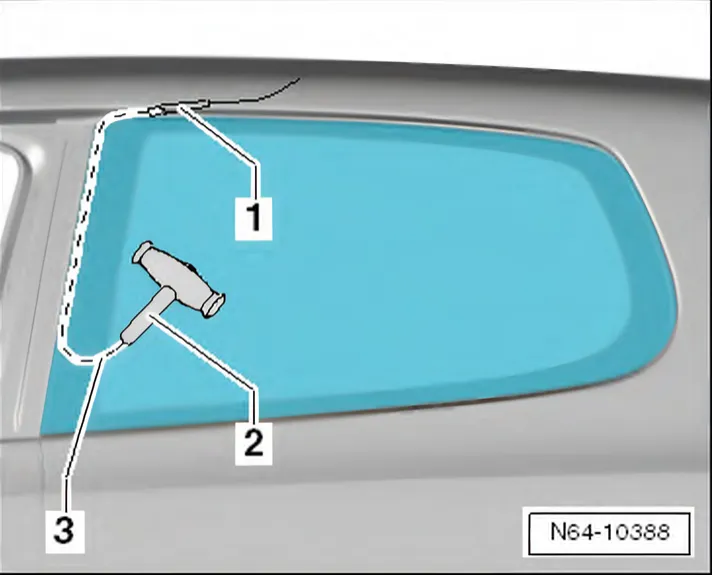
- Insert cutting cord -3- behind seal in window flange with aid of tube -1-.
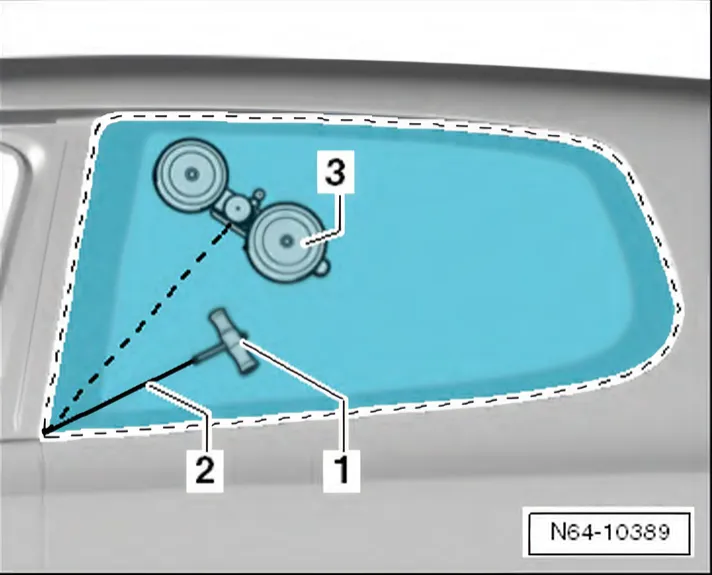
- Secure one end of cord -3- to pull handle - V.A.G 1351/1- -2- to counterhold.
- Pull other end of cord -2- through adhesive sealant as well.
- Secure other end of cord to reel device - V.A.G 1654 A- -3-.
- Turn reel device - V.A.G 1654 A- -3- accordingly and cut window free.
- Press cutting cord against window glass with plastic wedge during cutting process, in order to have clearance at window flange.

- Instead of reel device - V.A.G 1654- -3-, reel device - V.A.G 1654 A- -3- can be used.
- One suction cup can be removed from the reel device - V.A.G 1654- -3- as shown in illustration. This ensures that the reel device - V.A.G 1654 A- -3- roller can be guided closer to the window flange.
Installing
Preparing used undamaged window for glazing ⇒ 1.3 Preparing old undamaged windows for fitting
Preparing new window for glazing ⇒ 1.4 Preparing new windows for installing
Preparing body flange for glazing ⇒ 1.5 Preparing body flange for fitting
Installation instructions ⇒ 1.2 Installation instructions for bonded windows.
Minimum curing period ⇒ 1.1 Minimum curing periods for bonded windows.
4.2.2 Removing and installing rear side window, 4-door model
Special tools and workshop equipment required
- Removal kit for flush bonded windows - V.A.G 1474 A- or Removal kit for flush bonded windows - VAS 6452-
- Suction lifter - V.A.G 1344-
- Cutting tool - V.A.G 1351-
- Windscreen removal kit - V.A.G 1755-
- Hand-cartridge gun - V.A.G 1628-
- Cartridge heater - V.A.G 1939-
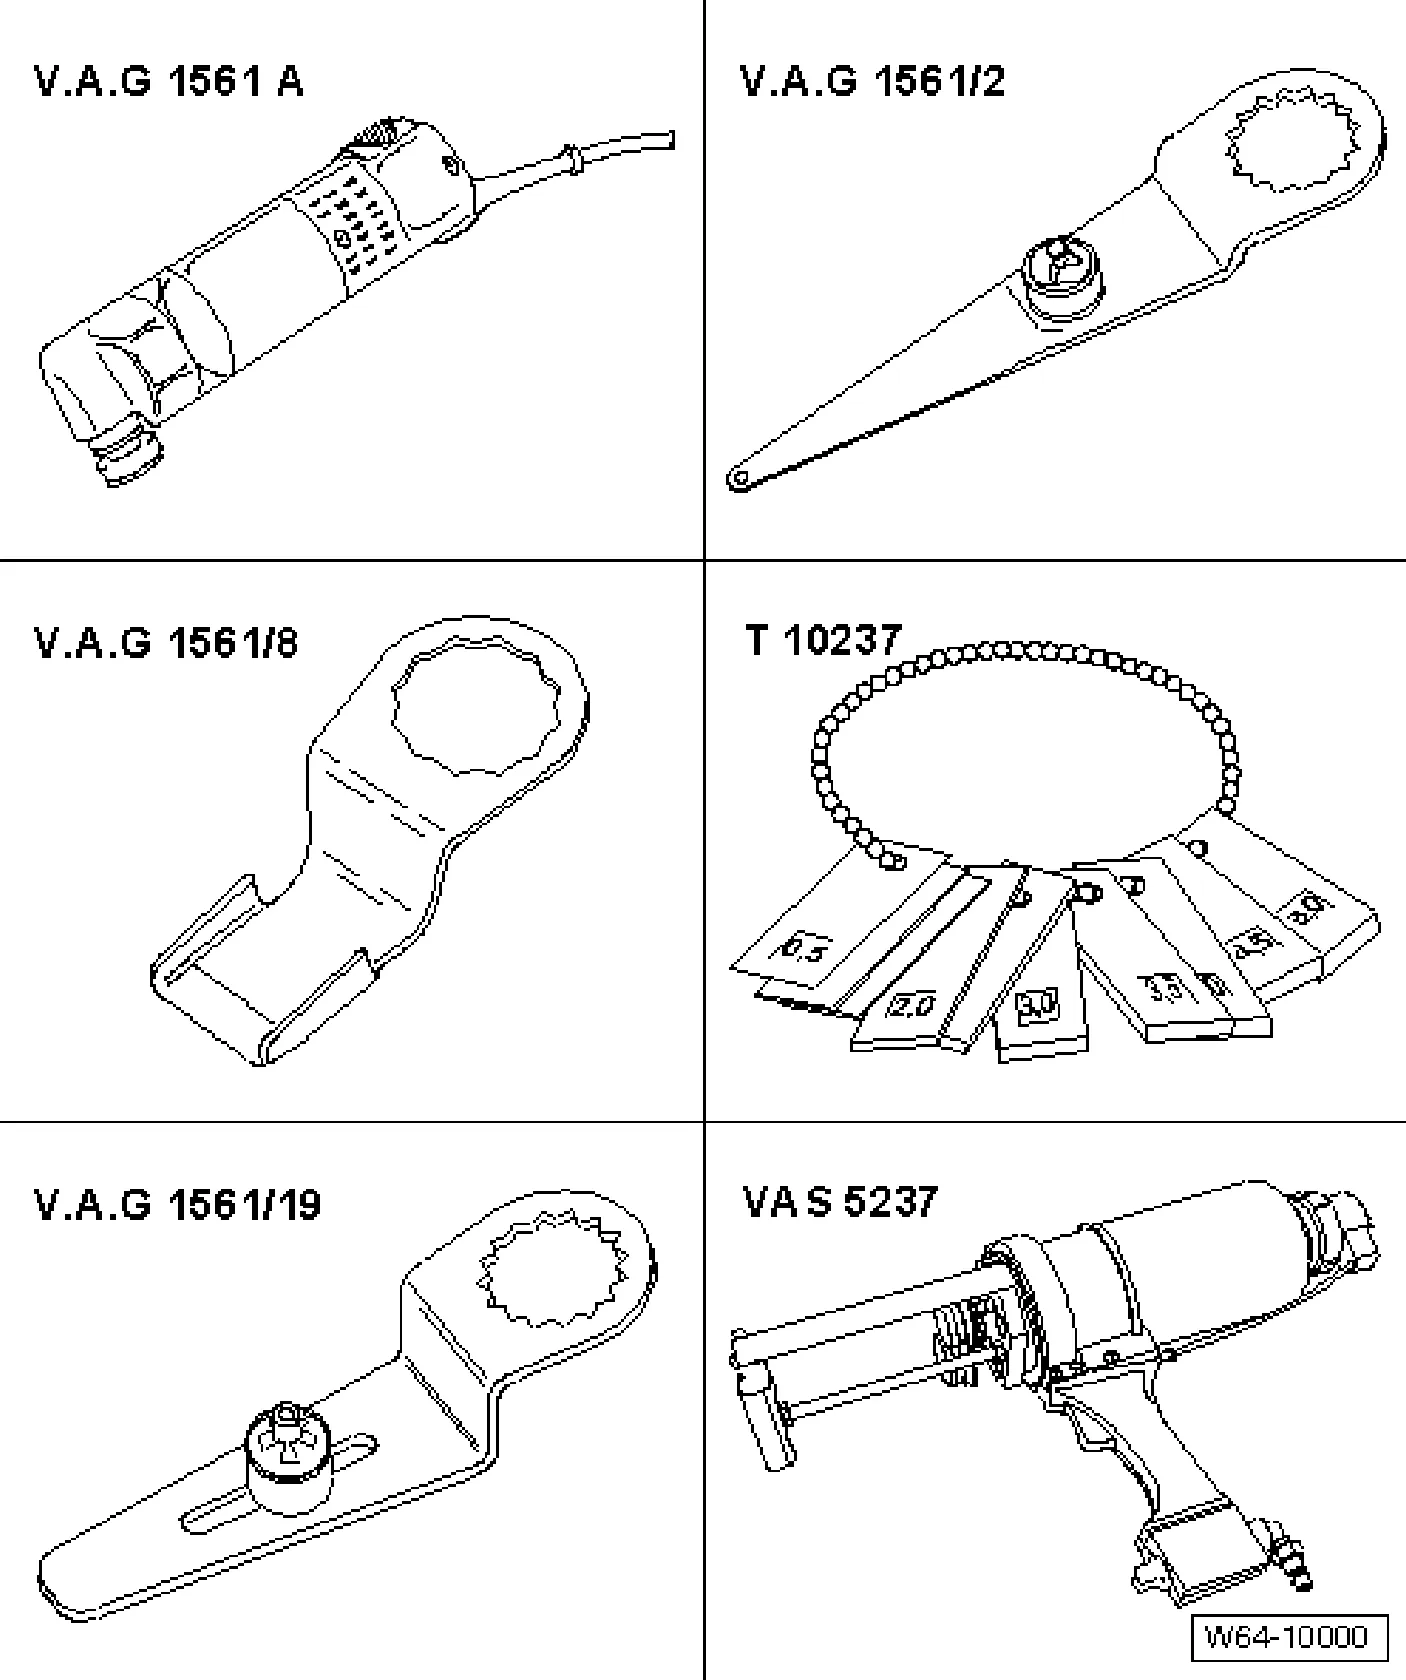
- Electric cutter - V.A.G 1561 A-
- Blade - V.A.G 1561/2-
- Blade - V.A.G 1561/8-
- Setting gauge - 3371-
- Blade - V.A.G 1561/19-
- Double cartridge gun - VAS 5237-

Removing
Protect surrounding parts against damage.
- Insert cutting cord -3- behind seal -1- in window flange with aid of tube -2-.

- Secure ends of cutting cord -2- to pull handles - V.A.G 1351/1- -4-.
- Fold seal down in area -5- -arrows a- and protect against damage by cutting cord.
- Cut through adhesive bead with “sawing” motions -arrows bon pull handles - V.A.G 1351/1-.
Installing
Preparing used undamaged window for glazing ⇒ 1.3 Preparing old undamaged windows for fitting
Preparing new window for glazing ⇒ 1.4 Preparing new windows for installing
Preparing body flange for glazing ⇒ 1.5 Preparing body flange for fitting
Installation instructions ⇒ 1.2 Installation instructions for bonded windows.
Minimum curing period ⇒ 1.1 Minimum curing periods for bonded windows.