
1.4 MPI engine (EA111) · Fuel supply system · Parts of fuel supply system
Removing and installing fuel tank
Special tools and workshop equipment required
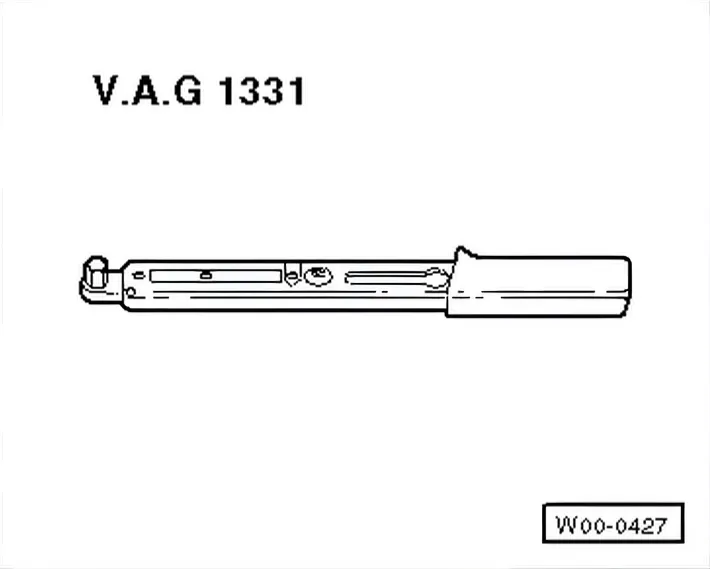
- Torque wrench (5 … 50 Nm) - V.A.G 1331-
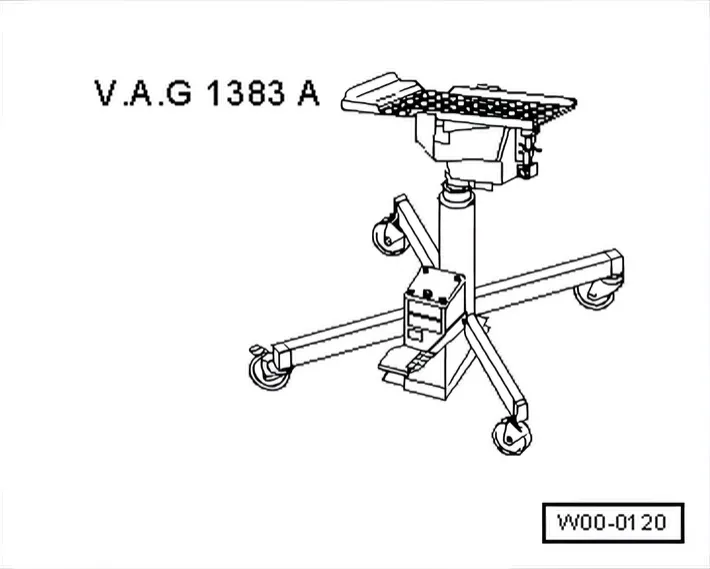
- Engine and gearbox jack - V.A.G 1383 A-
1.6.1 Removing
- Note safety precautions before beginning work ⇒ 1.2 Safety regulations for working on fuel supply.
- First check whether a coded radio is fitted. If so, obtain antitheft code.
- With the ignition switched off, disconnect battery earth strap.
- Unscrew securing bolts and remove tank flap unit.
- Drain fuel tank and clean fuel filler neck and surrounding area.
- Fold rear seat bench forwards.
- Remove cover from fuel delivery unit.
- Pull 4-pin connector off flange.
- Remove rear right wheel.
- Remove rear right wheel housing liner ⇒ General body repairs, exterior; Rep. gr. 66; Removing and installing wheel housing liner.
- Remove activated charcoal filter.
- Unbolt filler neck from body.
- Unscrew all rear exhaust system retainers from body. Then support lowered exhaust system on body with wire.
- Remove rear axle: ⇒ Running gear, axles, steering; Rep. gr. 42; Repairing rear axle; Removing and installing rear axle.
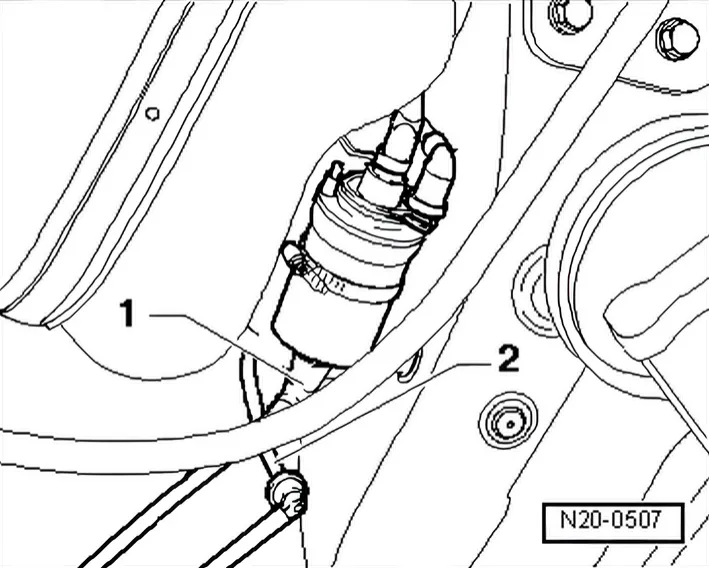
- Disconnect supply line -1- (black) and breather line -2- (white) at connecting point.
- Unscrew securing strap and securing bolts. When doing this, support fuel tank with engine and gearbox jack -V.A.G 1383 A-.
- Lower fuel tank.
1.6.2 Installing
Install in reverse order of removal. During this step, observe the following:
- Install breather and fuel hoses free of kinks.
- Ensure fuel hoses are seated correctly.
- Do not interchange supply and return lines (return line blue or with blue markings, supply line black).