
1.2 TDI CR engine (EA189) · Exhaust system · Exhaust gas recirculation
Removing and installing exhaust gas recirculation cooler
Special tools and workshop equipment required
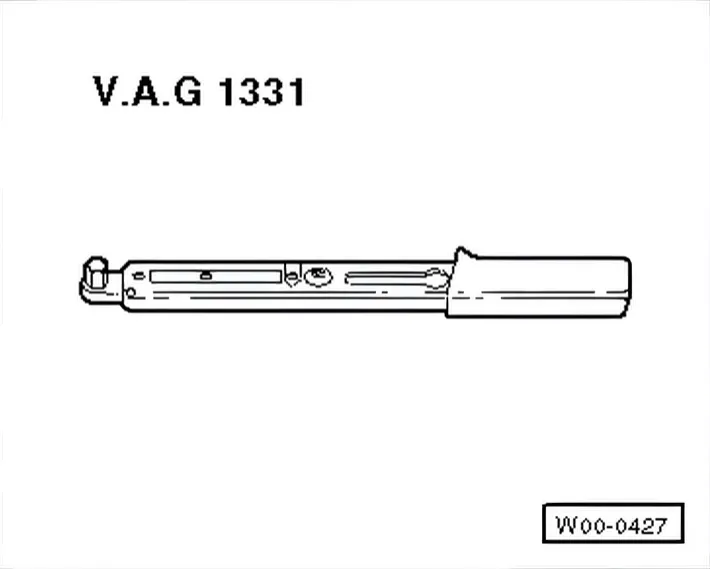
- Torque wrench - V.A.G 1331-.
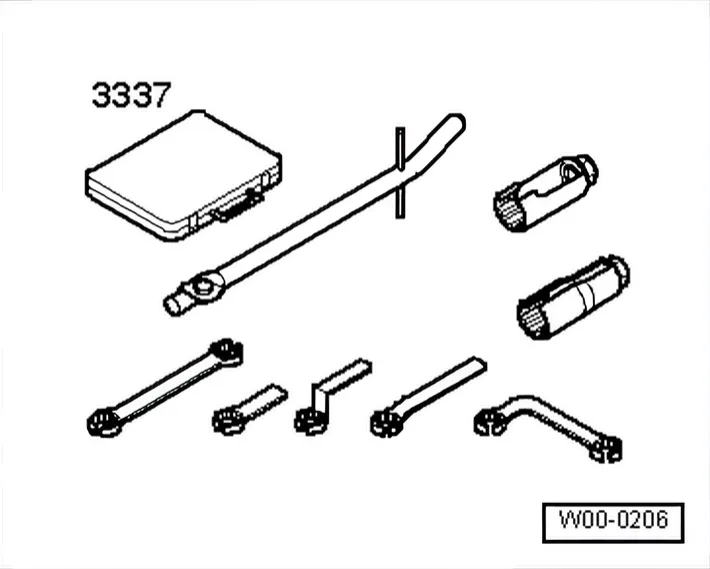
- Lambda probe open ring spanner set - 3337-
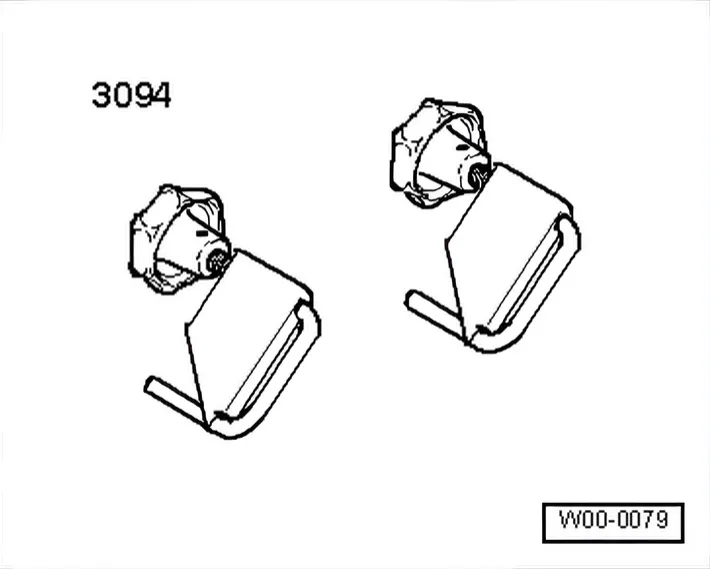
- Hose clamps up to 25 mm - 3094-

- Hose clip pliers -V.A.G 1921 - W00- 0464-
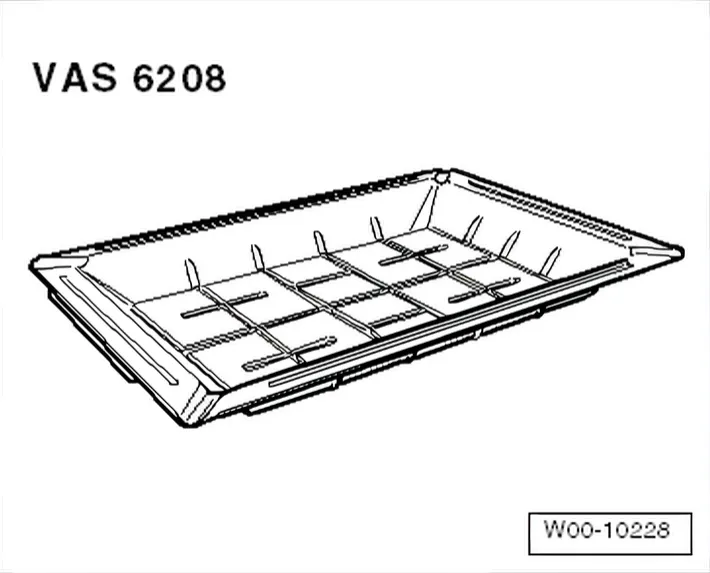
- Drip tray for workshop hoist - VAS 6208-
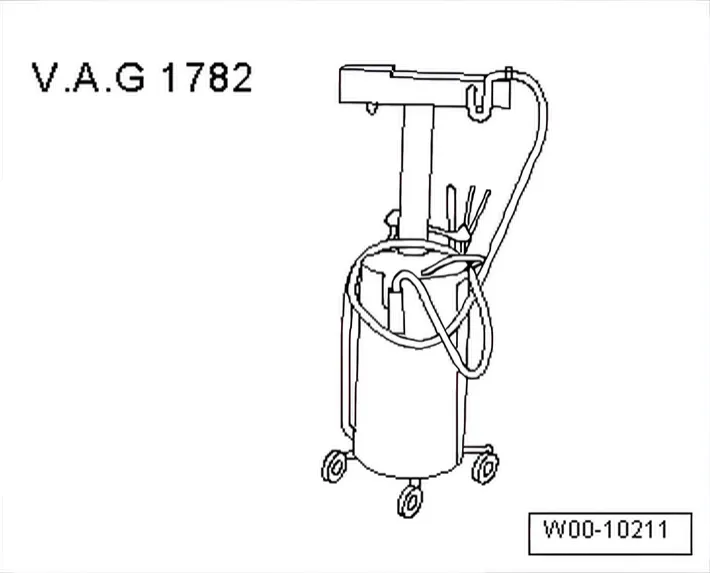
- Used oil collection and extraction unit - V.A.G 1782-
Removing
- Remove engine cover panel ⇒ 3 Engine cover panel.
- Remove air filter housing with air mass meter - G70- and suction hose ⇒ 7.1 Assembly overview - air filter.
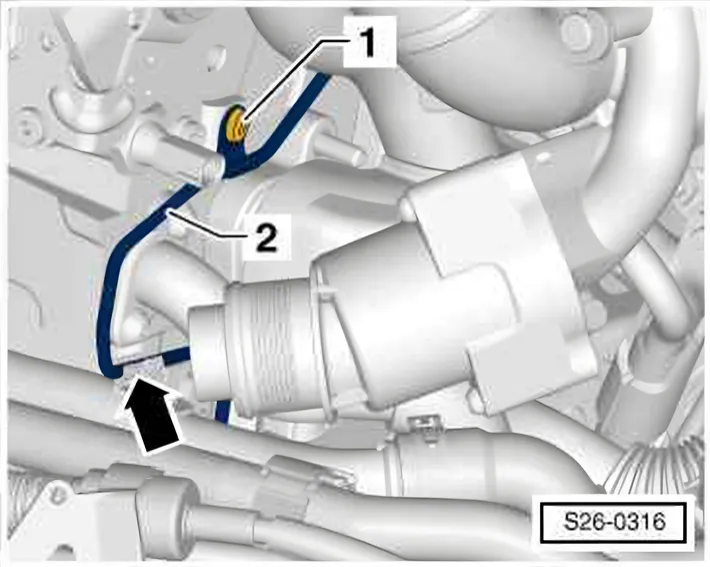
- Unscrew bolt -1-.
- Unclip vacuum line -2- from bracket -arrow- and push it downwards.
- Remove front right wheel.
- Remove front right wheel housing liner ⇒ General body repairs ⇒ Rep. gr. 66.
- Remove noise insulation ⇒ Rep. gr. 50.
- Remove particulate filter ⇒ 2.1.2 Assembly overview - particulate filter (RHD).
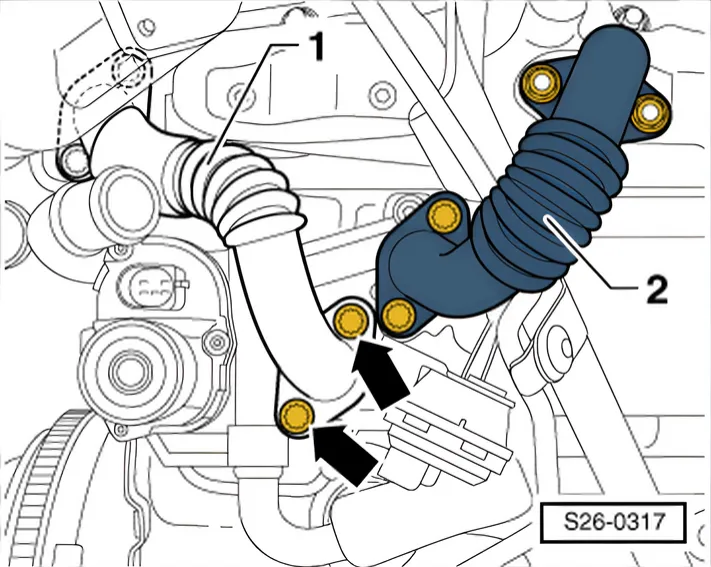
- Remove connection pipe -2- leading to cooler for exhaust gas recirculation.
- Unscrew connecting pipe -1- only at exhaust gas recirculation cooler -arrows-.
- Catch leaking engine oil with used oil collection and extraction unit - V.A.G 1782-.
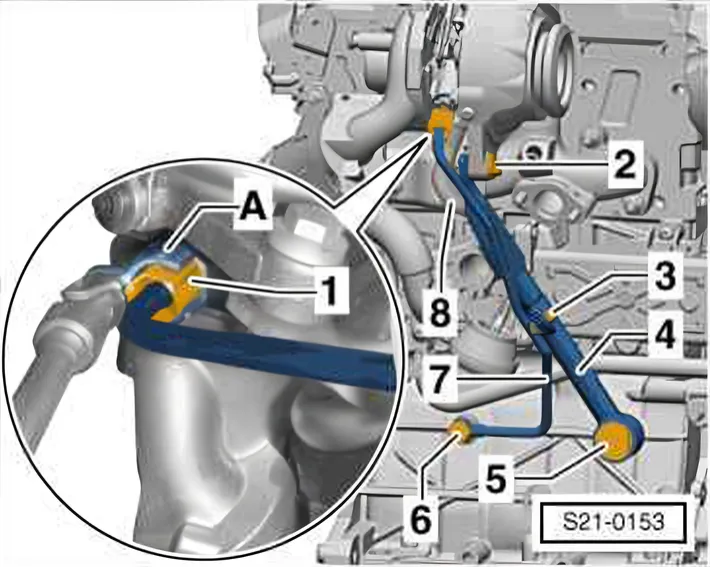
- Undo union nut -1- with 17 mm open-end ring spanner.
- Unscrew bolts -2, 3, 5 and 6-.
- Detach oil supply line -7-.
- Pull turbocharger support -4- off the oil return line -8-.
- Remove heat shielding covering at vacuum unit.
- Pull vacuum line off vacuum unit.
- Pull connector off exhaust gas recirculation actuator - V338-.
- Pinch off coolant hoses leading to exhaust gas recirculation cooler using hose clamps, up to 25 mm - 3094-.
- Collect escaping coolant with drip tray for workshop hoists - VAS 6208-.
- Pull coolant hoses off exhaust gas recirculation cooler.
- Unscrew bolts and remove exhaust gas recirculation cooler.
Installing
Specified torques ⇒ 3 Exhaust gas recirculation.
- Installation is carried out in the reverse order; note the following:
- Add coolant ⇒ 1.3.1 Draining.
- Checking engine oil level ⇒ 1.3 Removing and installing sump.