
Body interior · Seat – padding, covers · Front seat covers and padding
Removing and installing backrest cover and cushion
6C 2014–2017 Special tools and workshop equipment required
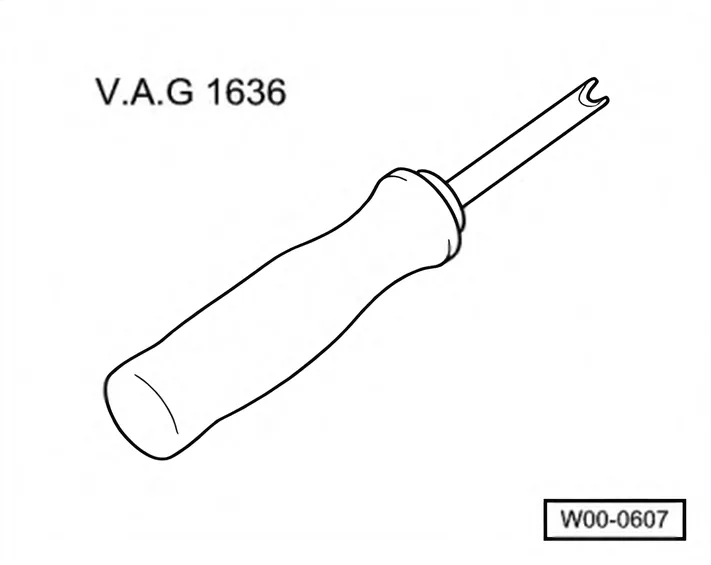
- Awl - V.A.G 1636-
Removing
- Remove front seat ⇒ 1.1 Removing and installing front seat.
- Removing front belt buckle ⇒ 1.5 Removing and installing front belt buckle.
- Removing seat trim on tunnel side ⇒ 1.2 Removing and installing seat trim on tunnel side.
- Removing seat trim on sill side:
- Seat without height adjustment ⇒ 1.3.1 Removing and installing seat trim on sill side, seat without height adjustment.
- Seat with height adjustment ⇒ 1.3.2 Removing and installing seat trim on sill side, seat with height adjustment.
- Removing mounting for drawer, if fitted ⇒ 1.6 Removing and installing mounting for drawer.
- Remove backrest:
- 4-door model ⇒ 1.7 Removing and installing front backrest
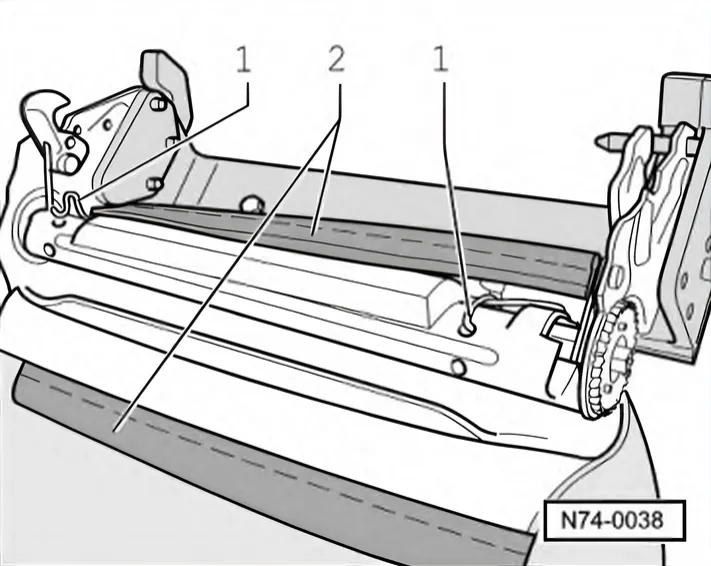
- Separate beading strip -2- on bottom of backrest using a screwdriver.
- Unhook tensioning wires -1-.
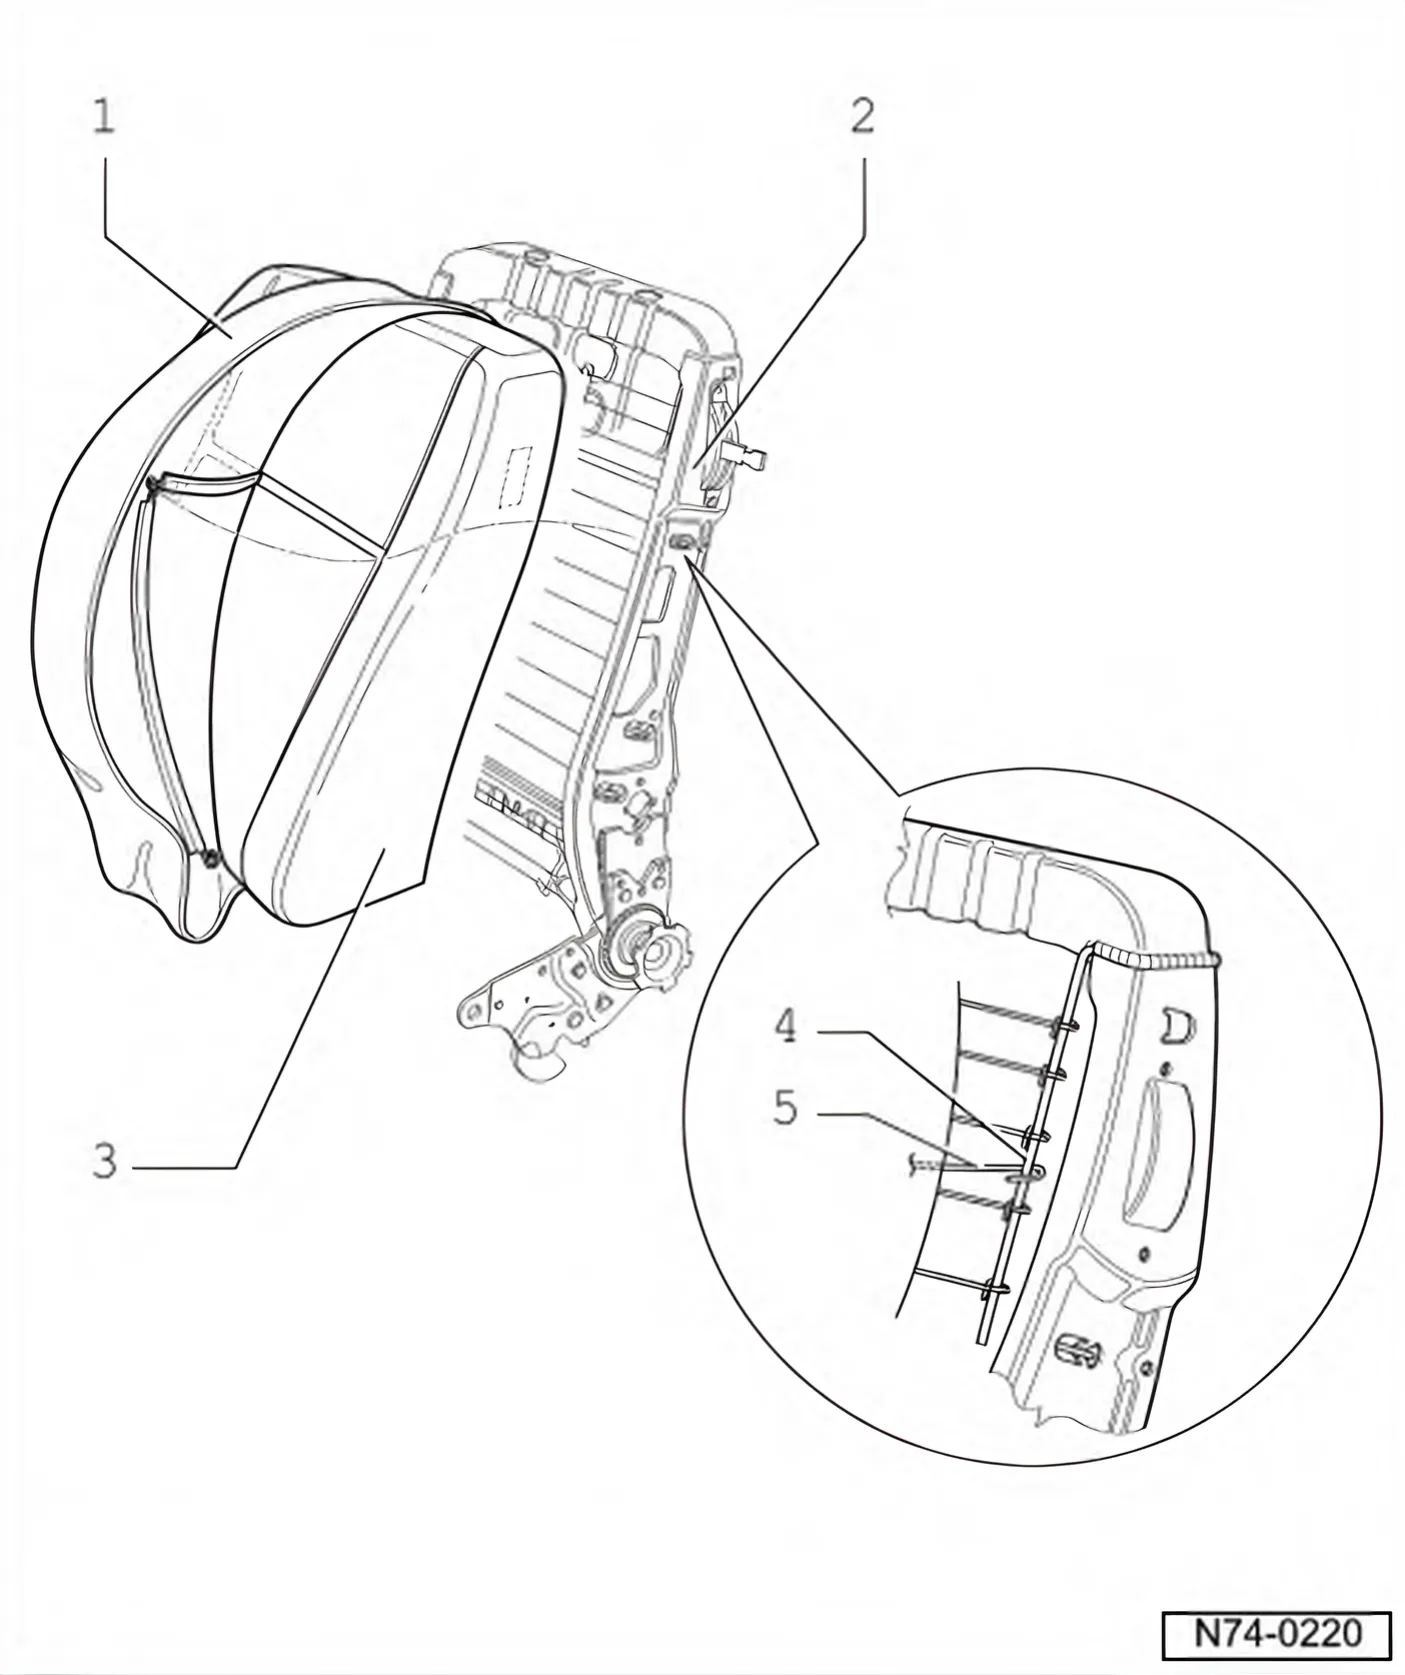
- Roll up cover far enough that tensioning frame -4- and padding wires -5- on front side are visible.
- Unhook padding wire -5- from tensioning frame -4- using awl
- V.A.G 1636-.
- Also unhook padding wire from tensioning frame using awl - V.A.G 1636- on rear.
- Pull cover -1- off over both head restraint guides.
- Slide padding -3- over both head restraint guides and release from backrest frame -2-.
Installing
Installation is carried out in reverse order.