
Body interior · Seat frames · Front seats
Removing and installing front seat
Special tools and workshop equipment required
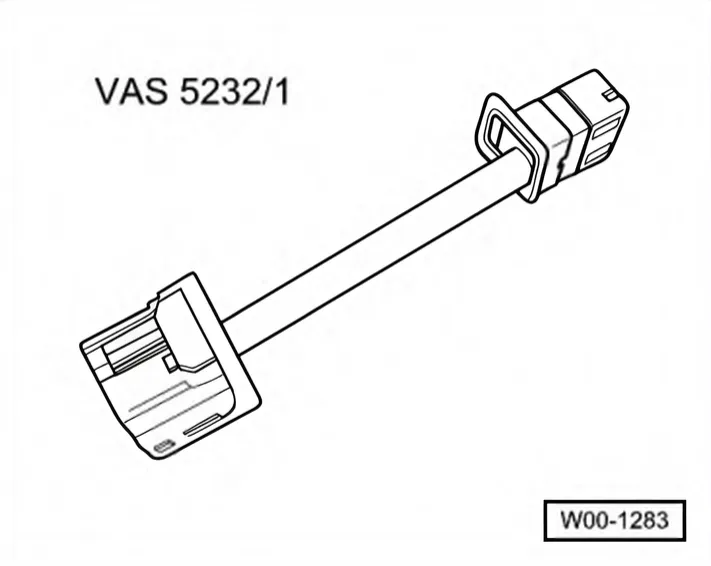
- Airbag adapter - VAS 5232/1-
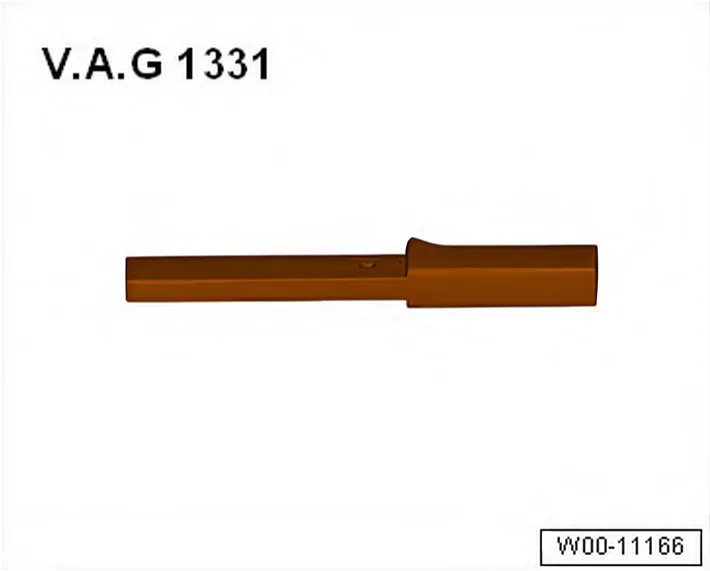
- Torque wrench - V.A.G 1331-
Removing
- Disconnect vehicle battery ⇒ Electrical system; Rep. gr. 27; Battery; Disconnecting and reconnecting battery.
- Move seat to foremost and highest position using longitudinal adjustment.
- Unscrew rear bolts -2- and -3-.
- Move seat to rearmost and deepest position using longitudinal adjustment.
- Unscrew foremost bolts -4- and -1-.
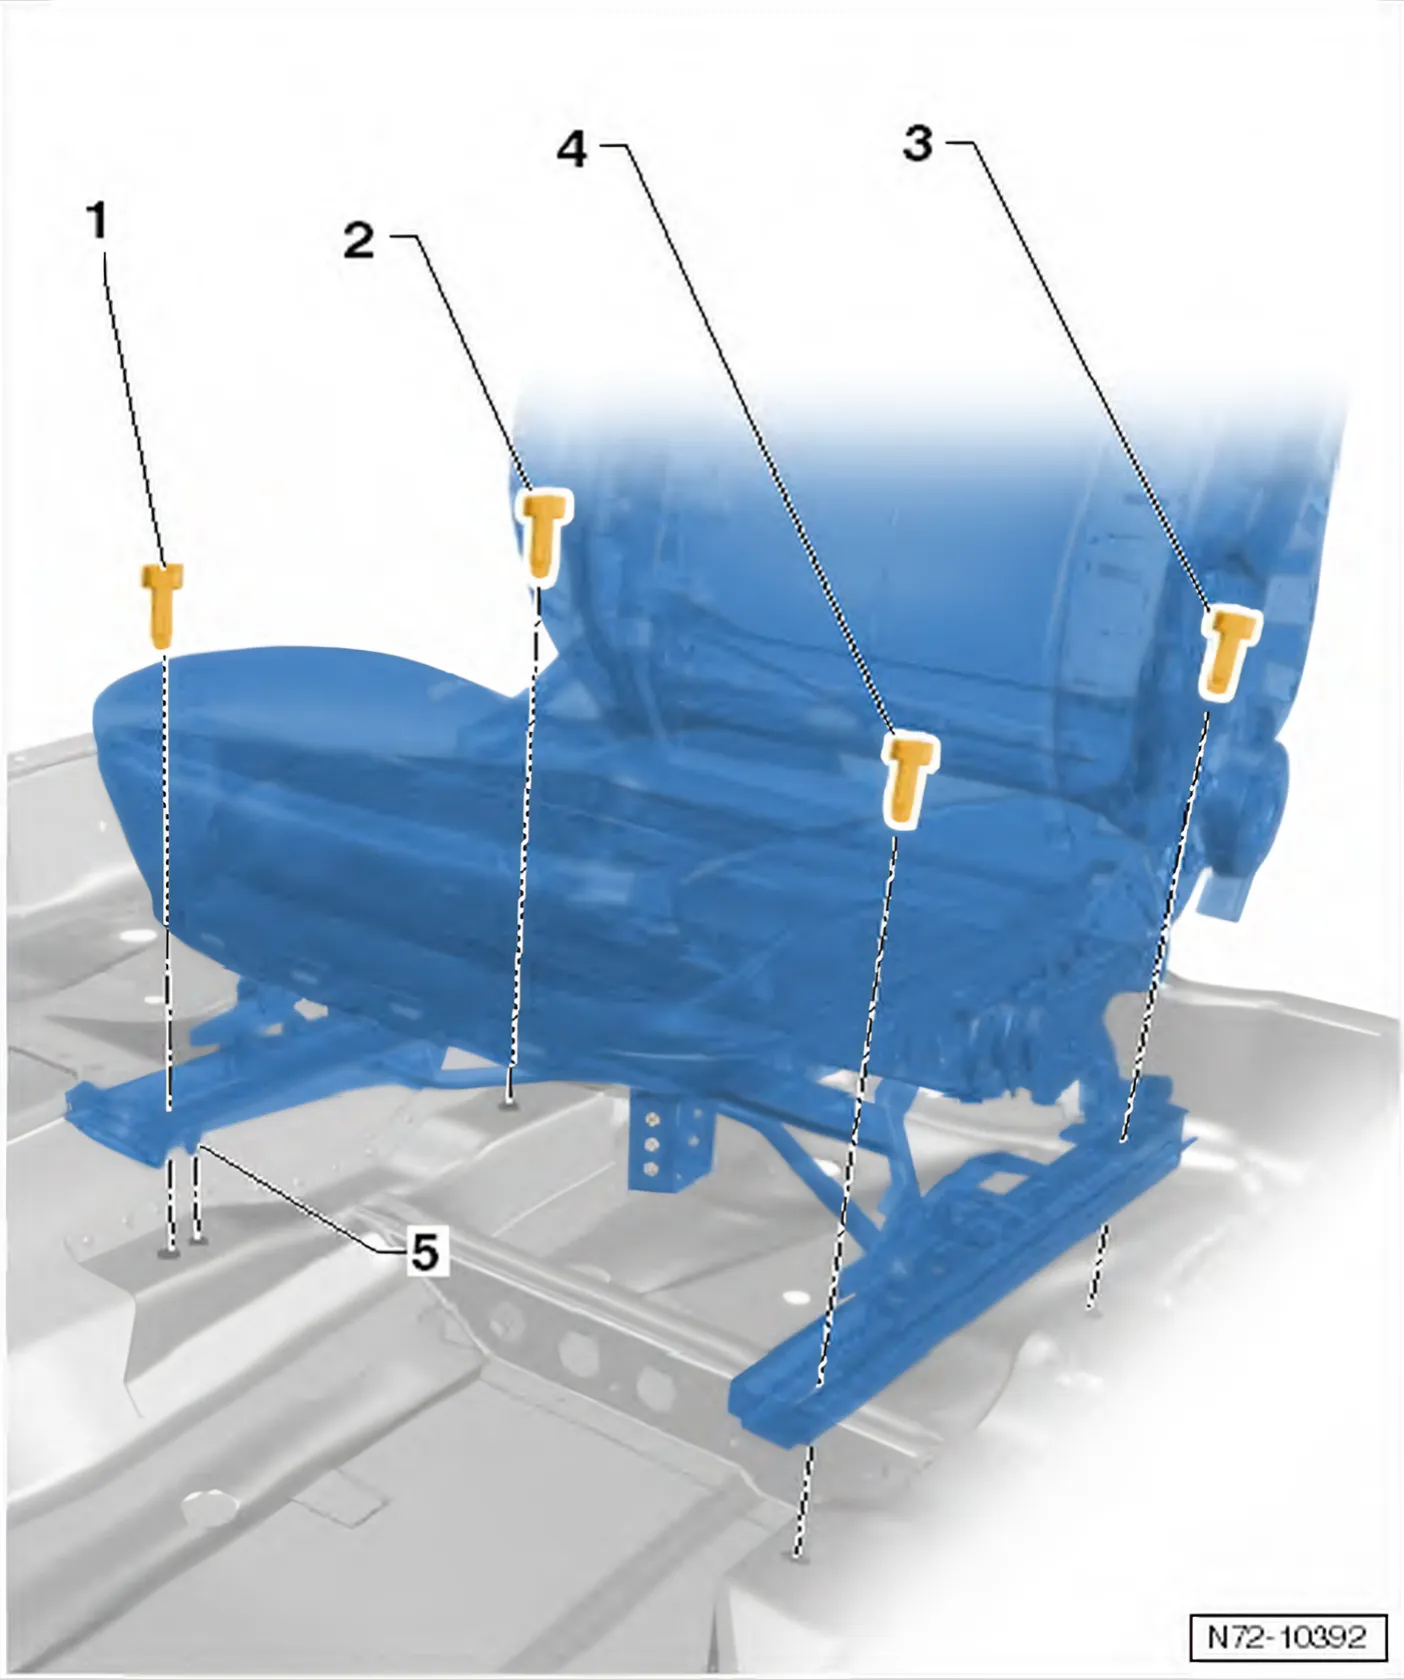
- Fold seat backwards until connectors are accessible.
- Depending on vehicle equipment, disconnect seat wiring harness from coupling station.
- Connect airbag adapter - VAS 5232/1- to side airbag wiring harness -1-.
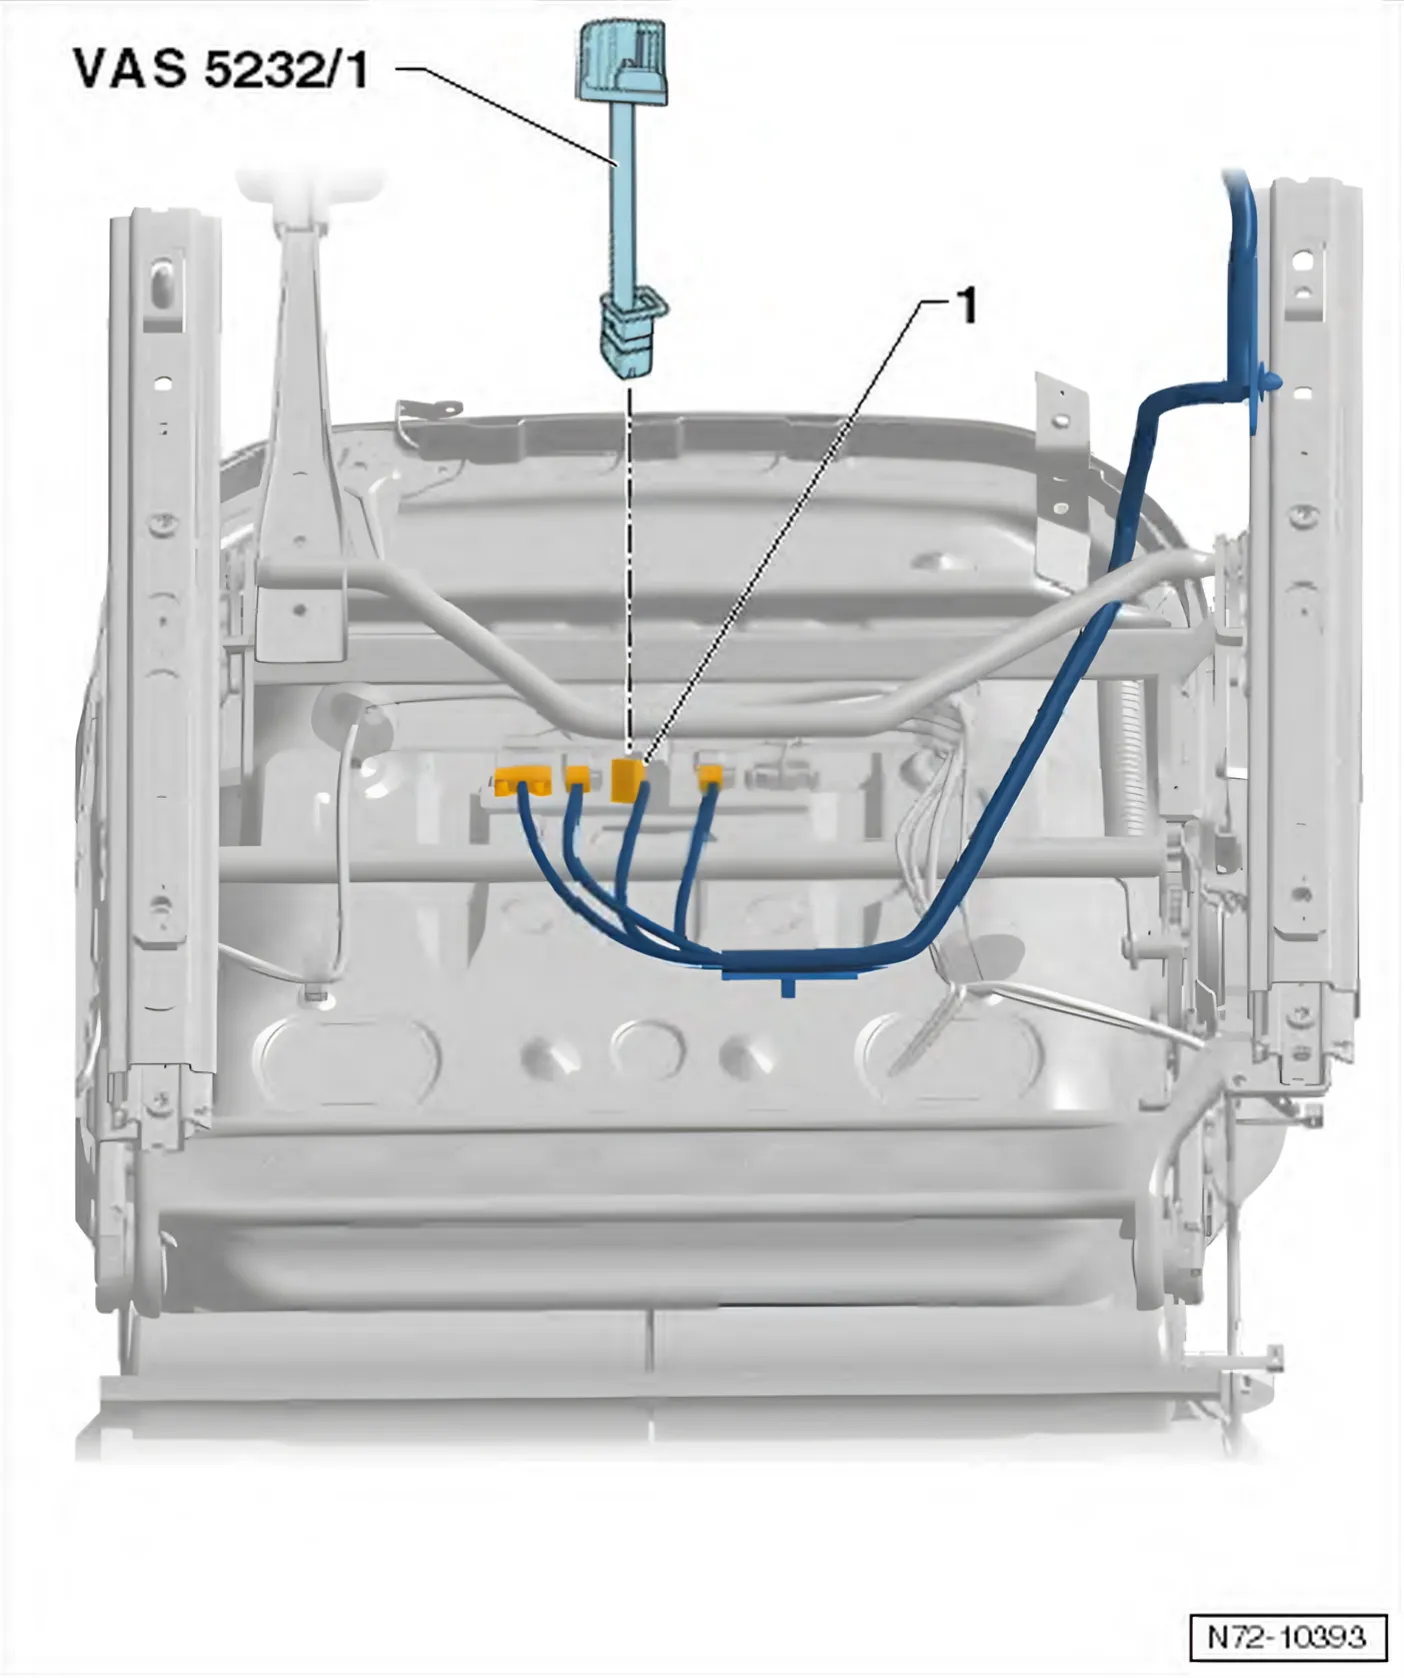
- Grip between backrest and seat padding with right hand. Grip front end of seat padding with left hand and lift seat out of vehicle.
Installing
- Grip between backrest and seat padding with right hand. Grip front end of seat padding with left hand and lift seat into vehicle.
- Remove airbag adapter - VAS 5232/1-.
- Depending on vehicle equipment level, engage wiring harness connectors.
- Position seat in corresponding opening in floor via tunnel-side centring pin -5-.
- Move seat to foremost and highest position using longitudinal adjustment.
- Tighten rear, tunnel-side bolt -2- (24 Nm).
- Tighten rear, sill-side bolt -3- (24 Nm).
- Move seat to rearmost and deepest position using longitudinal adjustment.
- Tighten front, tunnel-side bolt -1- (24 Nm).
- Tighten front, sill-side bolt -4- (24 Nm).
If seat cross member mounting plate threads have been damaged:
- Renew the affected seat cross member mounting plate ⇒ Body Repairs; Rep. gr. 51.
- Switch ignition on.
- Connect vehicle battery ⇒ Electrical system; Rep. gr. 27; Battery; Disconnecting and reconnecting battery.