
Body interior · Seat frames · Front seats
Removing and installing seat trim on sill side
⇒ 1.3.1 Removing and installing seat trim on sill side, seat without height adjustment
⇒ 1.3.2 Removing and installing seat trim on sill side, seat with height adjustment
1.3.1 Removing and installing seat trim on sill side, seat without height adjustment
Special tools and workshop equipment required
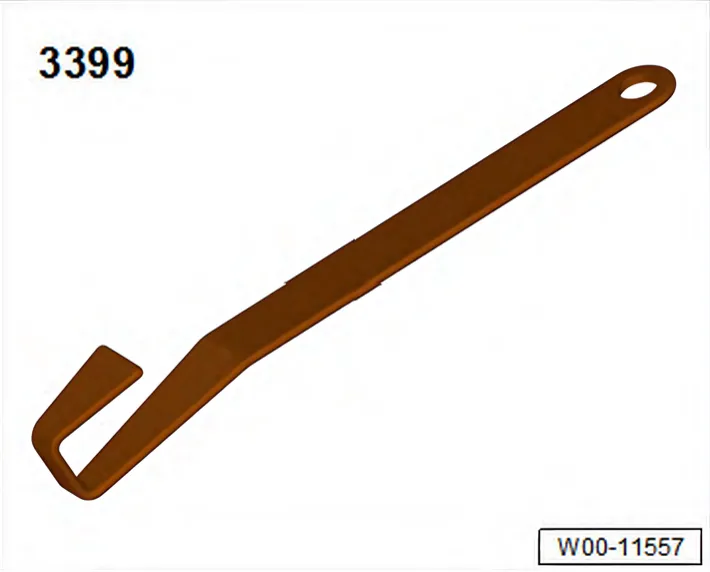
- Assembly tool - 3399-
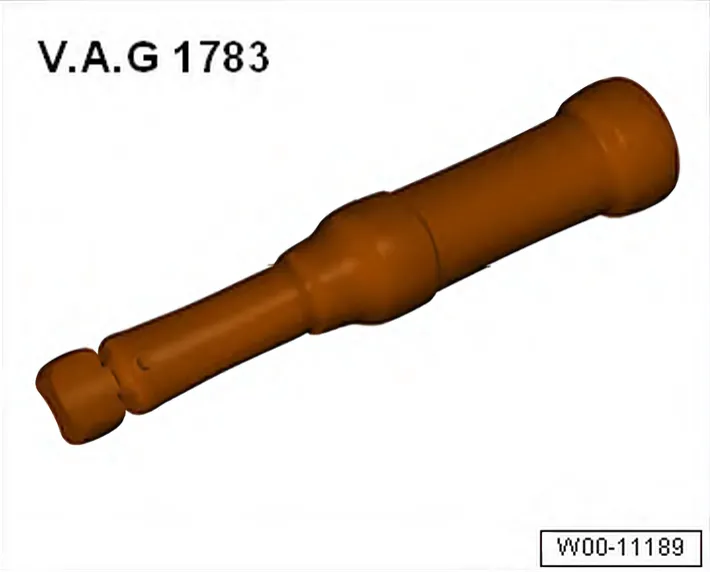
- Torque wrench - V.A.G 1783-
Removing
- Remove front seat ⇒ 1.1 Removing and installing front seat.
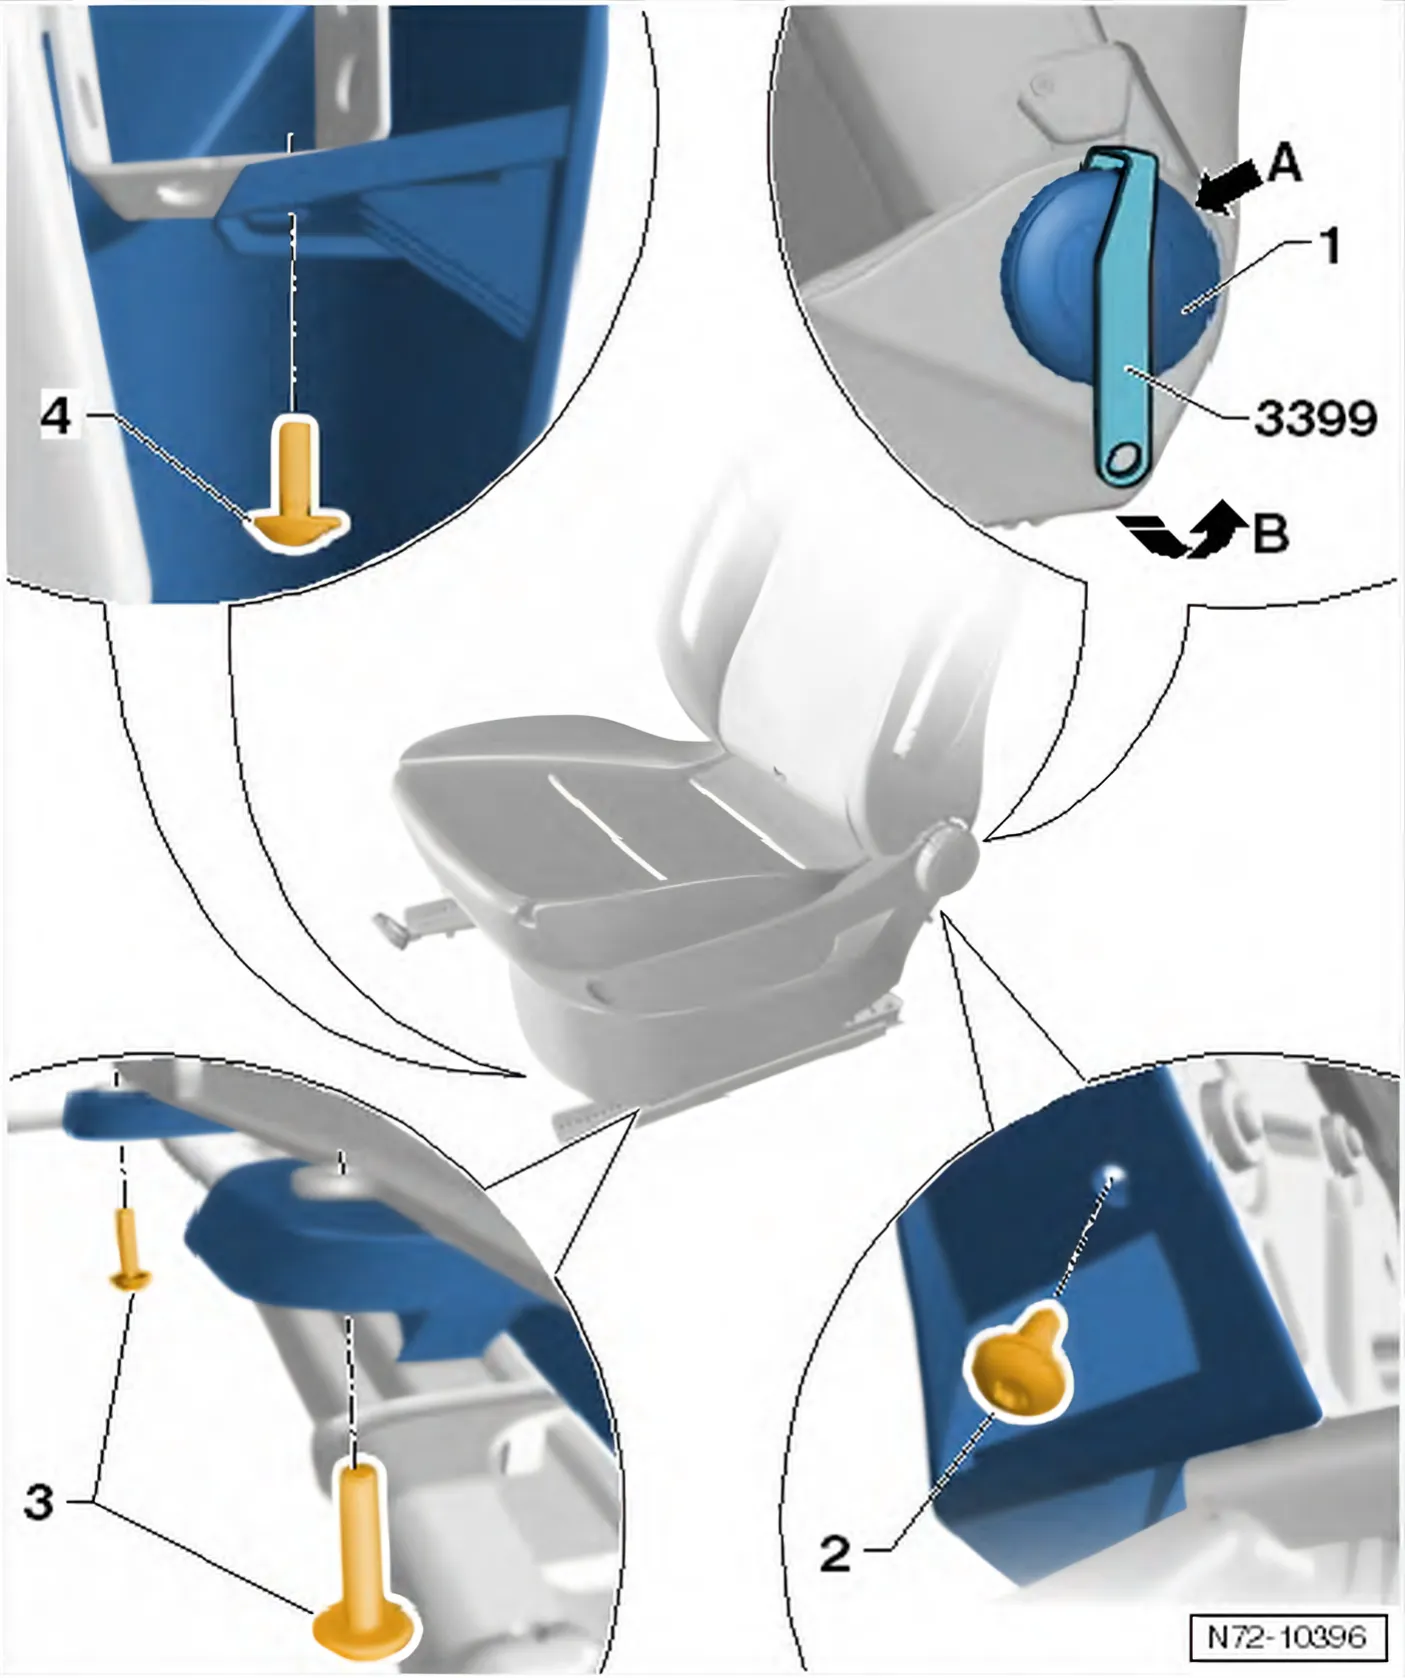
- Turn backrest adjustment wheel -1- until a fastener can be seen from the rear -arrow A-. If necessary, use a torch for this.
- Turn backrest adjustment wheel 120° further.
- Hook assembly tool - 3399- in and lever in -direction of arrow B-.
- Remove backrest adjustment wheel.
- Unscrew bolts -2-, -3- and -4- (2 Nm) and release seat trim from seat frame.
Installing
- Install in reverse order of removal.
If backrest adjustment wheel is too loose following assembly, it must be renewed.
1.3.2 Removing and installing seat trim on sill side, seat with height adjustment
Only what differs from the procedure above; everything else is as above.
Special tools and workshop equipment required
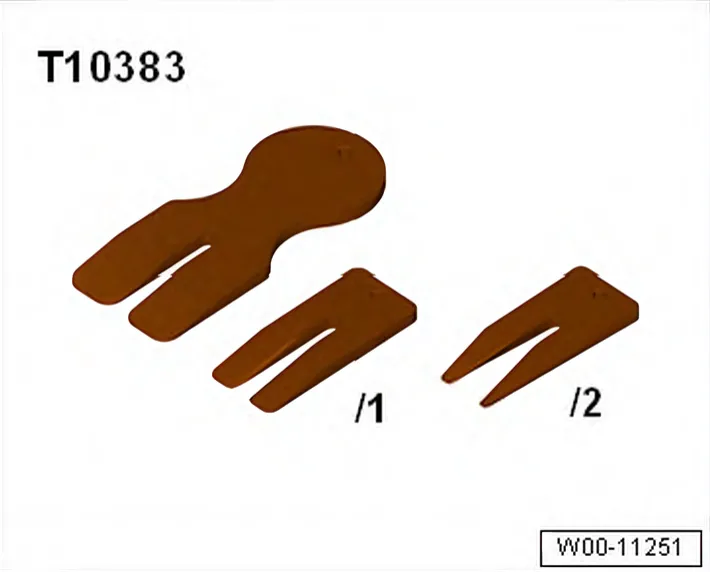
- 6C 2014–2017 Wedges - T10383-
Removing
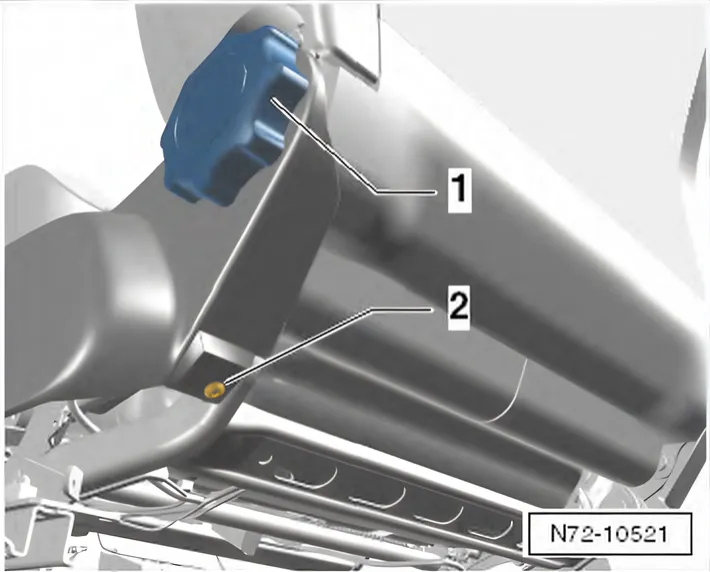
- Unscrew bolt -2- under backrest adjusting wheel -1- (2 Nm).
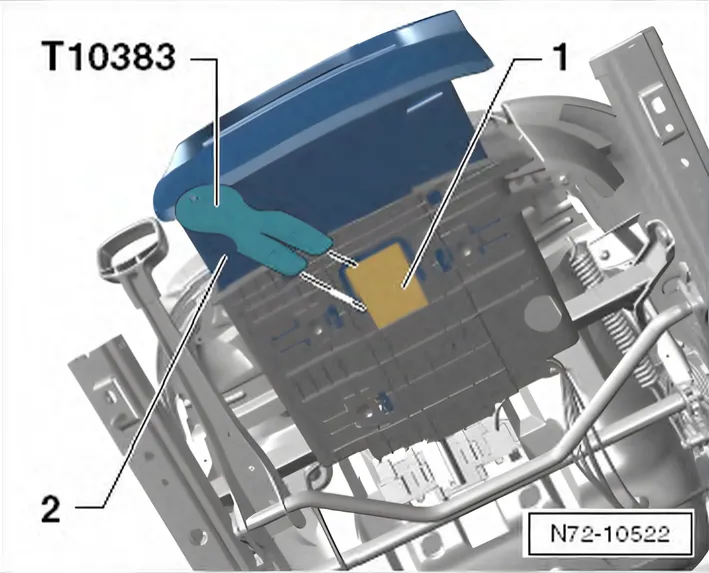
- On vehicles with drawer, bend retaining tab -1- outwards using wedge - T10383- and pull out drawer -2- from mounting.
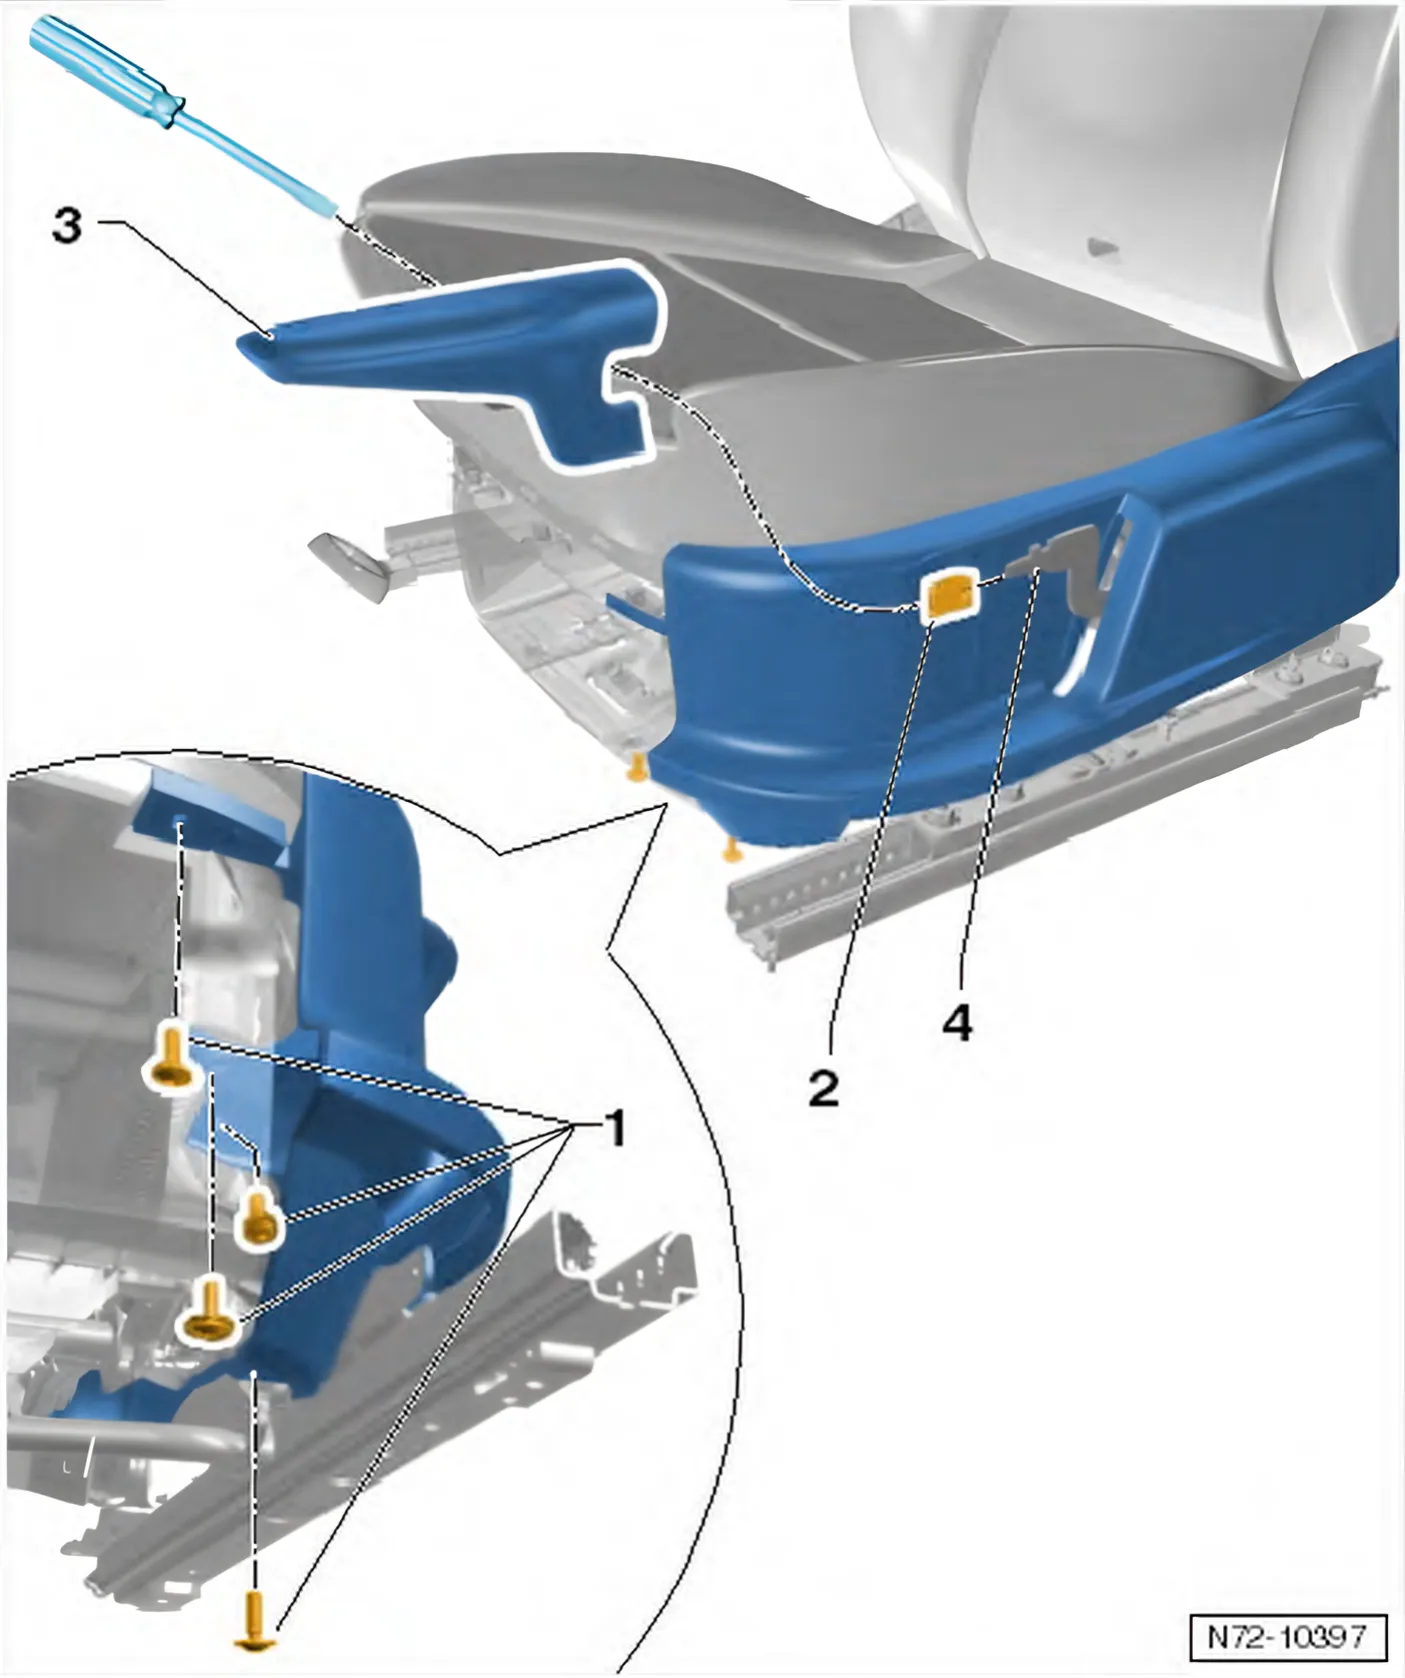
- Unscrew 4 bolts -1- (2 Nm).
- Pull handle -3- upwards and press metal tab of retaining clip -2- inwards using a small screwdriver. Pull handle off adjuster lever -4-.
- Remove retaining clip -2- from adjustment lever -4-.
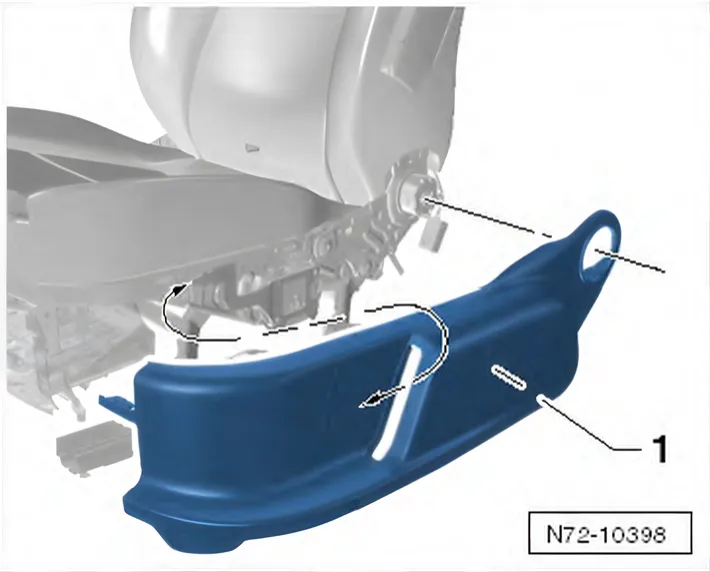
- Release seat trim -1- from seat frame.