
Body interior · Seat – padding, covers · Rear seat covers and padding
Removing and installing bench seat cover and padding
6R 2009–2014 Special tools and workshop equipment required
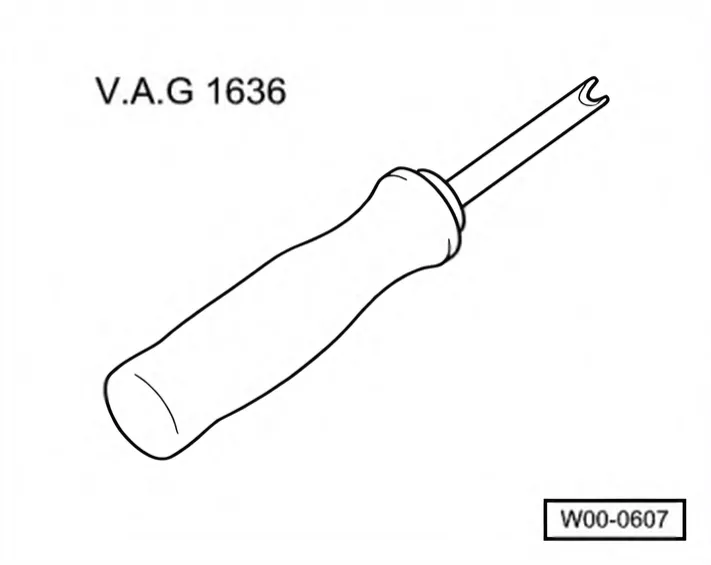
6C 2014–2017 ⇒ 2.1.1 Removing and installing bench seat cover and padding, one-piece bench seat
⇒ 2.1.2 Removing and installing bench seat cover and padding, divided bench seat
2.1.1 Removing and installing bench seat cover and padding, one-piece bench seat
6C 2014–2017 Special tools and workshop equipment required
- Awl - V.A.G 1636-
Removing
- Remove bench seat ⇒ 2.1 Removing and installing bench seat / individual seats.
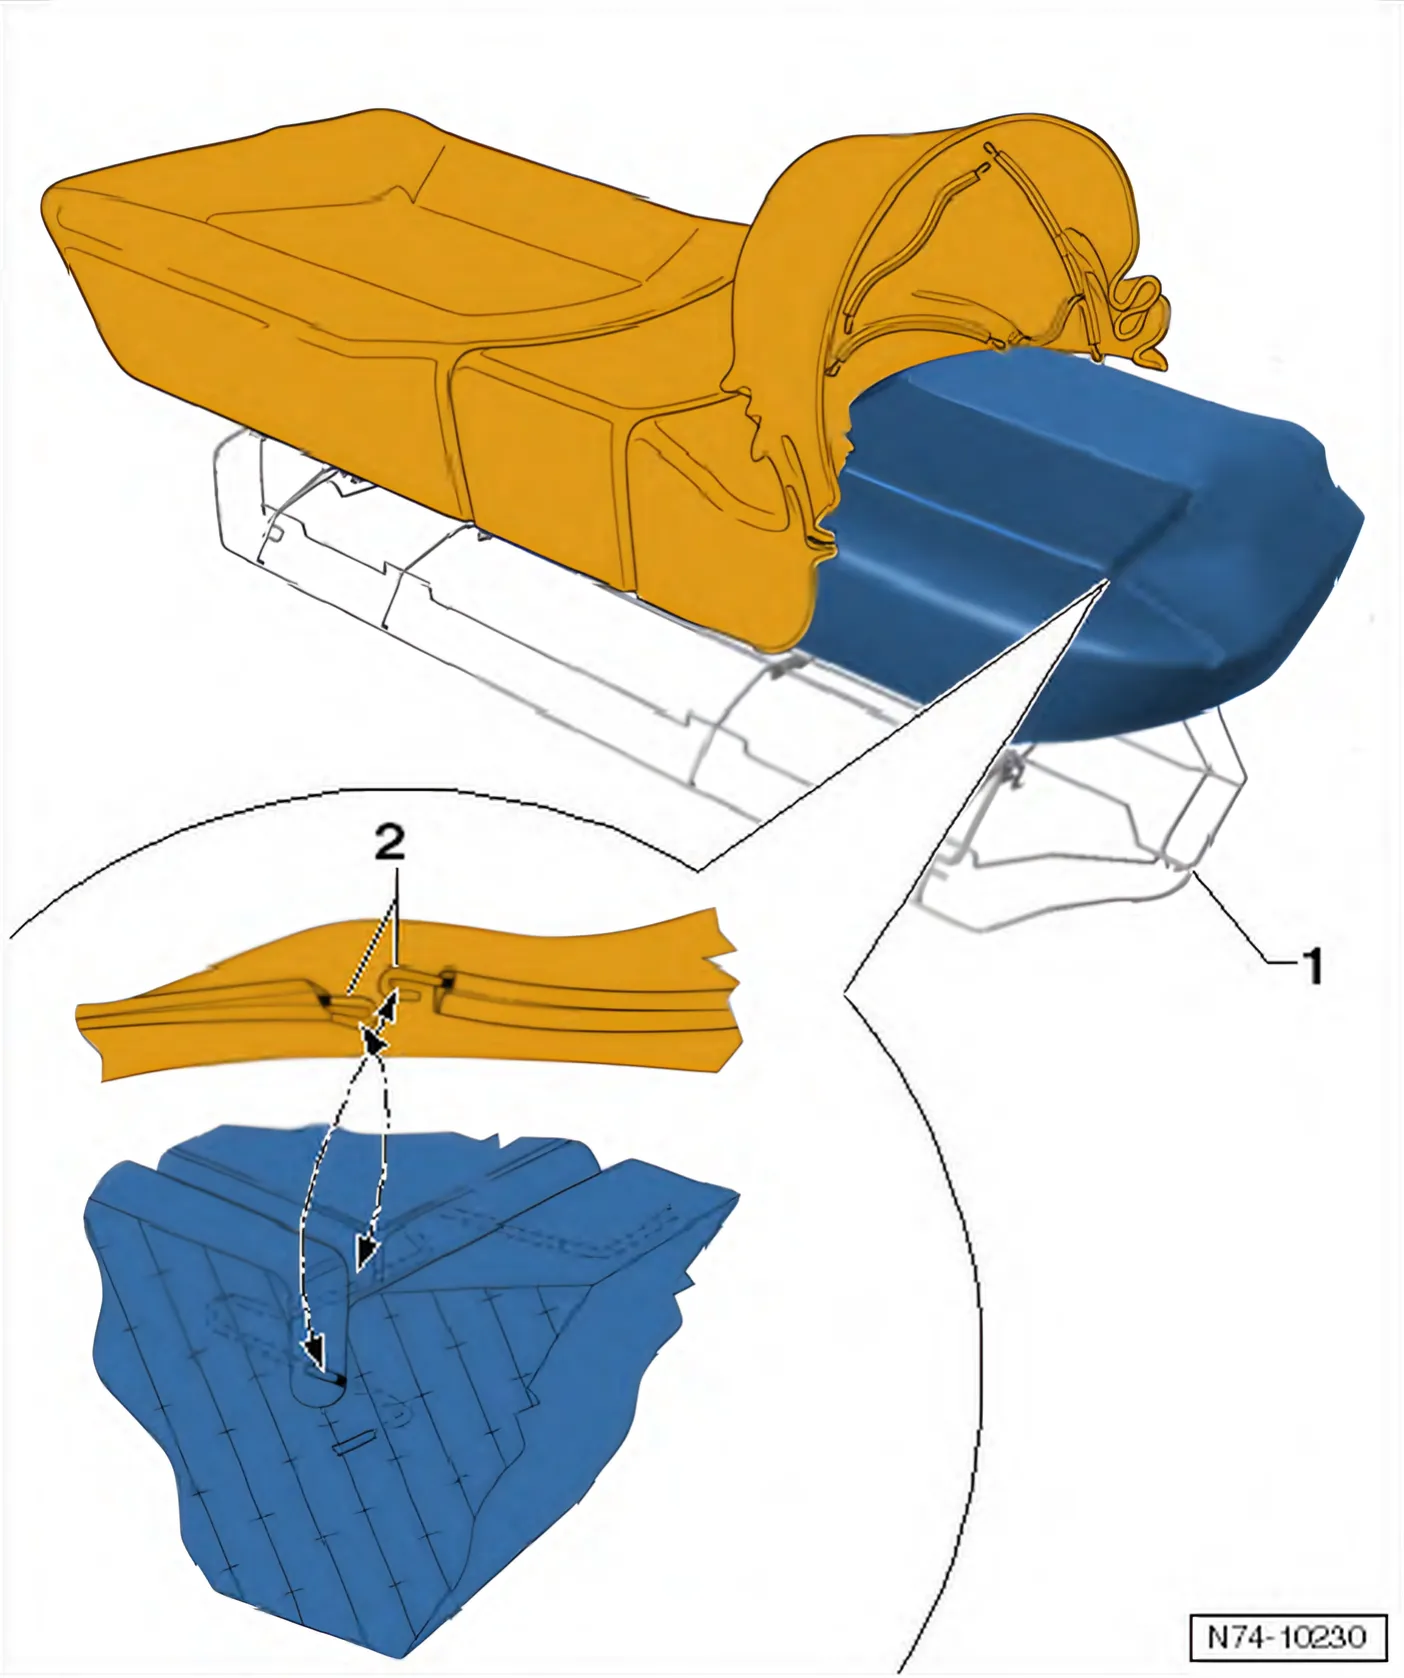
- Unhook all cover profiles from seat frame -1- on underside of bench seat.
- Remove padding with cover from seat frame -1-.
- Roll up cover on sides.
- Unhook all padding wires -2- from wire frame in padding using awl - V.A.G 1636-.
Installing
Installation is carried out in reverse order.
2.1.2 Removing and installing bench seat cover and padding, divided bench seat
Only what differs from the procedure above; everything else is as above.
6C 2014–2017 Special tools and workshop equipment required
- On lower sides of bench seats, unhook all cover profiles from seat frames -2- and -3-.
- Remove padding with covers and seat covers -1- and -4- from seat frames -2- and -3-.
- Unhook all padding wires -5- from wire frame in padding using awl - V.A.G 1636-.
- Open clip -6- and also unhook cover from wire frame in padding.